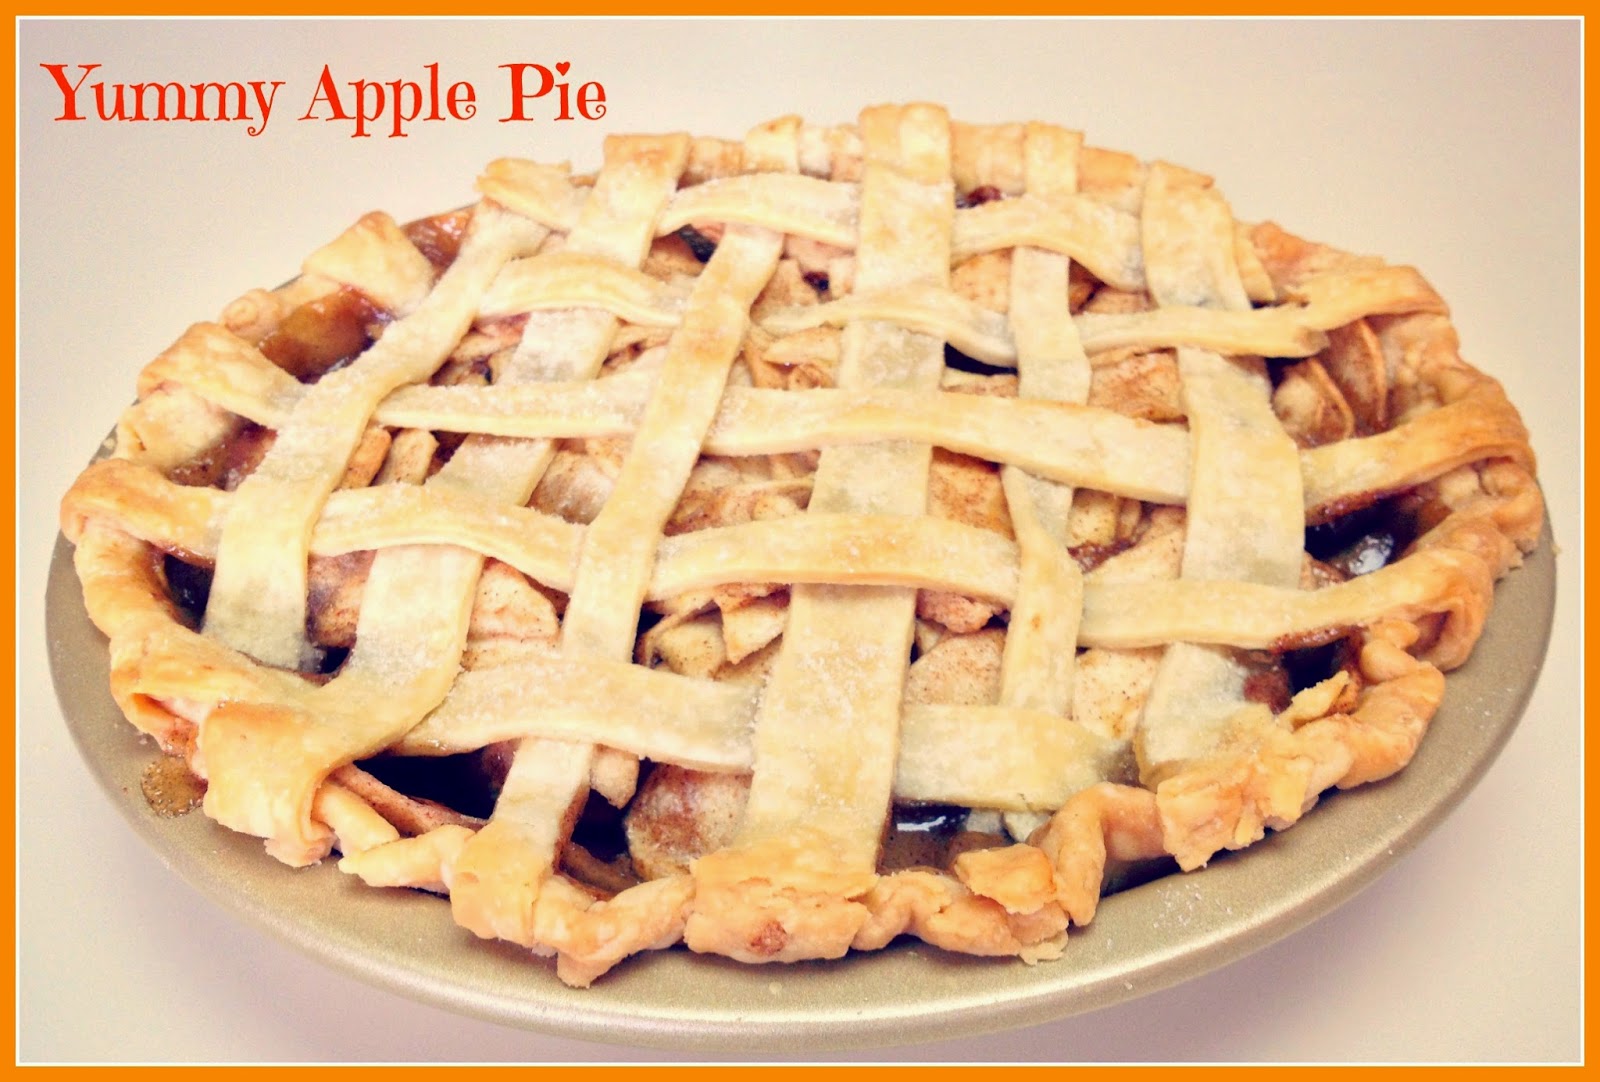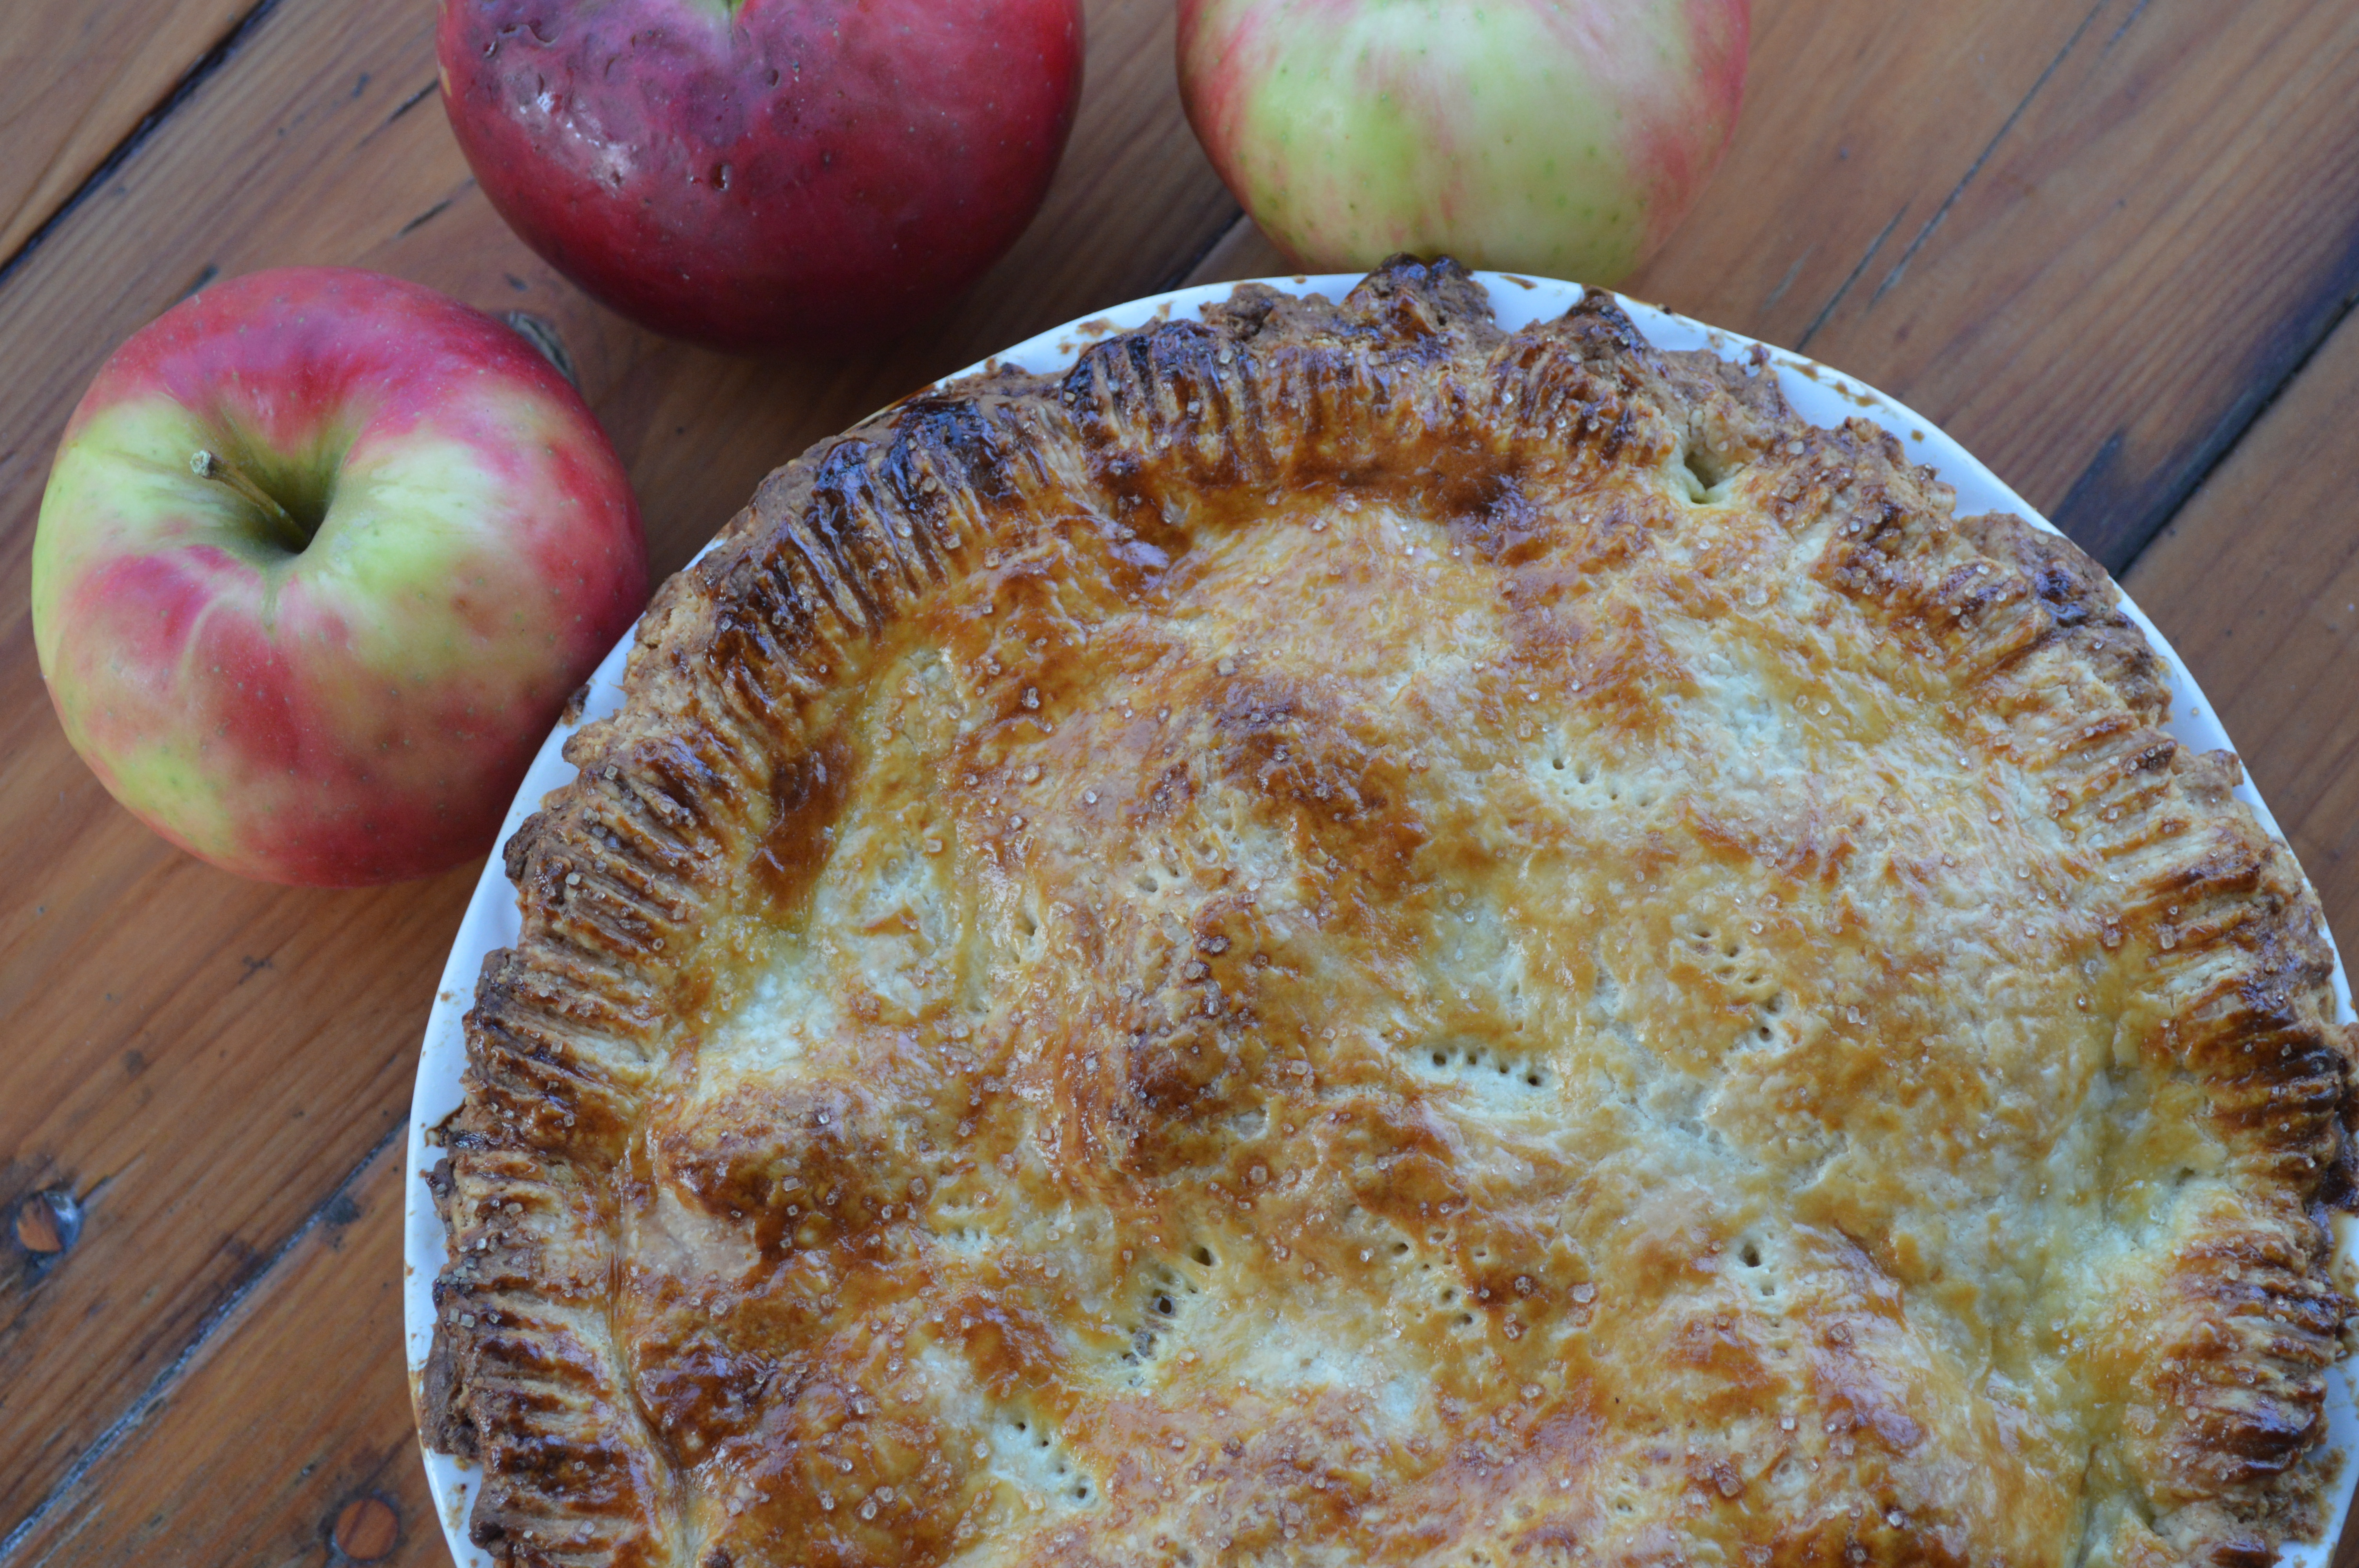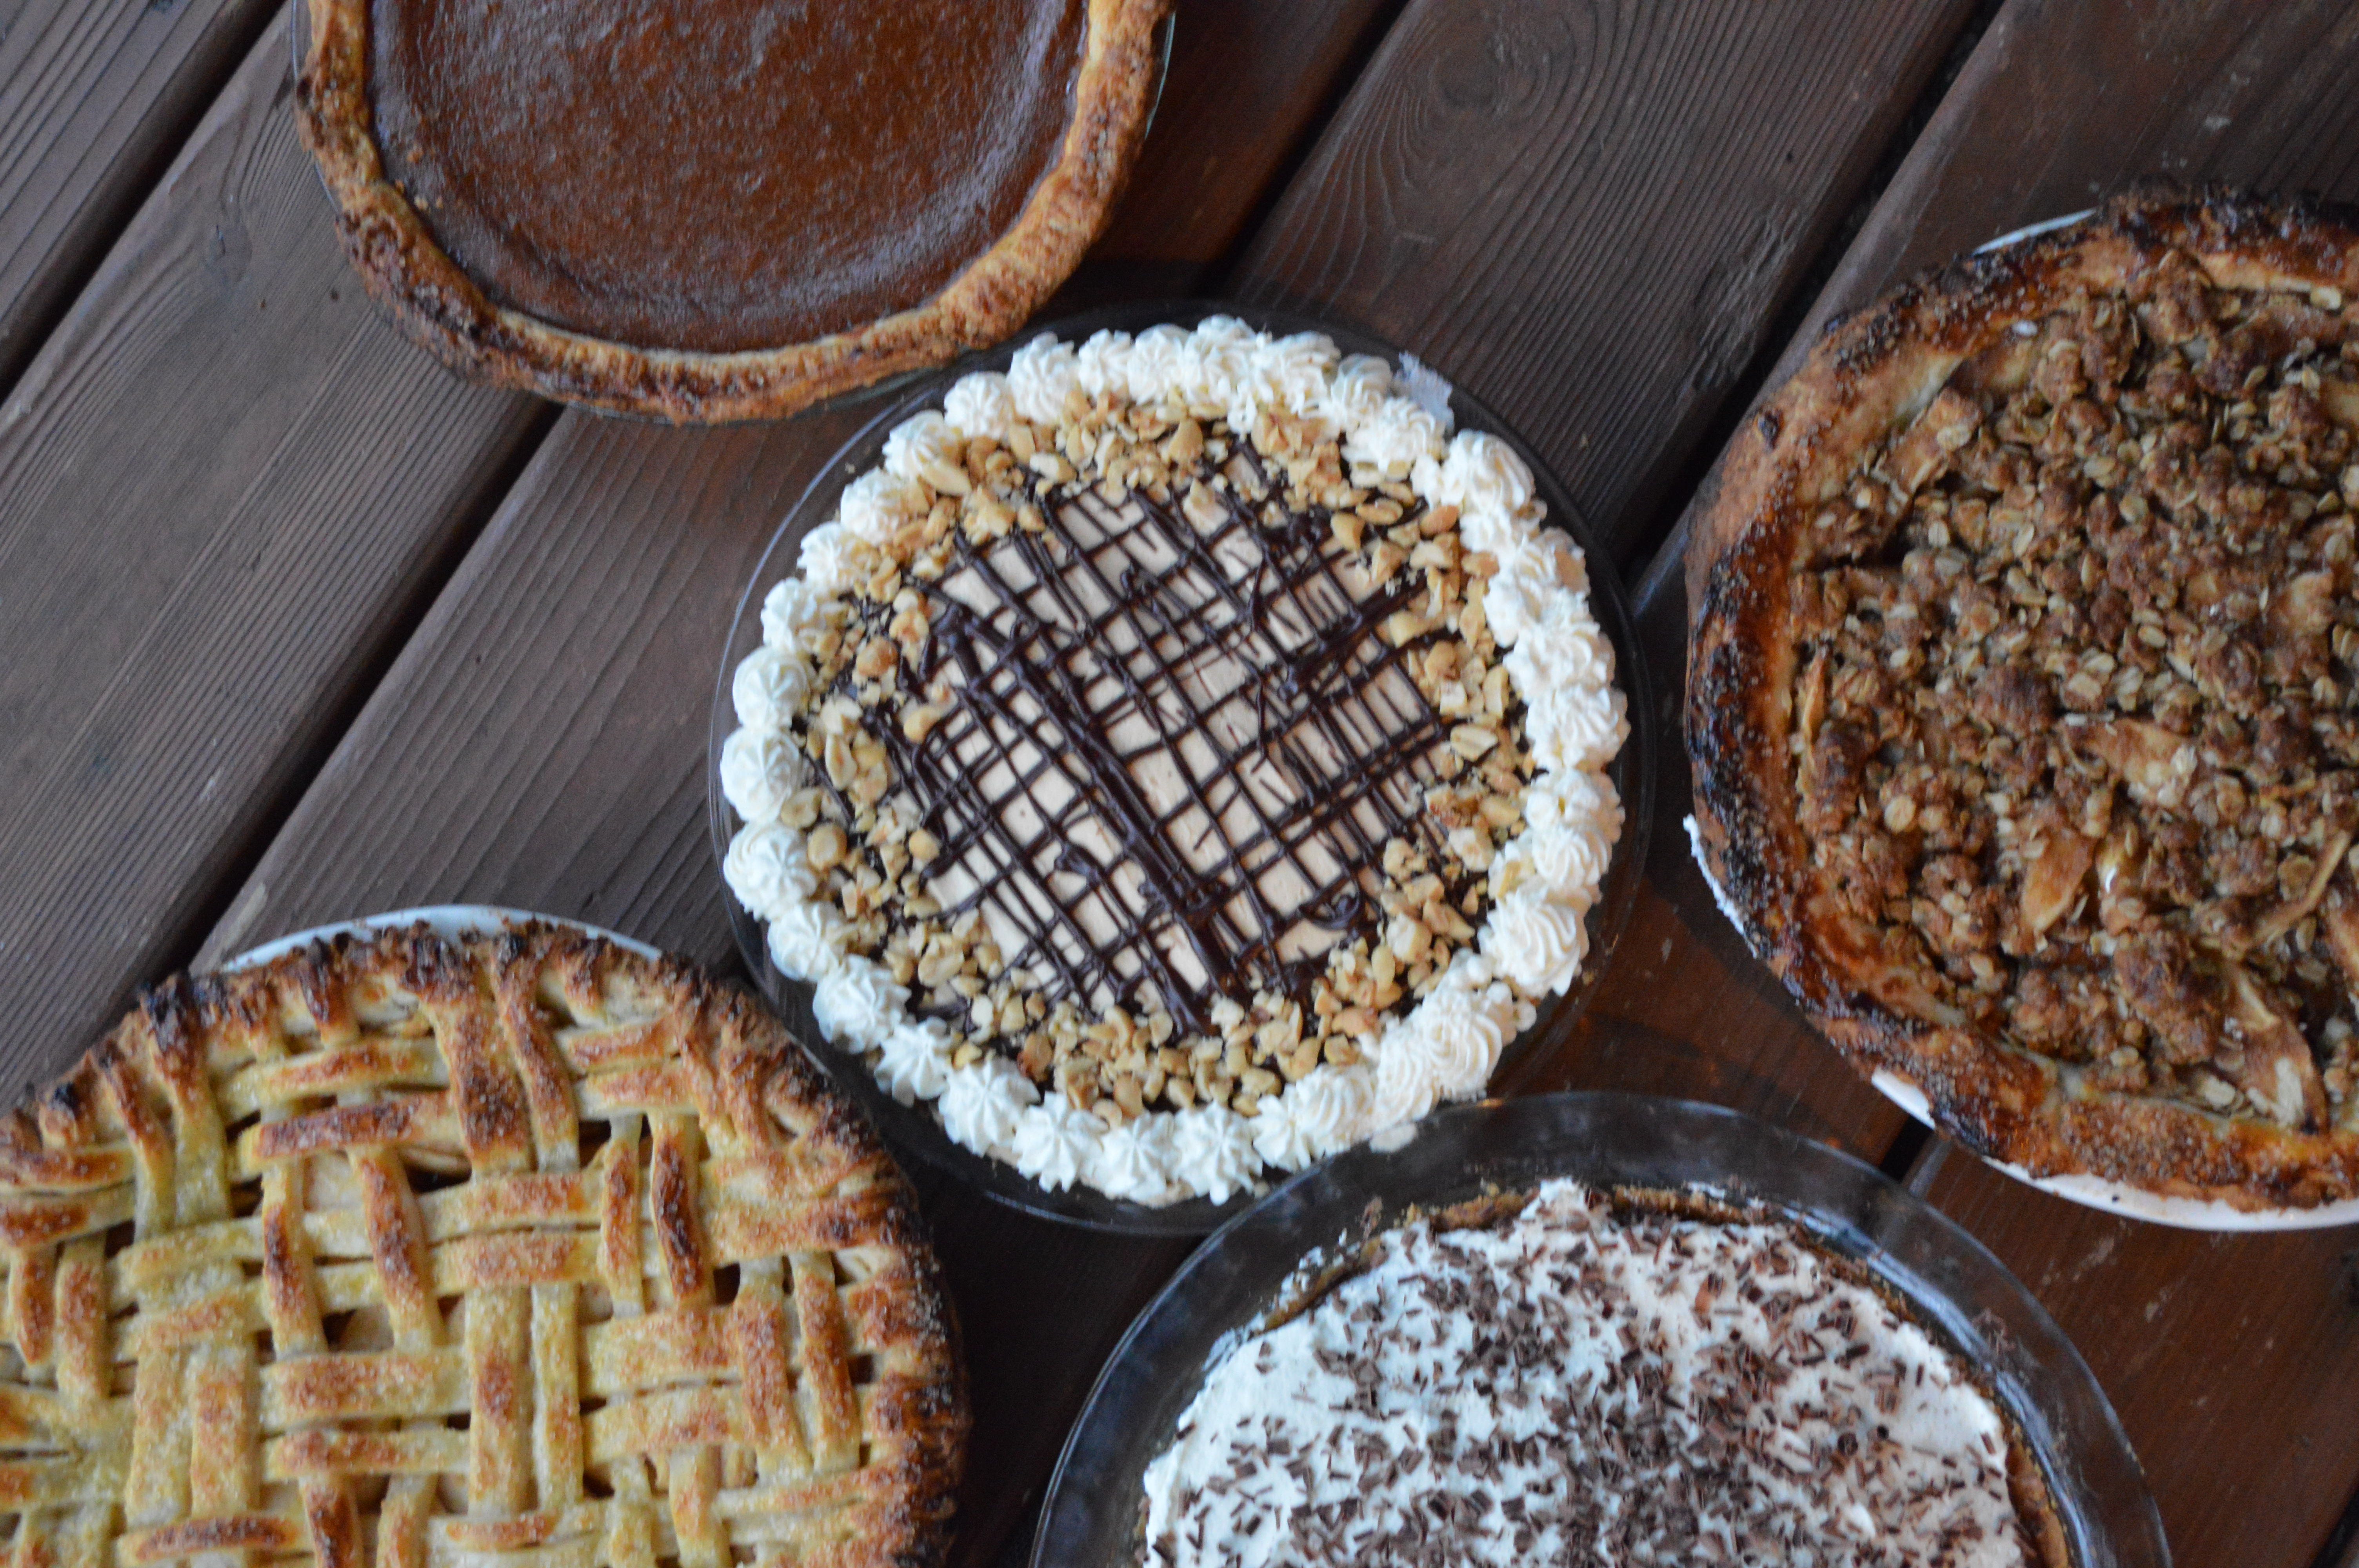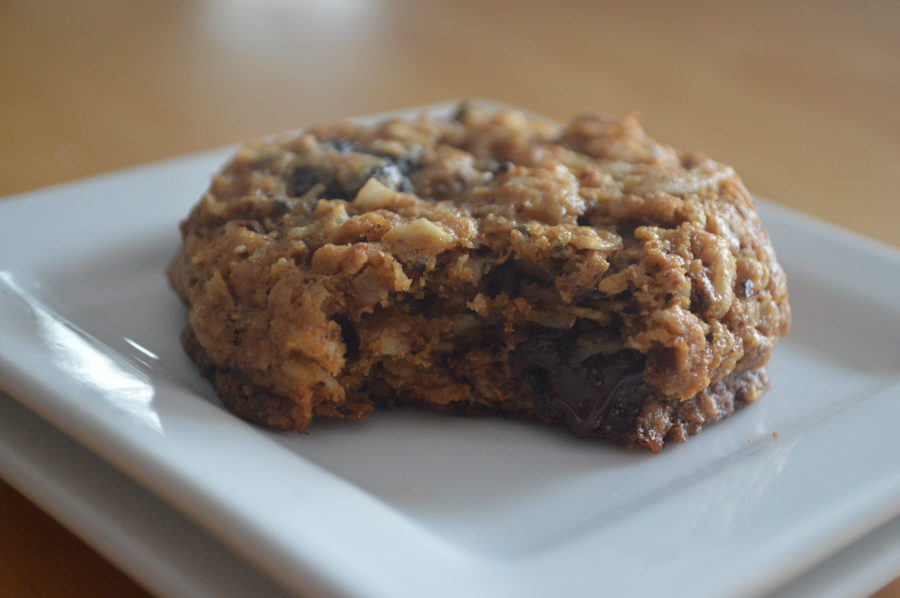
Two of my closest friends admitted to me that they hated desserts with fruit in them. Where do you weigh in? It’s hard for me to believe anyone could hate fruit desserts. You see…desserts with fruit are my ALL TIME FAVORITES! They might even beat out chocolate desserts for me, and I love chocolate! I crave a good strawberry shortcake in the summer, and a tart apple pie in the fall. Give me anything chocolate with cherries in the winter and in the spring…blueberries and lemon are my go to. I couldn’t even imagine not loving desserts with fruit, but I love my friends anyways despite their disapproval. One day, maybe I will convert them? Probably not, but I will keep baking and trying my best!
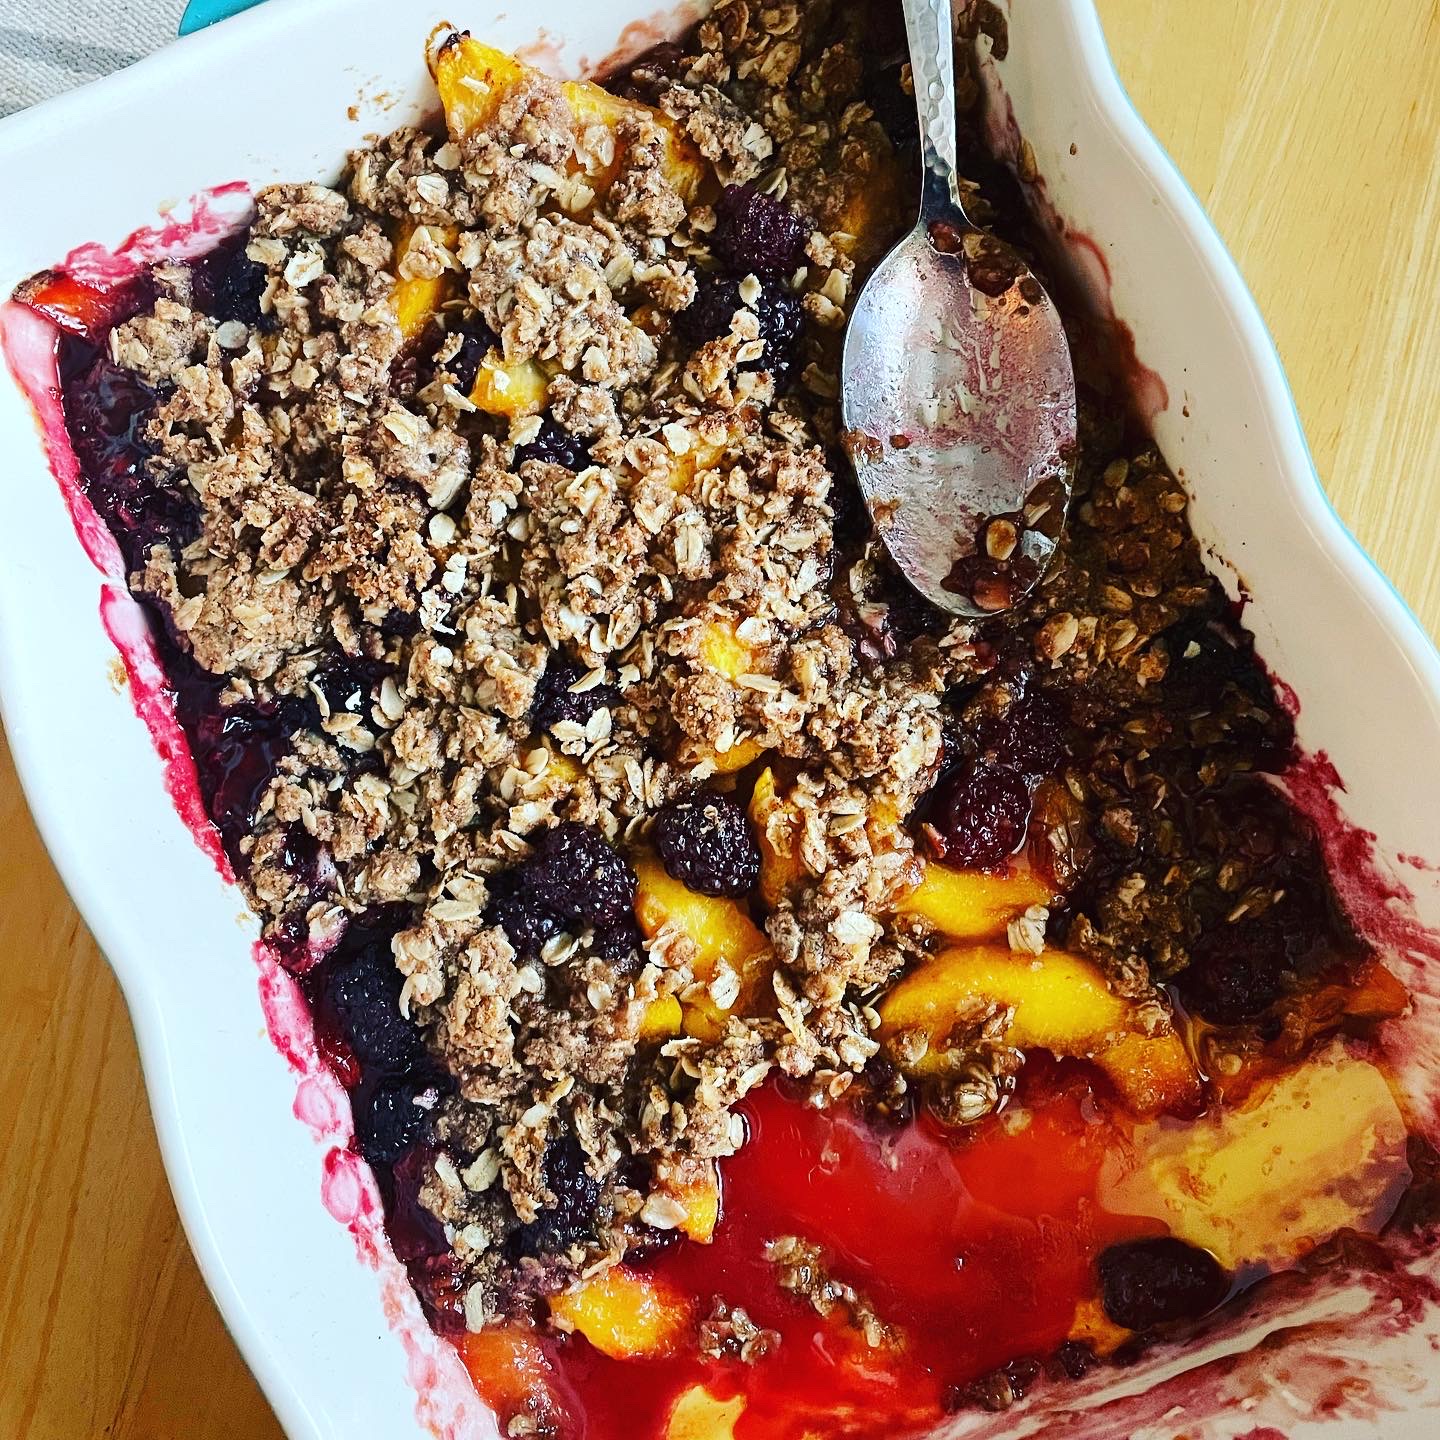
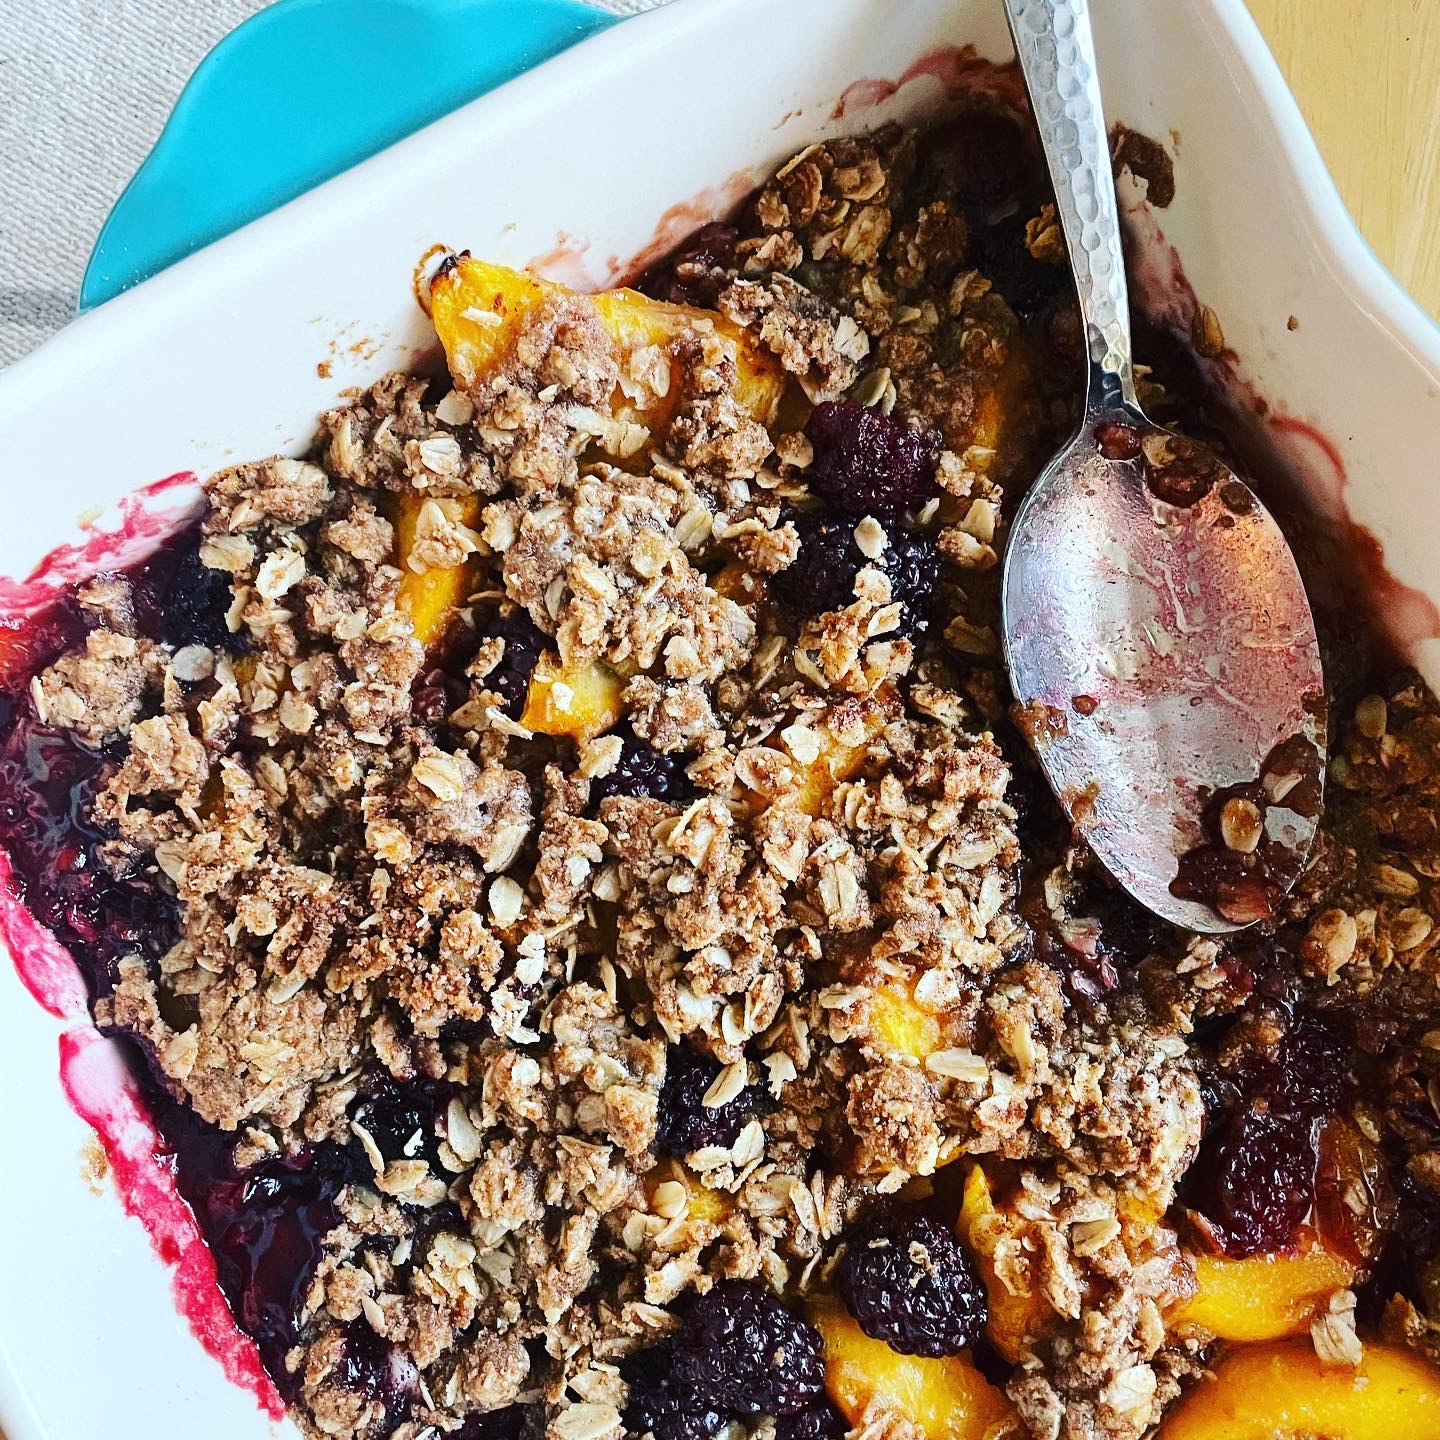
This peach and blackberry crisp is a great way to start. A filling that bursts with flavor from sweet peaches, tart blackberries and a crumbly, slightly crunchy topping fragrant with cinnamon is the perfect dessert for summer. Spoon some vanilla bean ice cream on the top and you’ll be in heaven.
Enough talking, let’s get right to that recipe.

- 4-5 peaches, sliced (or 5 cups frozen peaches, thawed)
- 3 cups fresh blackberries
- ½ cup brown sugar
- 1.5 tbsp corn starch
- 1.5 tbsp vanilla extract
- TOPPING:
- 1 cup whole wheat pastry flour (*see note)
- ½ cup oats
- ½ cup brown sugar
- 1.5 tsp cinnamon
- 12 tbsp salted butter, cubed (1.5 sticks)
- Preheat oven to 350 degrees. In a large bowl, toss together peaches, blackberries, brown sugar, cinnamon and corn starch and vanilla. Set aside. In a medium bowl, combine flour, oats, brown sugar and cinnamon. With a pastry cutter or your hands, work the butter into the oat mixture until it is crumbly and fully combined. Pour fruit into a 13x9 baking dish. Sprinkle crumble mixture over the top. Bake at 350 for 45-55 minutes or until fruit is bubbly and topping is golden brown. Serve warm with vanilla ice cream.
- **NOTE: All purpose flour is completely acceptable too, I just love the heartier texture whole wheat pastry flour gives the dessert. If all purpose flour is your thing, by all means, just sub it in for the whole wheat!


 Sometimes dinner just needs to be simple.