Serve me up apple anything and I am game! I love the beginning of fall and apple picking with my kids purely so I can bring home all of those delicious apples and make some tasty desserts out of them! 🙂 I also love making homemade apple sauce in the crockpot with them too. MMM….Well the other night, my family and I had a nice Sunday dinner at home and I decided to make a dessert, but I thought it would be nice to just make a few mini desserts so there wouldnt be a ton of leftovers. Leftovers=indulging all week which is never good! 🙂 Here is a great recipe for a family night in….
Apple Cobbler-Makes 5 mini cobblers
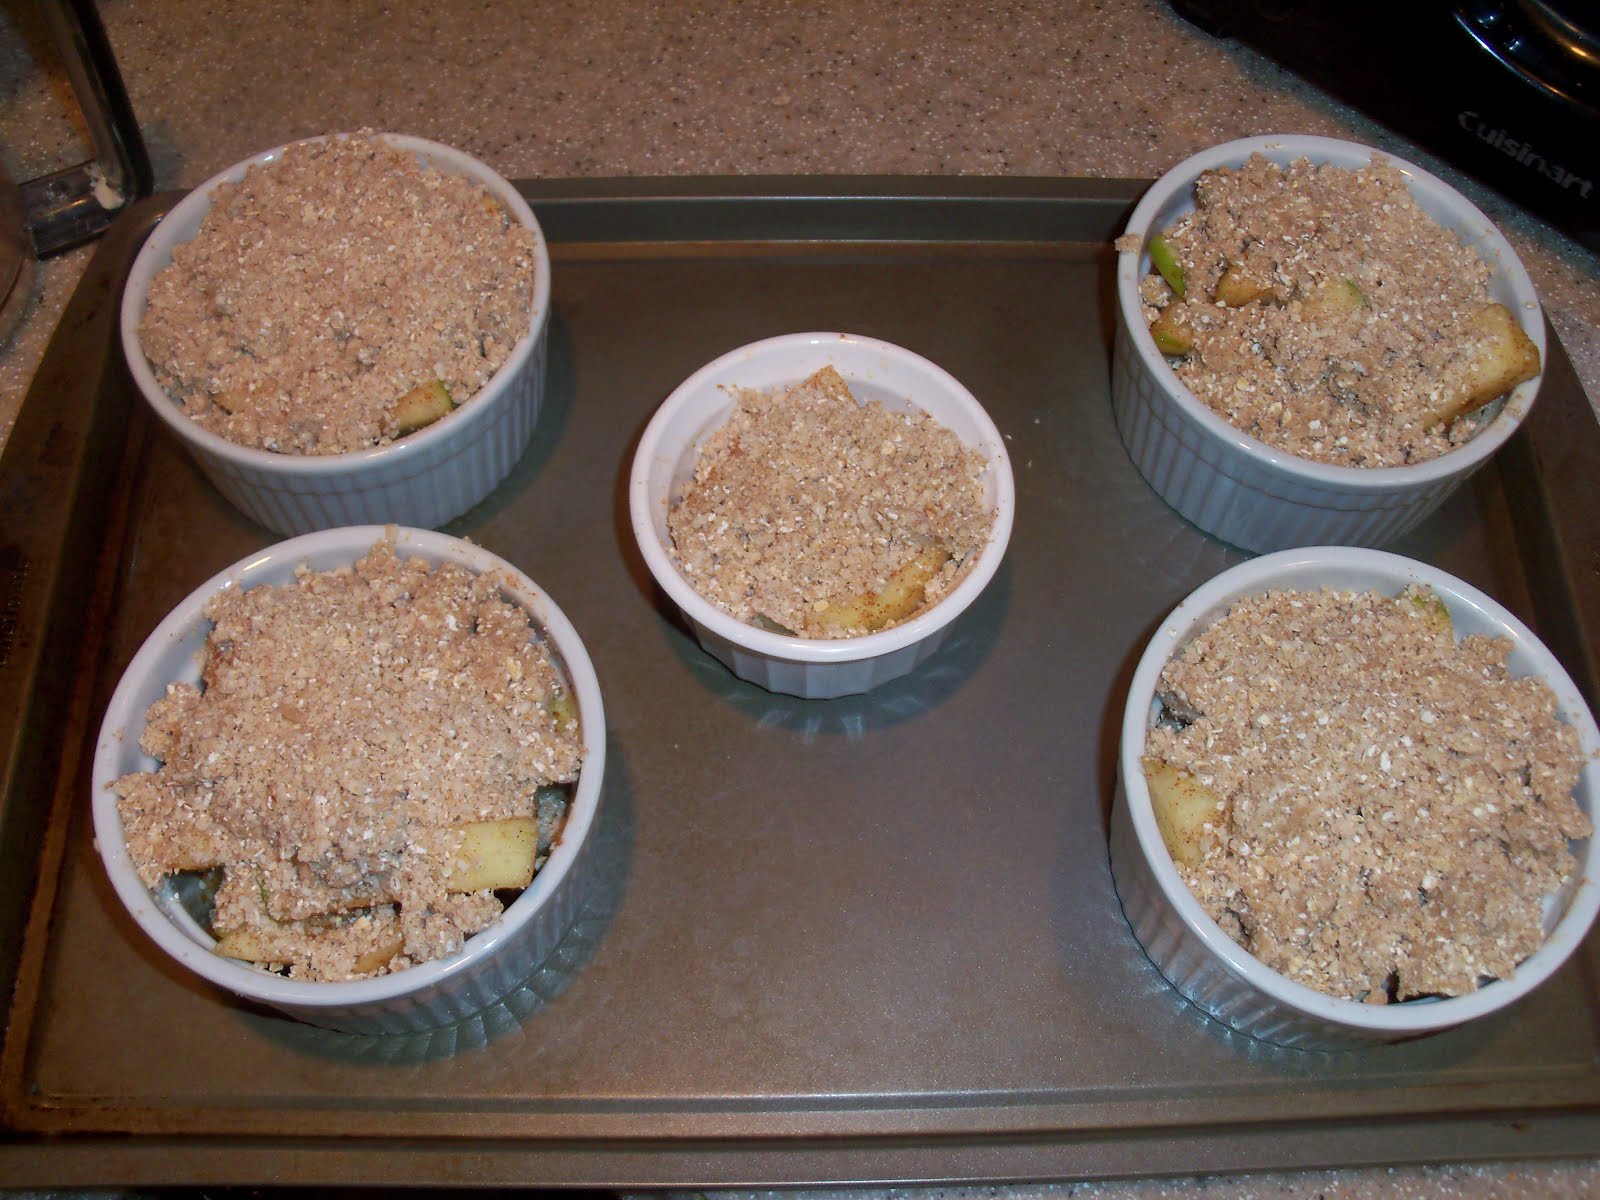
5 -3 inch Ramekins
Non Stick Spray
4 Granny Smith Apples, peeled and sliced thick
2 tblsp lemon juice
2 tsp cinnamon
1 tsp nutmeg
2 tblsp sugar
1/2 cup oats
1/2 cup all purpose flour
5 tblsp cold, unsalted butter
1 tblsp cinnamon
1/2 cup brown sugar
Toss sliced apples with lemon juice, cinnamon, nutmeg and sugar. Divide amongst the five ramekins. In a food processor, pulse remaining ingredients until crumbly. Divide amongst ramekins. Place ramekins on baking sheet. Bake at 350 degrees for 30 minutes or until apples are crisp tender and crumb mixture is slightly browned. Serve warm. Enjoy with whipped cream or vanilla ice cream.