• Email
    • Facebook
    • Instagram
    • Pinterest
    • Twitter

Girl and Her Kitchen

Plan. Make. Eat. Design. Craft. Create. Celebrate. Life.

  • Home
  • About the Girl
  • Recipe Index
  • We LOVE
  • Weekly Menu

Breads, Quick Breads and Rolls Desserts

Chocolate Peanut Butter Banana Bread

choco bread

So I had a sick kid at home again the other day. The fact that it was snowing in April probably has nothing to do with the fact that my youngest just cannot stay healthy right? Pair that with him being in kindergarten, and basically he barely stands a chance. I secretly love snuggling him when he is home though, so I am not complaining. Unfortunately, he won’t let me snuggle him all day though, so in between snuggles, I decided to do my favorite thing…clean.

Haha! Gotcha! You know what I really did.

I baked.

My favorite thing these days is to take a decadent recipe and try to “health” it up a bit…eliminating ingredients that don’t really need to be in there, and replacing them with more wholesome ingredients.

I know, #lifegoals, right?

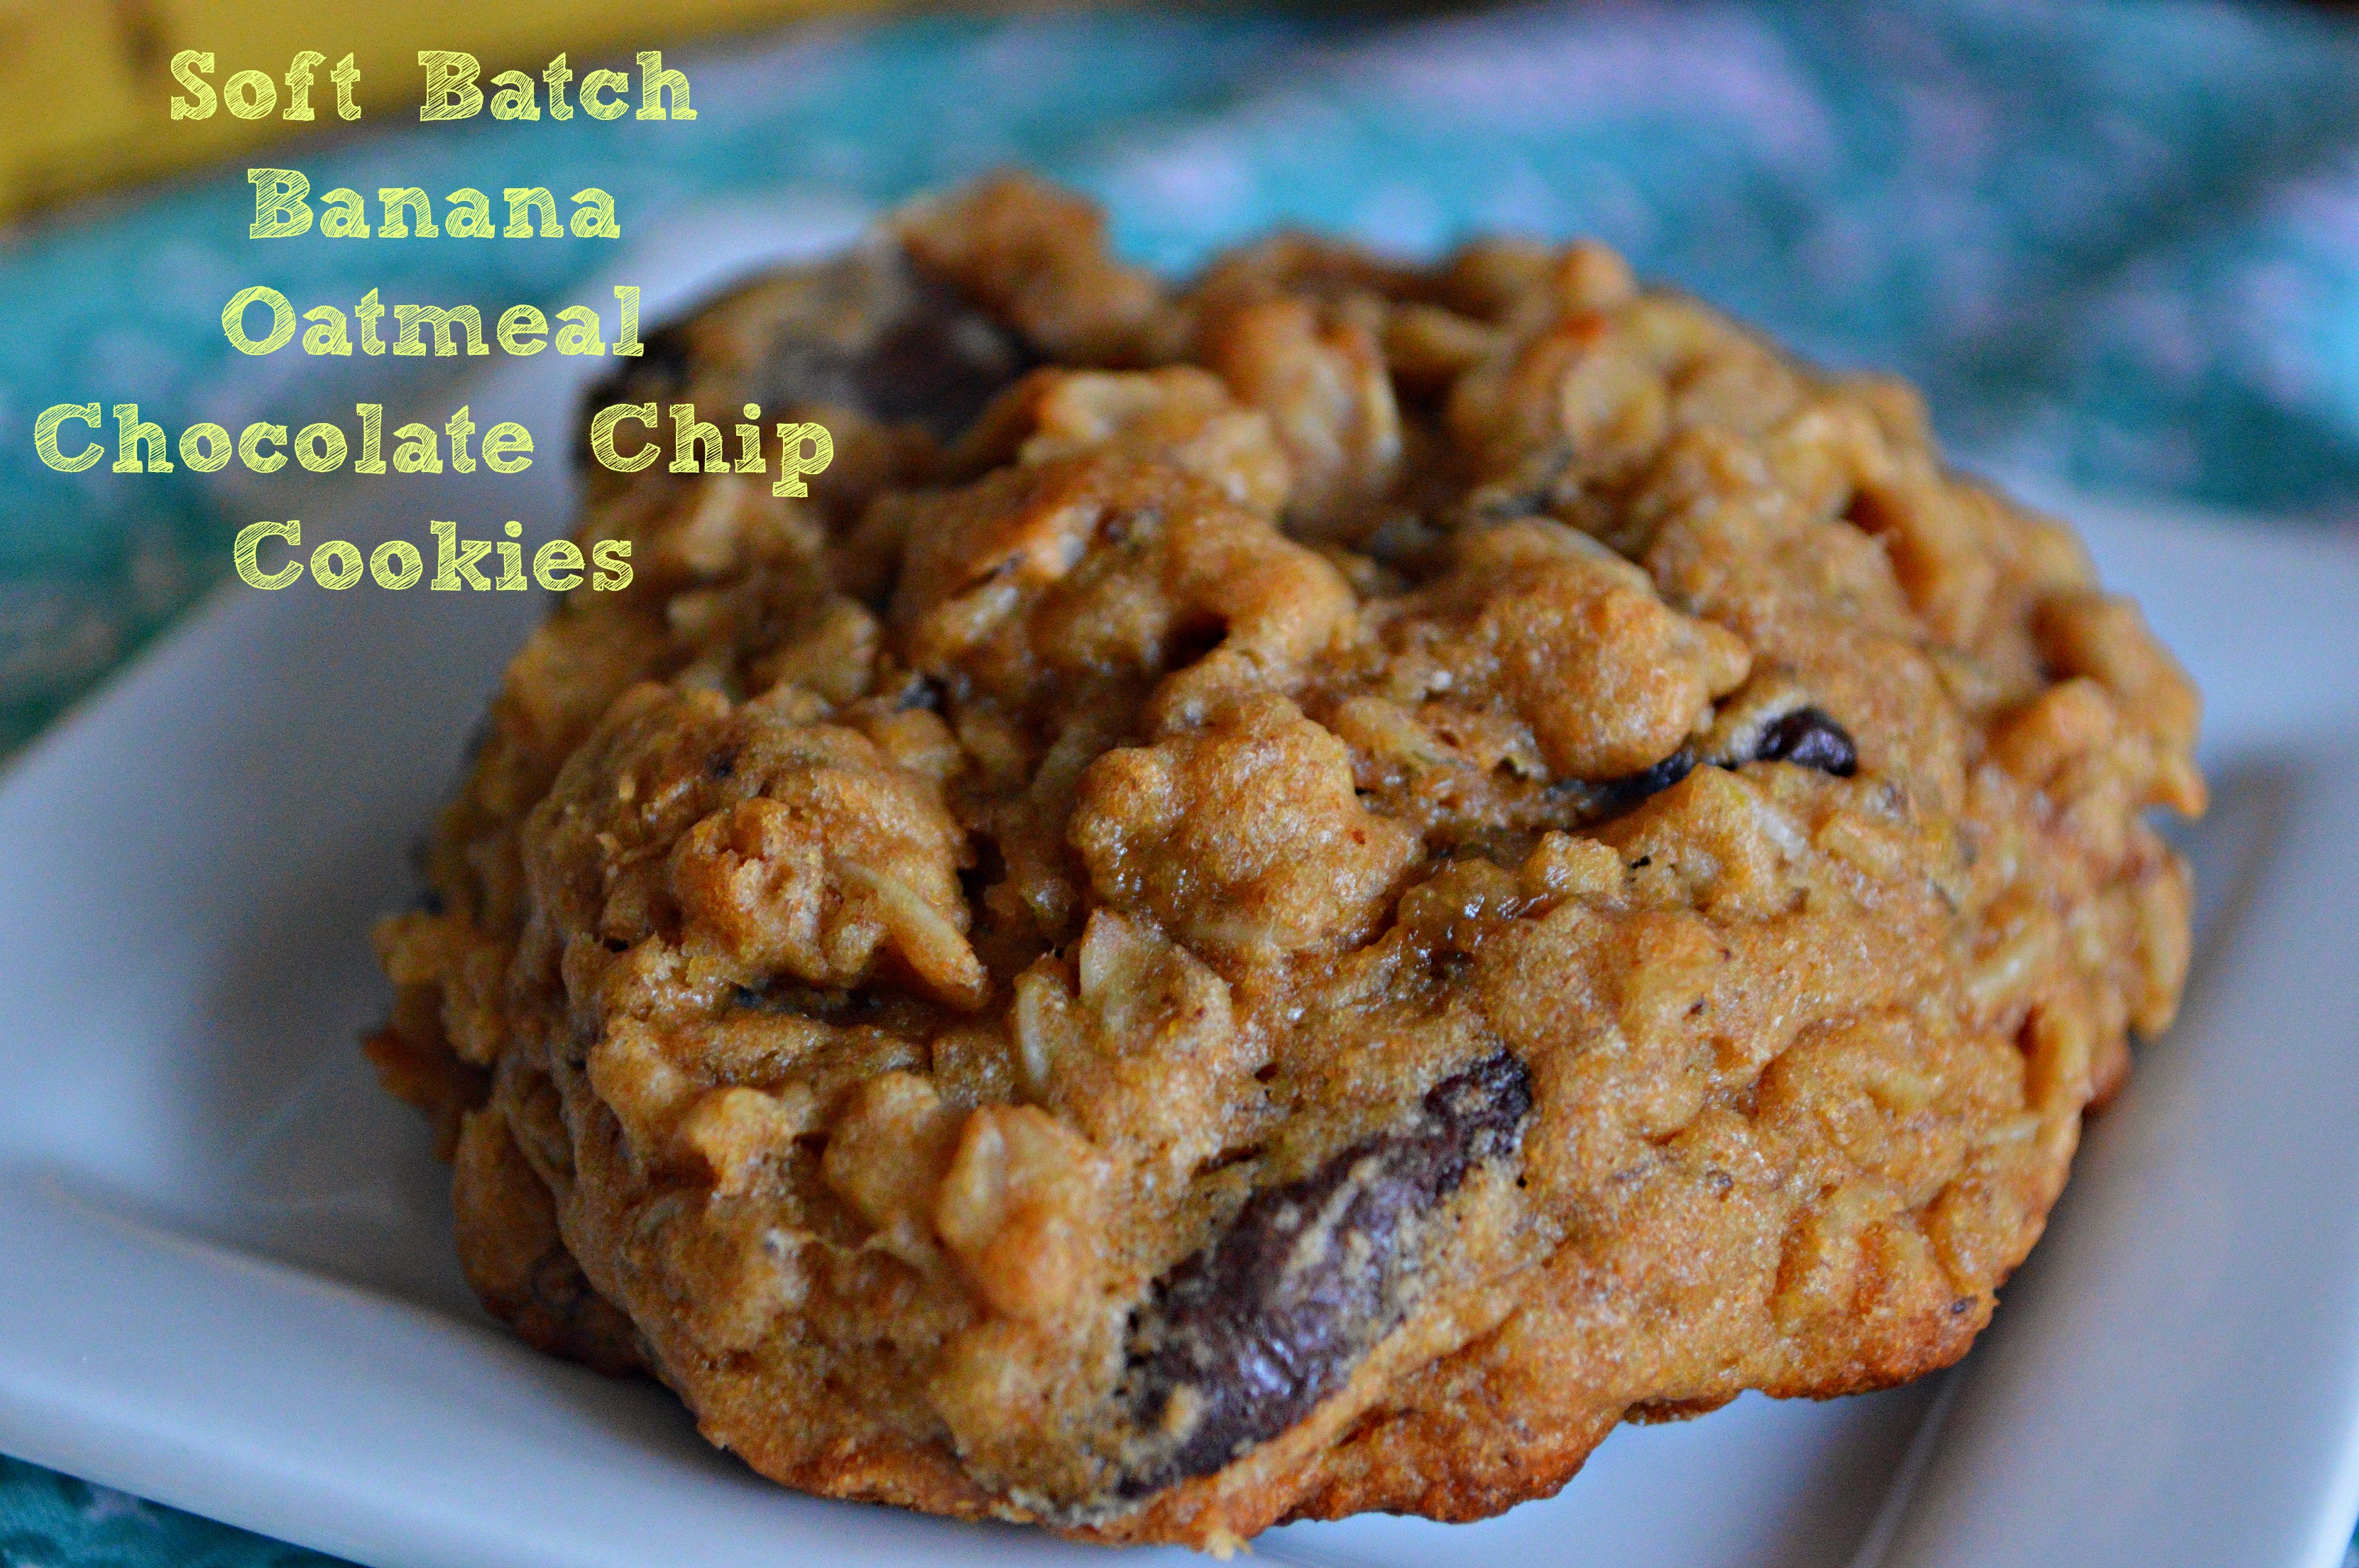
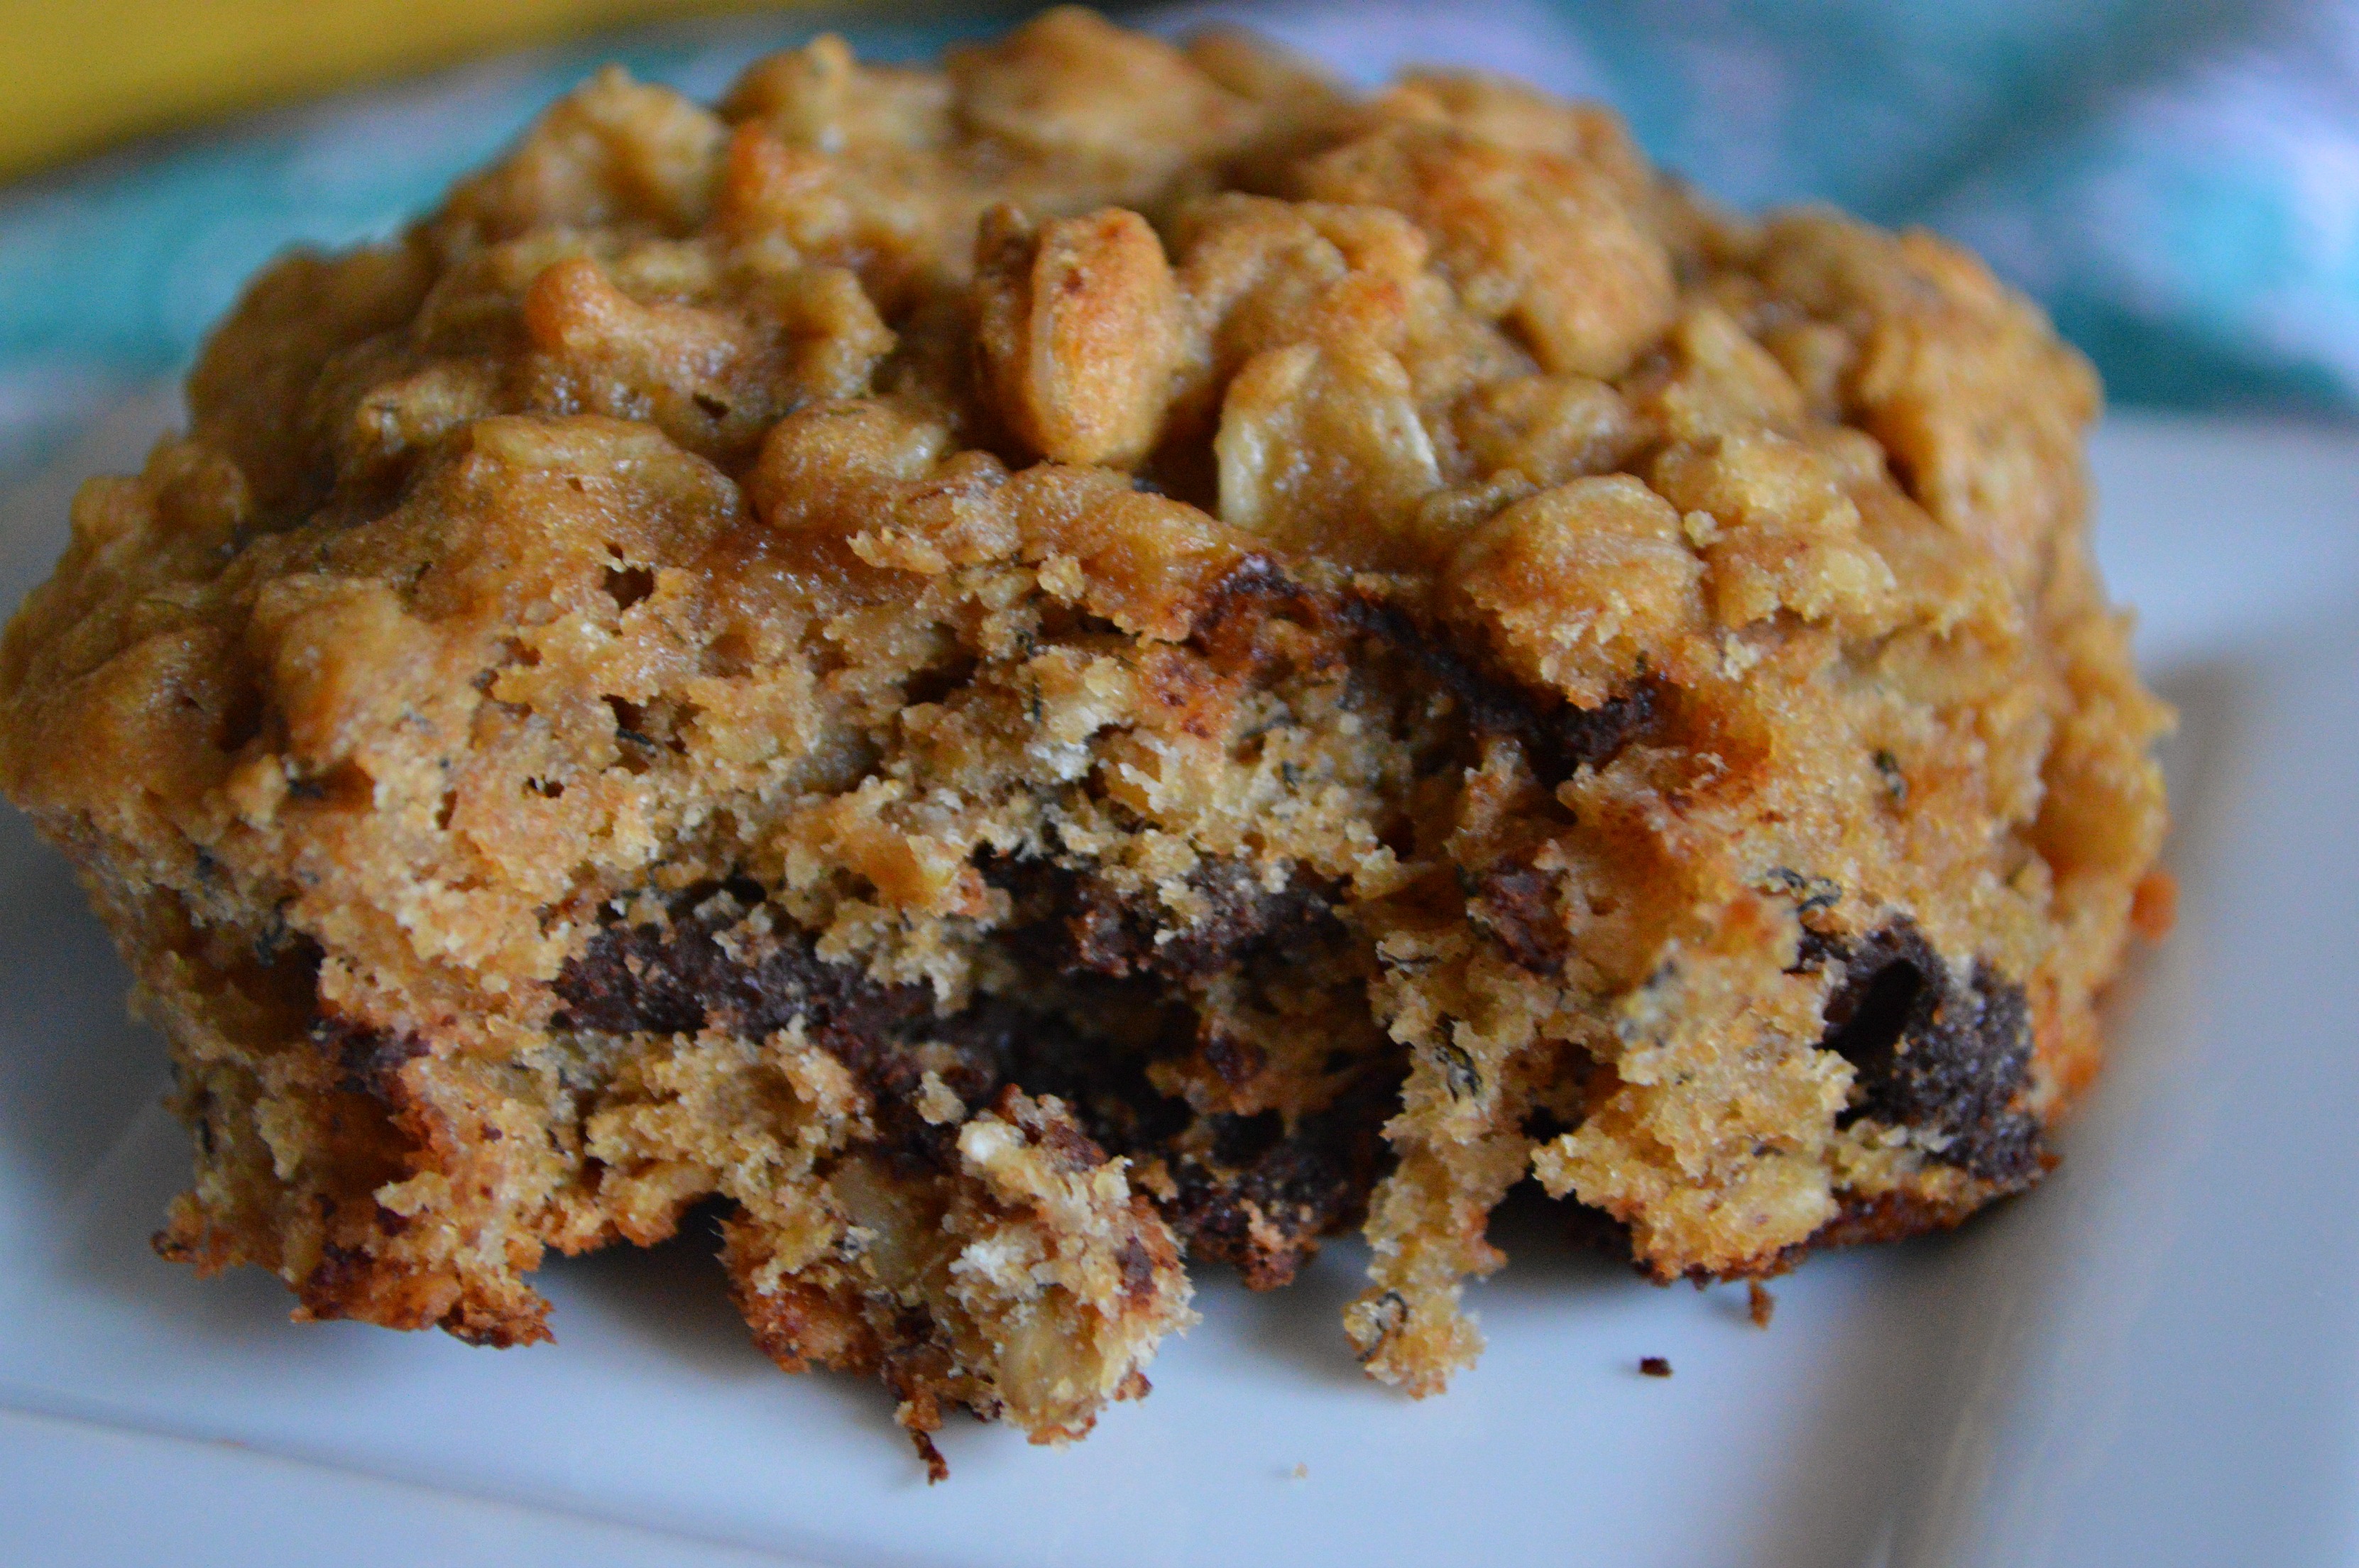
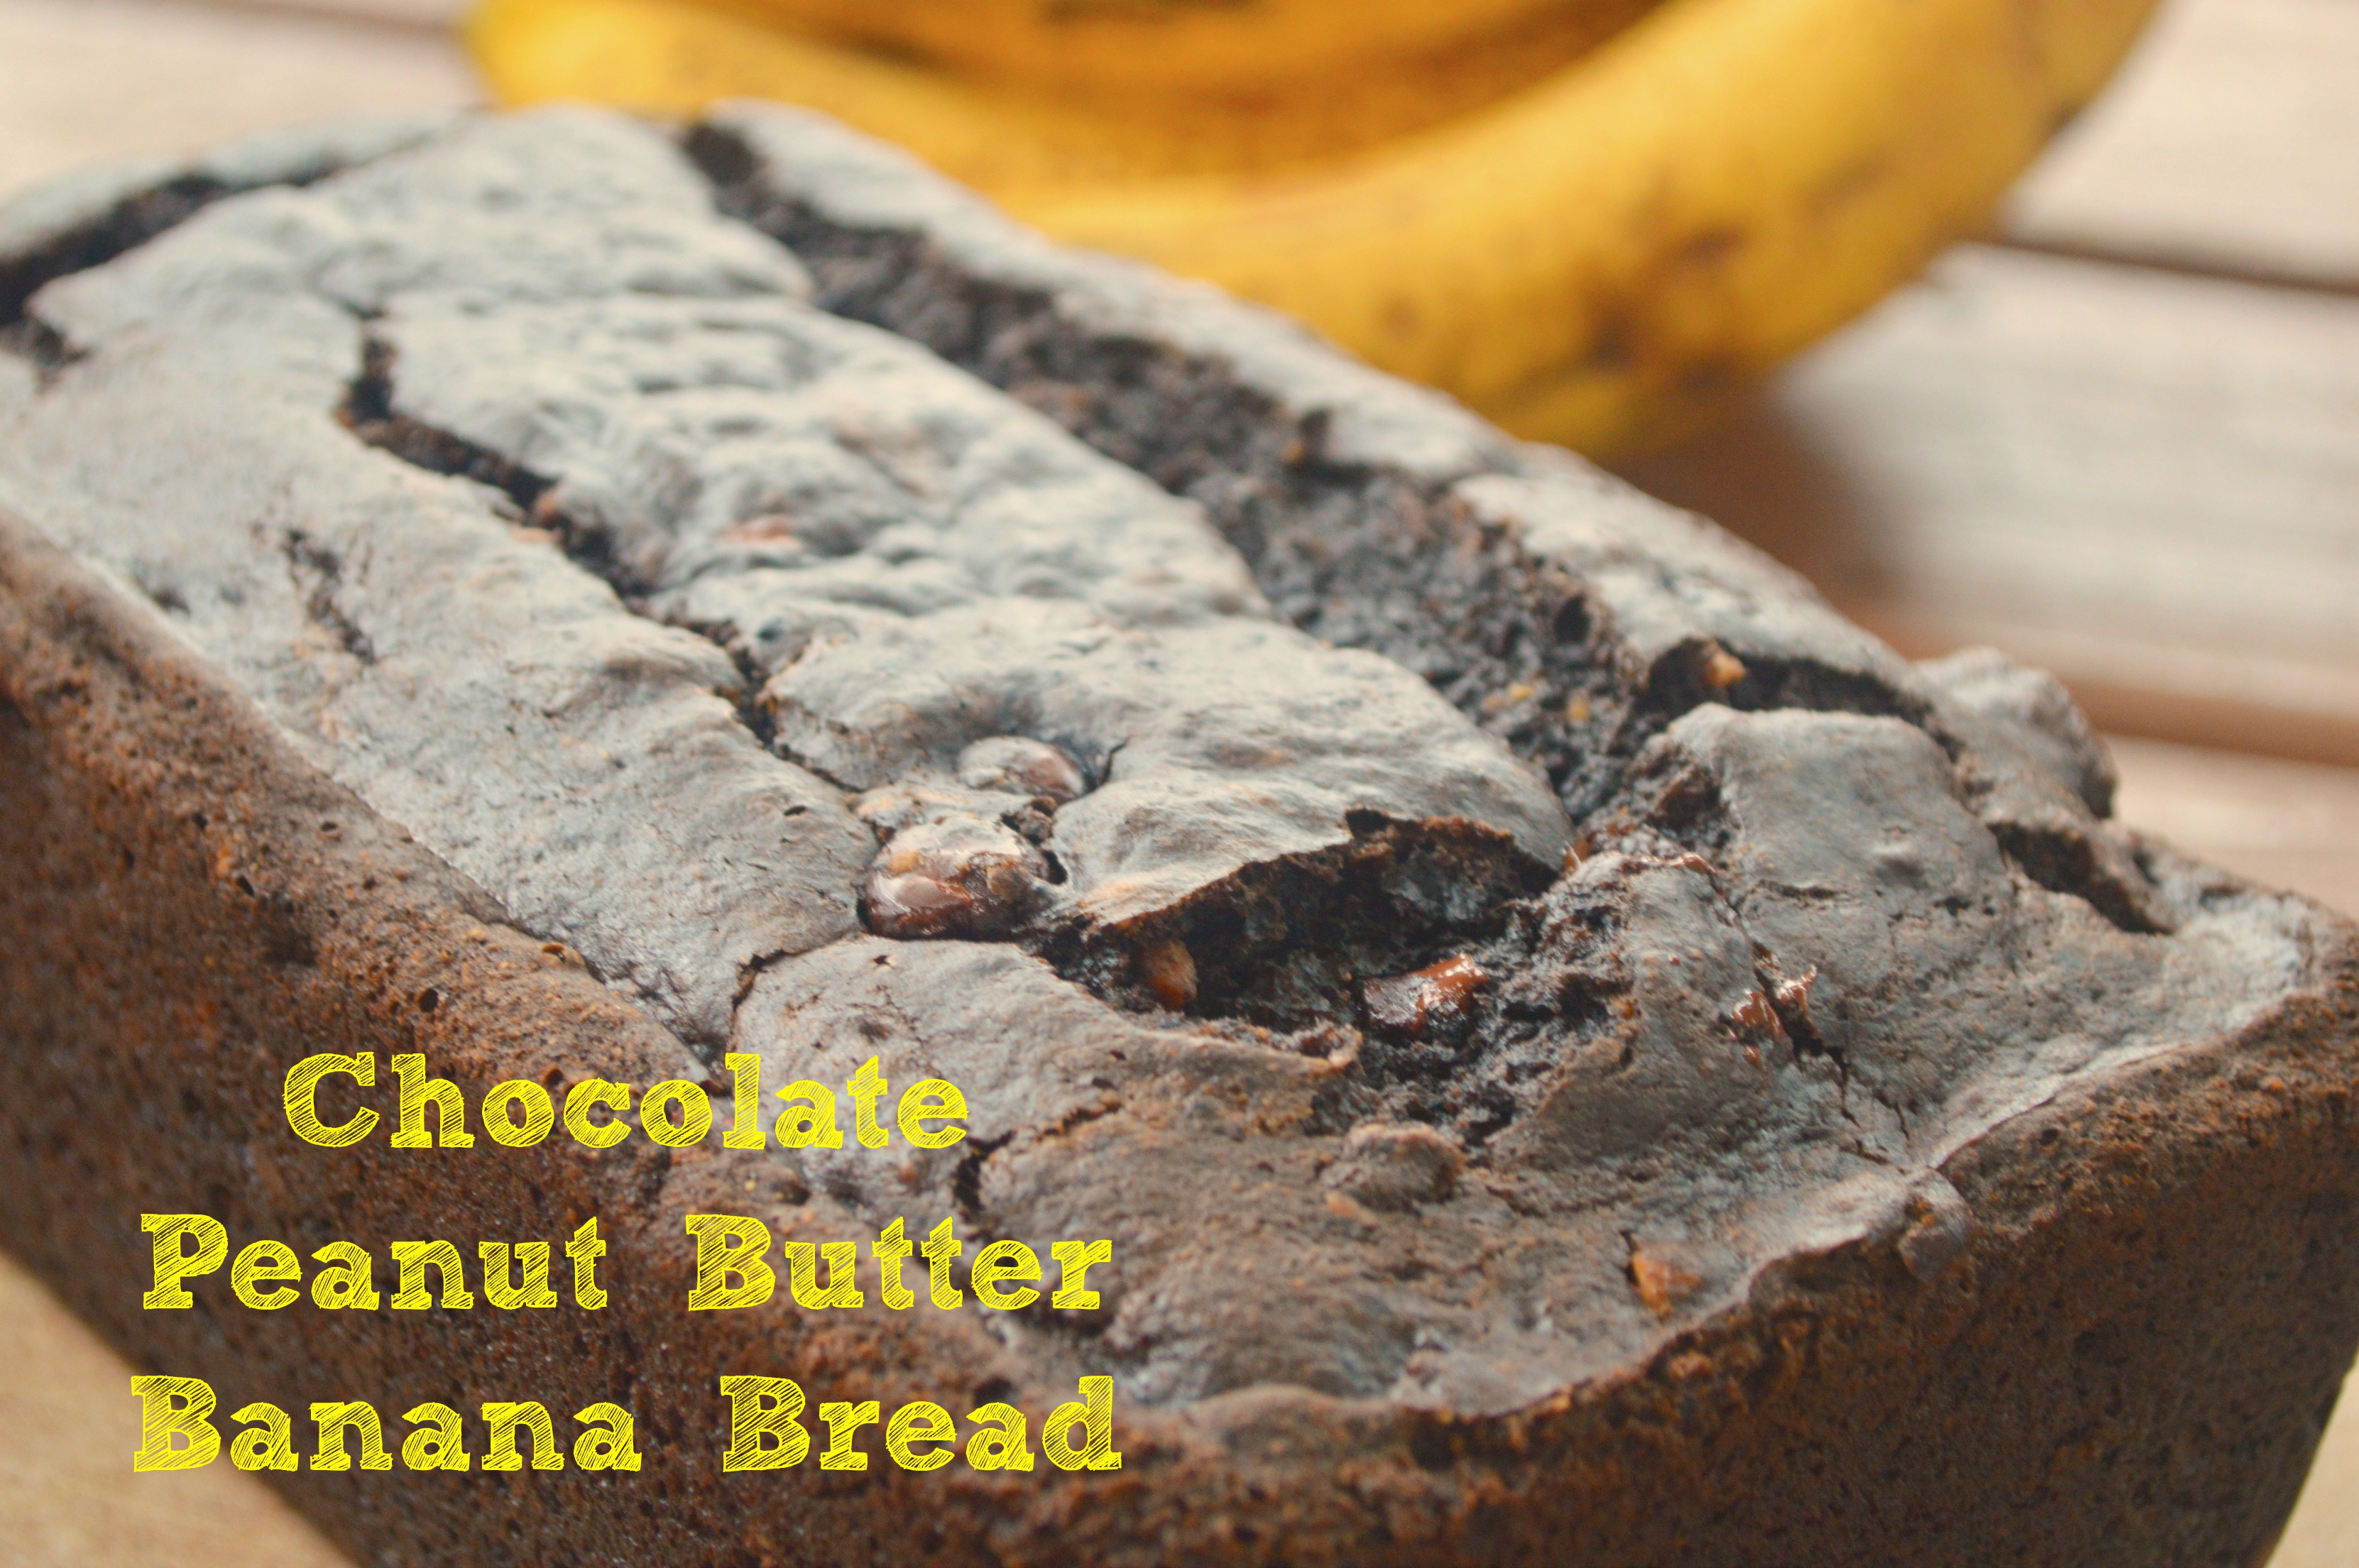
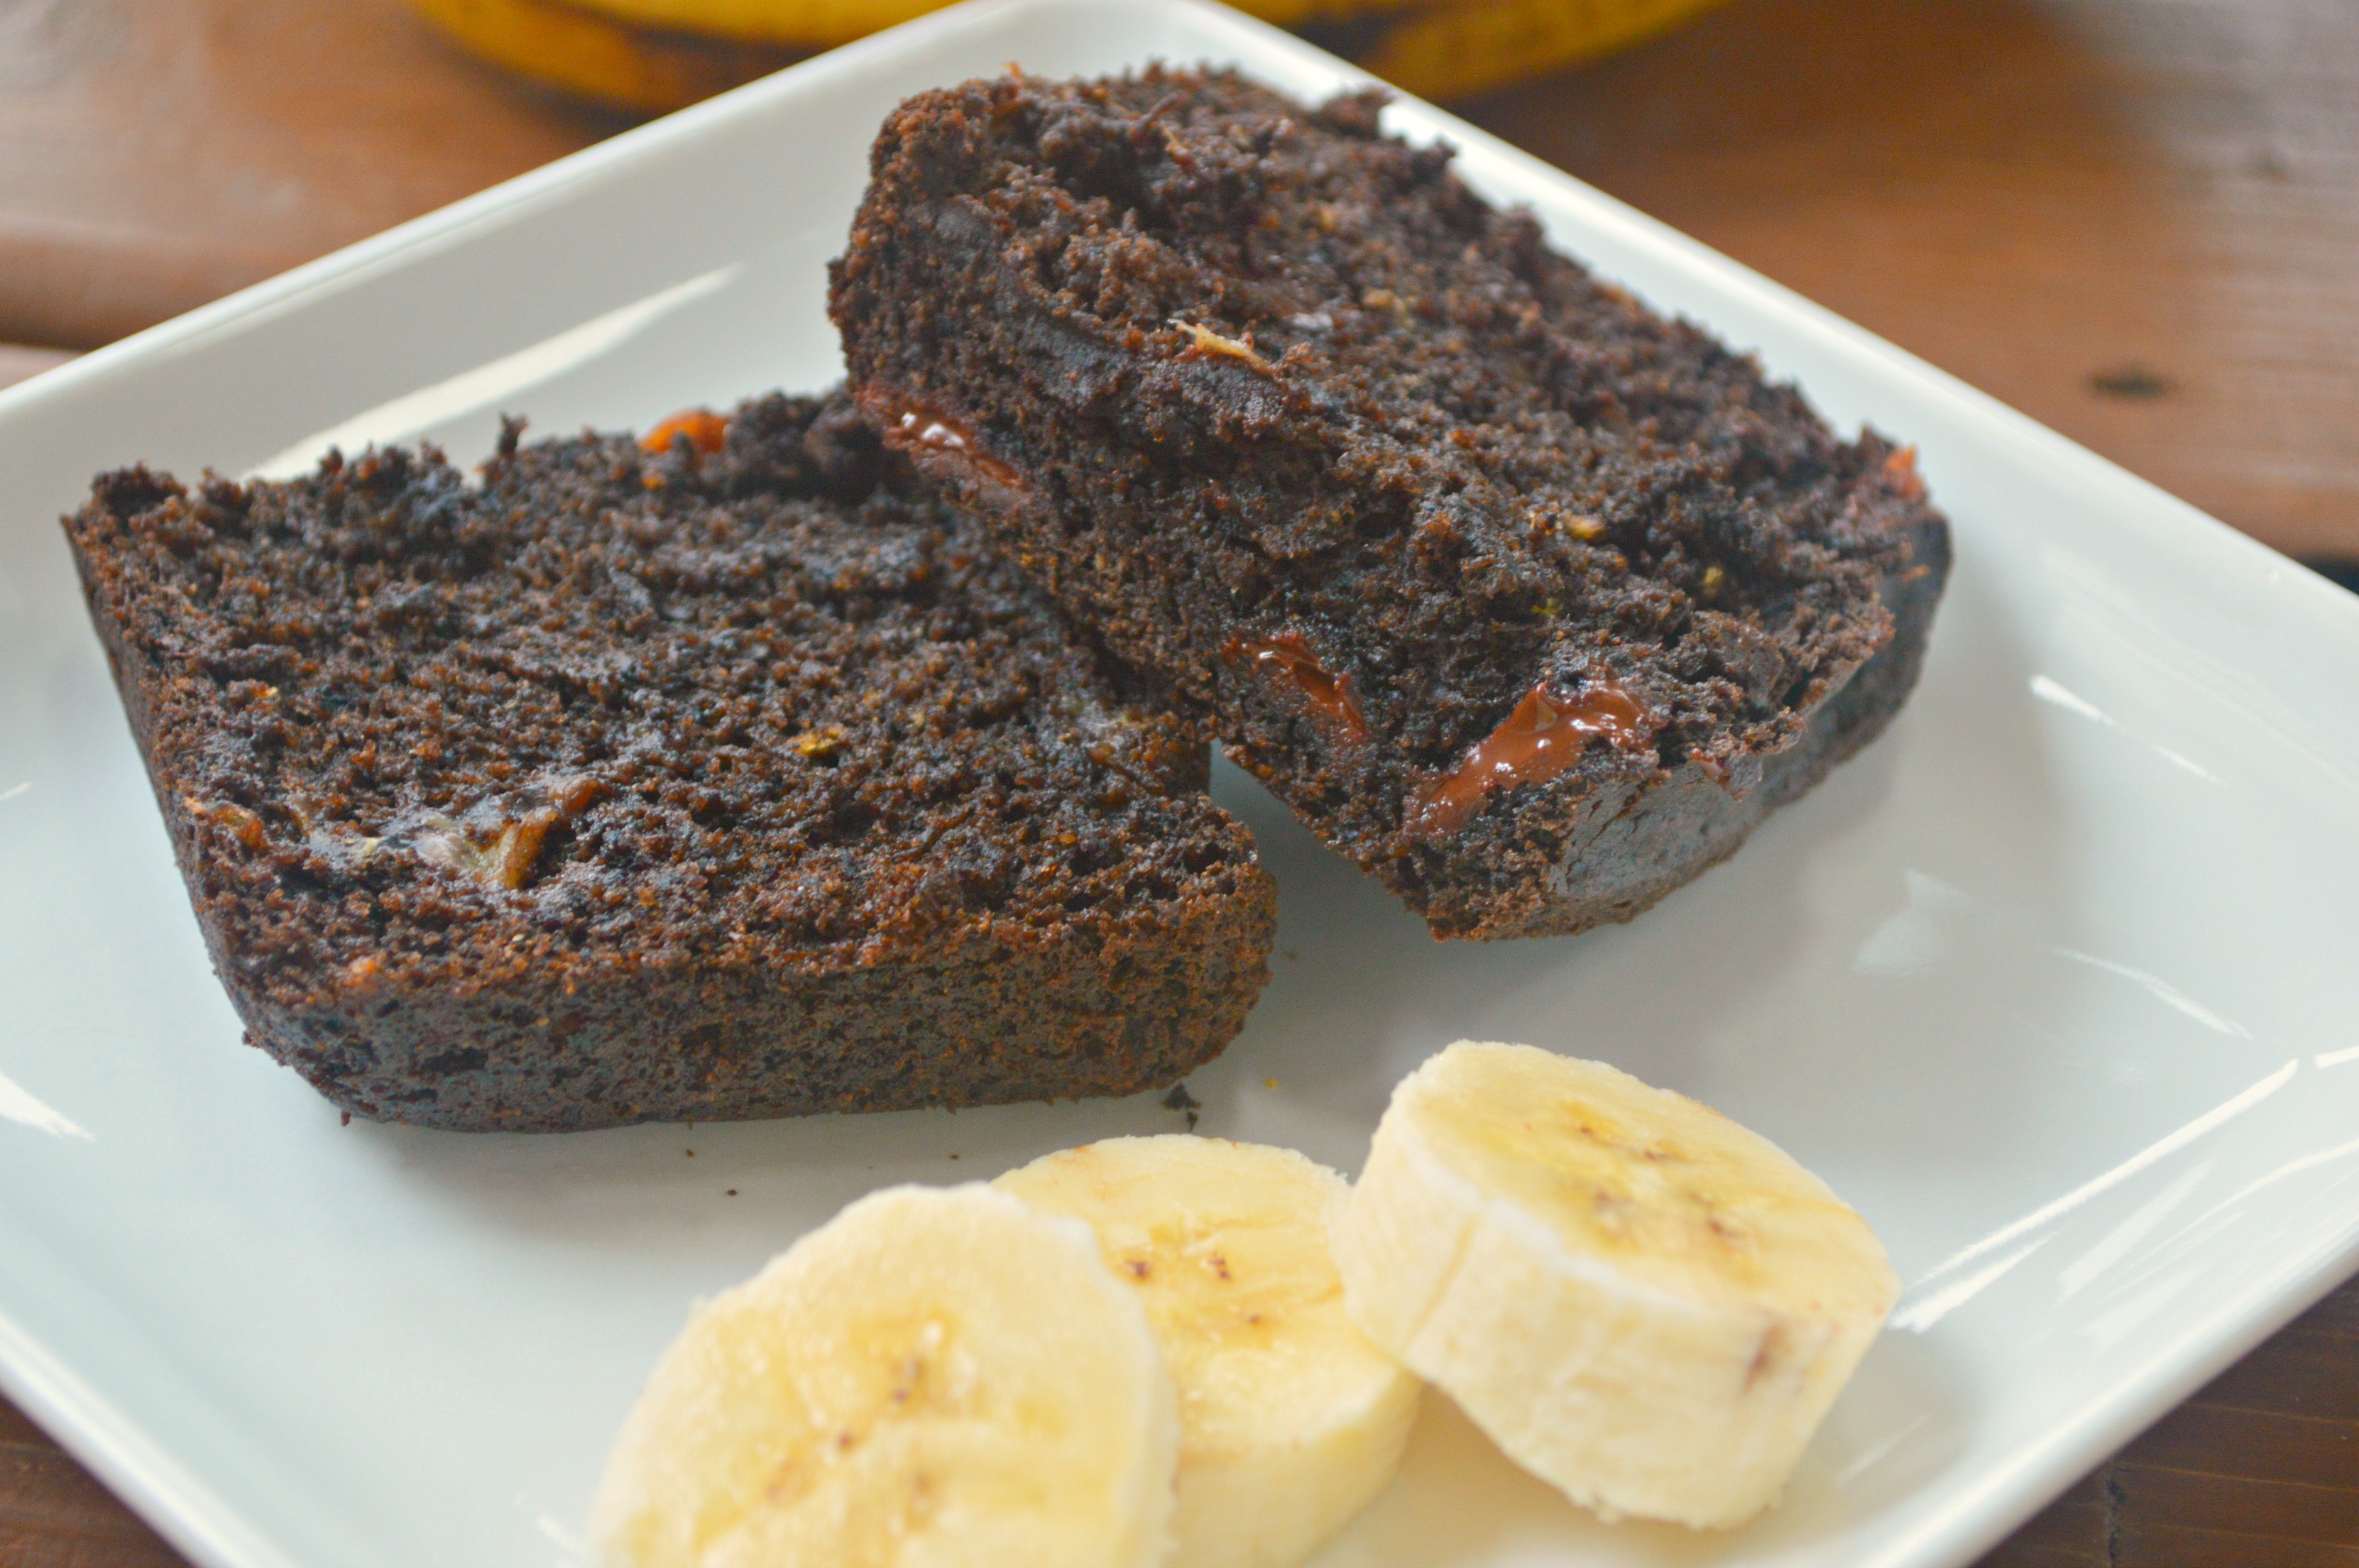
It has been fun, and the results have been nothing short of delicious. This decadent bread is moist, loaded with chocolate chips and dense with deep, dark chocolate flavor. The bananas give it a natural sweetness, and the peanut butter makes the bread tender and rich. You will enjoy every bite!


Save Print
Chocolate Peanut Butter Banana Bread
Author: Heather
Recipe type: Bread
Cuisine: Dessert
Prep time:  15 mins
Cook time:  50 mins
Total time:  1 hour 5 mins
Serves: 16 servings
 
This rich and decadent bread satisfies any sweet tooth, but with only ¼ cup of sugar in the loaf, you don't have to feel guilty about having more than one piece!
Ingredients
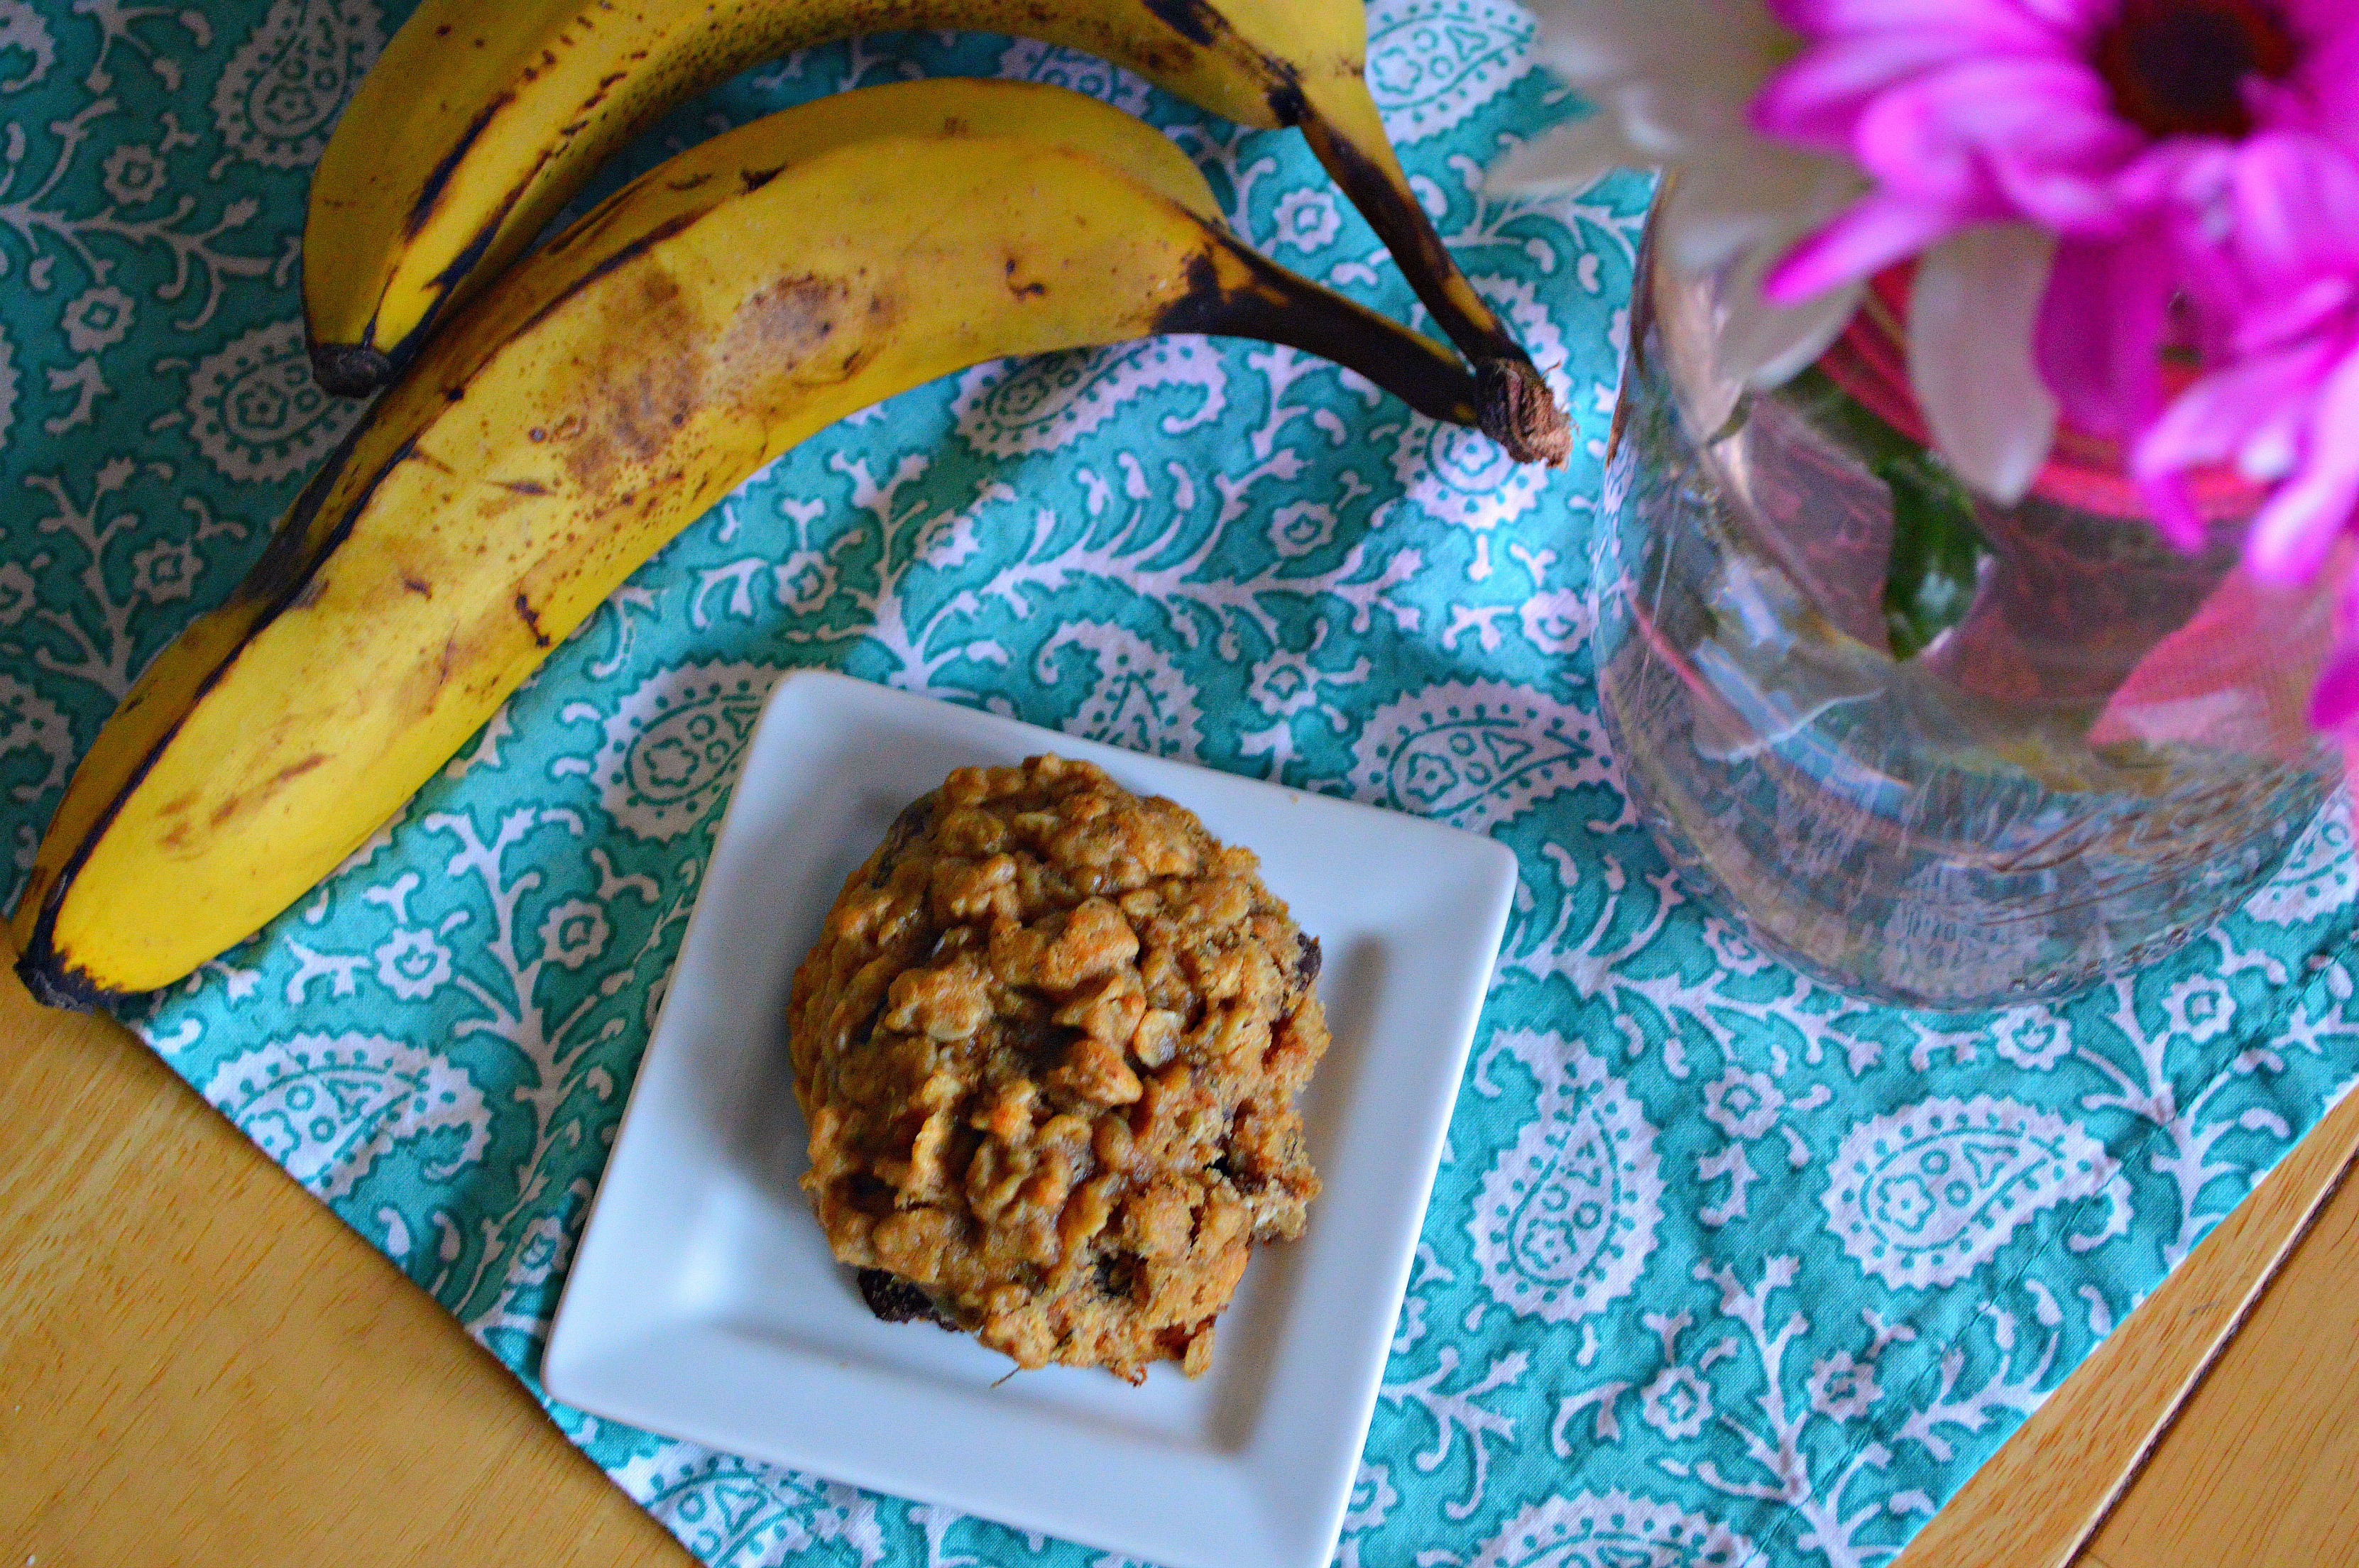
  • 3 overripe, mashed bananas
  • 2½ tsp vanilla extract
  • 1 egg, beaten
  • ⅓ cup buttermilk (Almond milk or other nut milk works too!)
  • ⅓ cup peanut butter (I used natural peanut butter. Use chunky or creamy based on what you like!)
  • ⅔ cup pure maple syrup
  • ¼ cup brown sugar
  • 1¾ cup whole wheat pastry flour
  • 1 tsp baking soda
  • ¾ tsp salt
  • 1 tsp baking powder
  • ½ cup cocoa powder
  • ½ cup chocolate chips
Instructions
  1. Preheat your oven to 350 F.
  2. Grease a loaf pan and set aside.
  3. In a large bowl, mash bananas.
  4. Whisk in vanilla, egg, buttermilk, peanut butter and syrup.
  5. In a separate bowl, combine brown sugar, flour, baking soda, salt and baking powder.
  6. Whisk in cocoa powder.
  7. Slowly add dry ingredients to the wet, mixing just until combined. Do not over mix!
  8. Slowly stir in chocolate chips.
  9. Transfer to the pan, and spread out evenly.
  10. Bake 50 minutes.
  11. If the top is still gooey, turn off oven and let the bread sit in the warm oven for 10 more minutes.
  12. Let cool in the pan for 10 minutes.
  13. Turn out onto a cooling rack and let cool completely.
  14. Slice and serve.
  15. Leftovers can be stored at room temperature in a tightly sealed container for one day.
  16. Store in refrigerator or freezer after one day.
3.5.3208

choco peanut butter2

Heather

Leave a Comment

Cookies & Bars Desserts Paleo Vegan

Fudgy Avocado Brownies {Paleo}

Fudgy Brownies

These brownies are so good. And seriously, I can say it, guilt free.

Ok, I know, I KNOW.

I totally know what you are going to say.

“If I am going to have a brownie, I want a BROWNIE. Not a healthy brownie.”

Or…

“Who would put all of this into a BROWNIE? You are ruining brownies.”

Any of this sound familiar? Well, I am here to make you think differently.

I am here to tell you that I am changing your view of brownies. You see, what if you COULD have a brownie every day*? Why? Because they are filled with healthy ingredients, have no refined sugars and are completely grain free? Sound weird? Well…what if I told you that you would barely notice the difference and that these brownies are the fudgiest, most moist (I know! It hurts me to use that word too, but it is true!) brownies I have ever made. The chocolate flavor is over the top delicious and you will not miss all of those not so good for you things. I mean, I am all about brownies. You want a brownie for a decadent dessert? Sure, go ahead and try this delicious brownie recipe. I have your back. Go for it. You want an everyday brownie*? This is your recipe.

*Totally not advocating eating brownies every day, although I cannot guarantee you will not feel the need to do so after making this recipe.*

Save Print
Fudgy Avocado Brownies {Paleo}
Author: Heather
Recipe type: Cookie and Bars
Cuisine: Dessert
Prep time:  35 mins
Cook time:  25 mins
Total time:  1 hour
Serves: 12 large brownies
 
A delicious, healthier alternative to your usual brownie. Made with some great ingredients and the result is a delicious brownie!
Ingredients
  • 1 large avocado
  • ½ cup unsweetened applesauce
  • ½ cup + 1 tbsp maple syrup
  • 2 tsp vanilla extract
  • 3 large eggs
  • ½ cup coconut flour
  • ½ cup unsweetened cocoa powder
  • 1 tsp baking soda
  • ½ cup (or more!) chocolate chips (dairy free kind for paleo version)
Instructions
  1. Preheat oven to 350 degrees F.
  2. In a blender or food processor combine avocado, applesauce, maple syrup and vanilla.
  3. Add these ingredients to a large bowl and whisk in eggs.
  4. Add in coconut flour, cocoa powder and baking soda and stir until well-combined.
  5. Stir in chocolate chips
  6. Coat an 8x8 pan with cooking spray or coconut oil and pour in batter
  7. Place in oven to bake for 25 minutes
  8. Allow to cool completely for 30 minutes
  9. Keep them on the counter in an airtight container at room-temperature for up to 2 days
  10. Store in fridge or freezer to keep fresh longer
3.5.3208

fudgy2

Heather

Leave a Comment

Christmas Cookies & Bars

Salted Chocolate Chunk Cookies

salted chunk

These cookies are a cookie lover’s dream. Firm, crispy outside, tender inside, gooey chocolate in every bite. The best part?  The sea salt that is sprinkled on top.

These are fairly easy to make, and can impress anyone from a large crowd you are entertaining, to your child for an after school snack. They are addictive,  and will be hard to resist having another after you quickly polish off the very first one. I just love the salty and sweet flavors that come in every bite.

They stay for awhile (as long as they last…) but freeze well too. I love keeping a batch in my freezer for when I need them. Or..er..I mean I need to bring them somewhere.

I love them just the way they are, but my kids swear that dunked in milk, they are the best thing that every happened to them. In cookie terms, at least.

Save Print
Salted Chocolate Chunk Cookies
Author: Heather
Recipe type: Cookies and Bars
Cuisine: Dessert
Prep time:  15 mins
Cook time:  13 mins
Total time:  28 mins
Serves: 18 cookies
 
These salty and sweet cookies will quickly become your go to cookie for all eternity.
Ingredients
  • ½ cup butter, softened
  • 3 tbsp sugar
  • ¾ cup plus 2 tbsp dark brown sugar
  • 1 egg
  • 1 tsp vanilla extract
  • 1 tsp baking soda
  • 1¾ cup flour
  • ½ pound bittersweet chocolate, cut into chunks, or packaged bittersweet chunks
  • Coarse Sea salt, for sprinkling
Instructions
  1. Heat oven to 350°F
  2. Line a baking sheet with parchment paper
  3. In a large bowl, cream the butter and sugars together with an electric mixer until fluffy
  4. Add egg and vanilla, beating until incorporated
  5. Beat in baking soda until combined, then the flour on a low speed until just mixed
  6. The dough will be slightly crumbly and that is okay
  7. Fold in the chocolate chunks
  8. Scoop cookies into approximately 2 tablespoon mound
  9. Make sure you space them apart on the prepared baking sheet
  10. Sprinkle each with a few flakes of coarse sea salt
  11. Bake for 12 to 13 minutes, until golden on the outside but still very gooey and soft inside
  12. Let sit for 5 minutes before transferring a cooling rack
  13. Cool completely, or eat while hot and gooey at your own risk!
3.5.3208

 salted chunk2

Heather

Leave a Comment

Chicken & Turkey Pasta

Chicken Cacciatore Pasta

cacciatore1

I love pasta. I could eat it every day. But I don’t. It’s hard, but I don’t.

I want to though. I really do.

This pasta dish combines so many things that I love and is a really great, quick meal that went over well with my family. It took barely any time to throw together, and the kids gobbled it up.

The sauce is delicious and savory, and the red wine really brings it to a whole new level. The chicken is extremely tender and delicious and with some freshly grated pecorino romano cheese sprinkled on top, it is probably my new favorite pasta. Well…next to this one maybe…or this one…or even this one.

Yeah. I want some more now.

Save Print
Chicken Cacciatore Pasta
Author: Heather
Recipe type: Chicken/Pasta
Cuisine: Dinner
 
This delicious pasta dish is so delicious and a great quick meal to make for your family.
Ingredients
  • 2 tbsp olive oil, divided
  • 4 - 4 oz. boneless, skinless chicken breasts, cubed
  • 2 green peppers, diced
  • 2 red peppers, diced
  • 1 sweet onion, diced
  • 3 garlic cloves, sliced thin
  • 2 tsp salt
  • ½ tsp pepper
  • 1 tsp garlic powder
  • 1 tsp sugar
  • 1 tbsp Italian seasoning
  • 1 cup red wine
  • 2 15 oz. cans diced tomatoes
  • 1 15oz can crushed tomatoes
  • Hot, fresh cooked pasta
  • Pecorino Romano cheese, grated, for serving
3.5.3208

cacciatore2

Heather

Leave a Comment

Breads, Quick Breads and Rolls Breakfast Desserts

Cinnabon Cinnamon rolls

IMG_1857
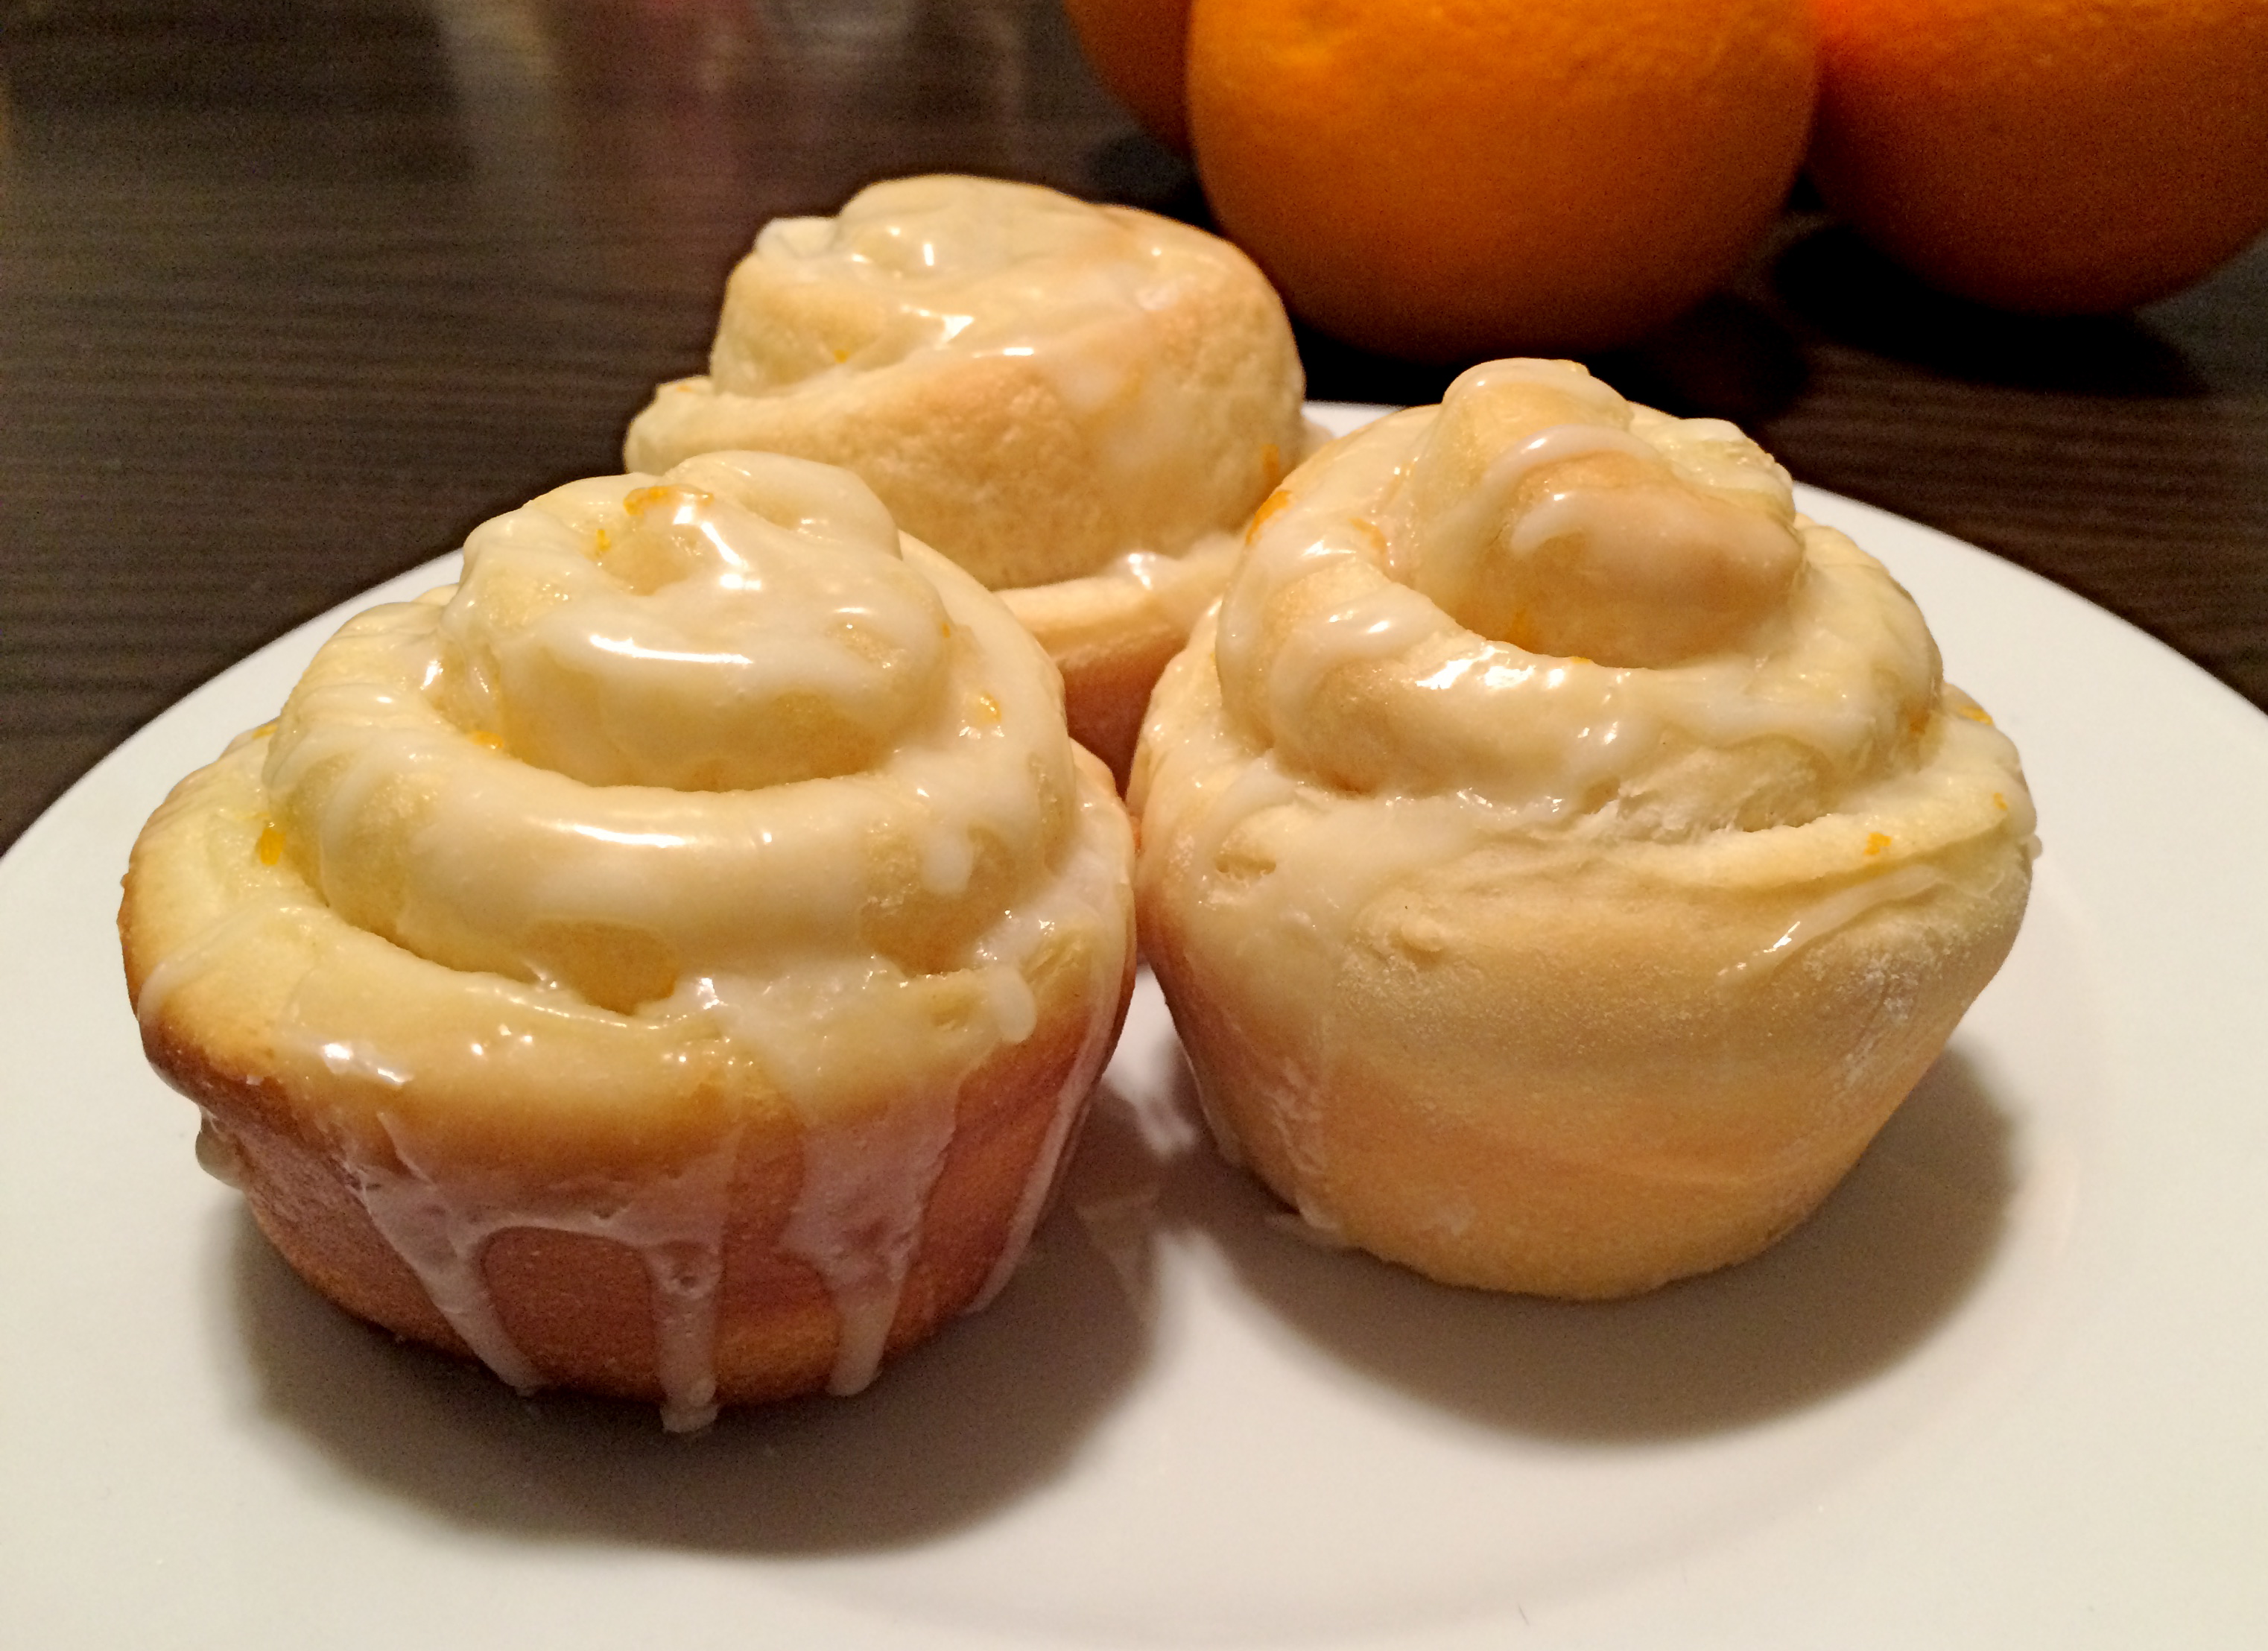
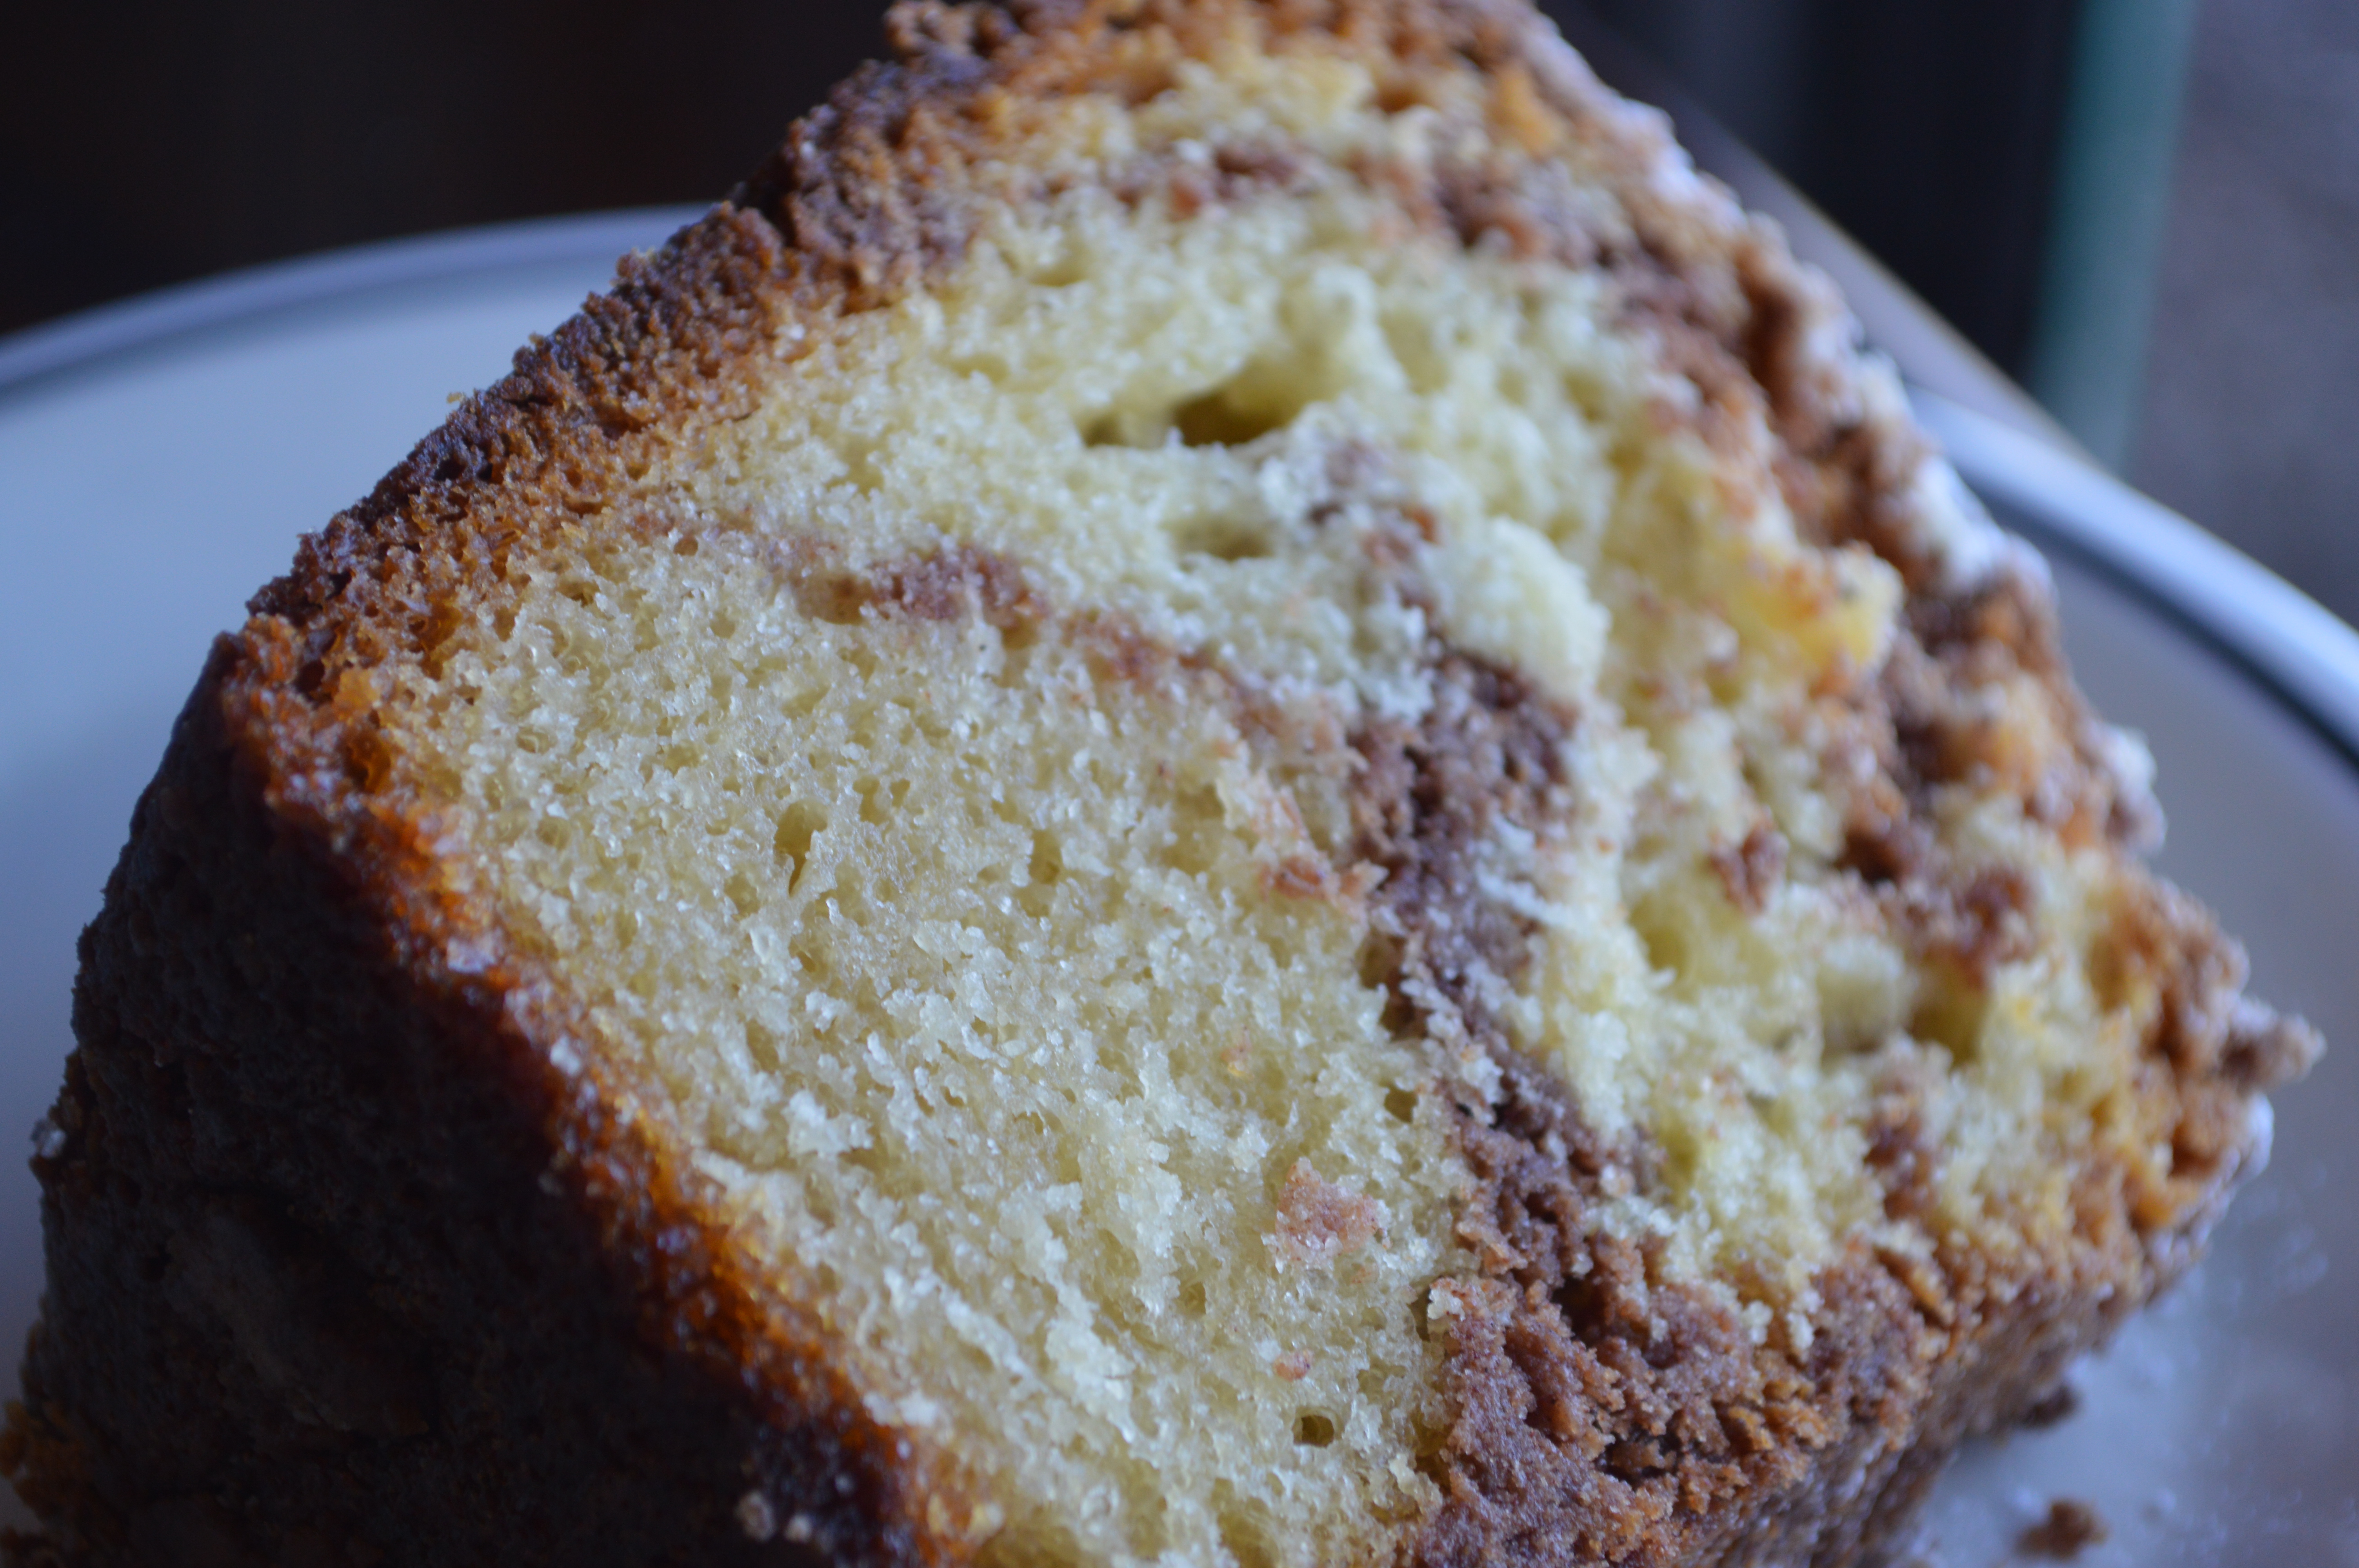
Every once in awhile you just want a cinnamon roll. Right?

However, I’m always apprehensive to make them unless I have someone to make them for.  I know if they stay in my house I will not be able to stop at  just three one.  When our cute elderly neighbor came over and used his snow blower on our driveway I knew someone who deserved such amazing goodness baked up into a delicious treat.  The girls made some cute cards while I made the rolls. We had a great time getting everything together and he was so excited when we brought them over.  He and his wife are so sweet to us and it felt good to give them something they would enjoy.

Of course, you know the rest of the story right? We then came home and were able to enjoy that wonderful snowy day with some delicious cinnamon rolls.  They taste amazing on their own, but with this cream cheese buttercream frosting? Over the top!  Don’t even get me started on the gooey caramel bottom.  My mouth is watering just thinking about them.  These rolls are easy to make and turn out every time.  You will love them, and I wish you luck in not eating the whole pan!

{We love Cinnamon Rolls over here! Check out Heather’s recipe for Overnight Cinnamon Rolls too!}


Save Print
cinnabun cinnamon rolls
Author: Abby
Recipe type: Rolls, bread
Prep time:  90 mins
Cook time:  20 mins
Total time:  1 hour 50 mins
 
Ingredients
  • Dough:
  • 1 cup warm water
  • 2 eggs, room temperature
  • ⅓ cup butter, melted
  • 4 cups bread or all-purpose flour
  • ½ (3.4 ounce) package vanilla instant pudding
  • 1 teaspoon salt
  • 1 Tablespoon white sugar
  • 2½ teaspoons active yeast (or 1 small packet)
  • Filling:
  • 1 cup brown sugar, packed
  • 2½ Tablespoons ground cinnamon
  • ⅓ cup butter, softened
  • Sauce:
  • ½ cup brown sugar, packed
  • ¼ cup butter
  • ¼ cup corn syrup
  • ½ cup chopped pecans (optional)
  • Frosting:
  • 1 (3 ounce) package cream cheese, softened
  • ¼ butter, softened
  • 1½ cups confectioners sugar
  • ½ teaspoon vanilla extract
  • ⅛ teaspoon salt
Instructions
  1. Place warm milk, sugar, and yeast in mixer bowl (leave for ten minutes)
  2. In separate bowl add bread flour, vanilla pudding mix, and salt, stir
  3. Add beaten eggs and butter to milk mixture
  4. With a dough hook, mix on low and slowly add dry ingredients.
  5. Knead in mixer for 6 minutes
  6. Turn mixer off and set dough aside in same bowl with plastic wrap to seal.
  7. (I like to spray a little cooking spray in the bowl and on the top of the dough, then turn dough over)
  8. After the dough has doubled in size turn it out onto a lightly floured surface, cover and let rest for 10 minutes,
  9. In a small bowl combine brown sugar and cinnamon
  10. Roll dough into a 16X21 inch rectangle. Spread dough with ⅓ cup butter
  11. Sprinkle cinnamon and sugar evenly over butter. Roll dough
  12. Using thread or floss cut dough into 12 slices
  13. (I like to make a cut in half the dough and then halves again and then thirds)
  14. In a sauce pan, combine brown sugar, butter, and corn syrup. cook over medium heat until the sugar is dissolved.
  15. Stir in pecan (optional)
  16. Pour into a greased 9X13X2 in baking pan.
  17. Place buns with cut side down over sauce. cover and let rise until nearly doubled. 30 minutes
  18. Preheat oven to 350 degrees F
  19. Bake rolls in preheated oven 20-25 minutes (until golden brown)
  20. While rolls are baking, beat together cream cheese, ¼ cup butter, confectioners sugar, vanilla extract and salt. Spread frosting on warm rolls before serving.
3.5.3208

IMG_1861


Happy Baking!


Heather

Leave a Comment

Reviews Tips & Techniques Valentine's Day

Things That We LOVE

love post
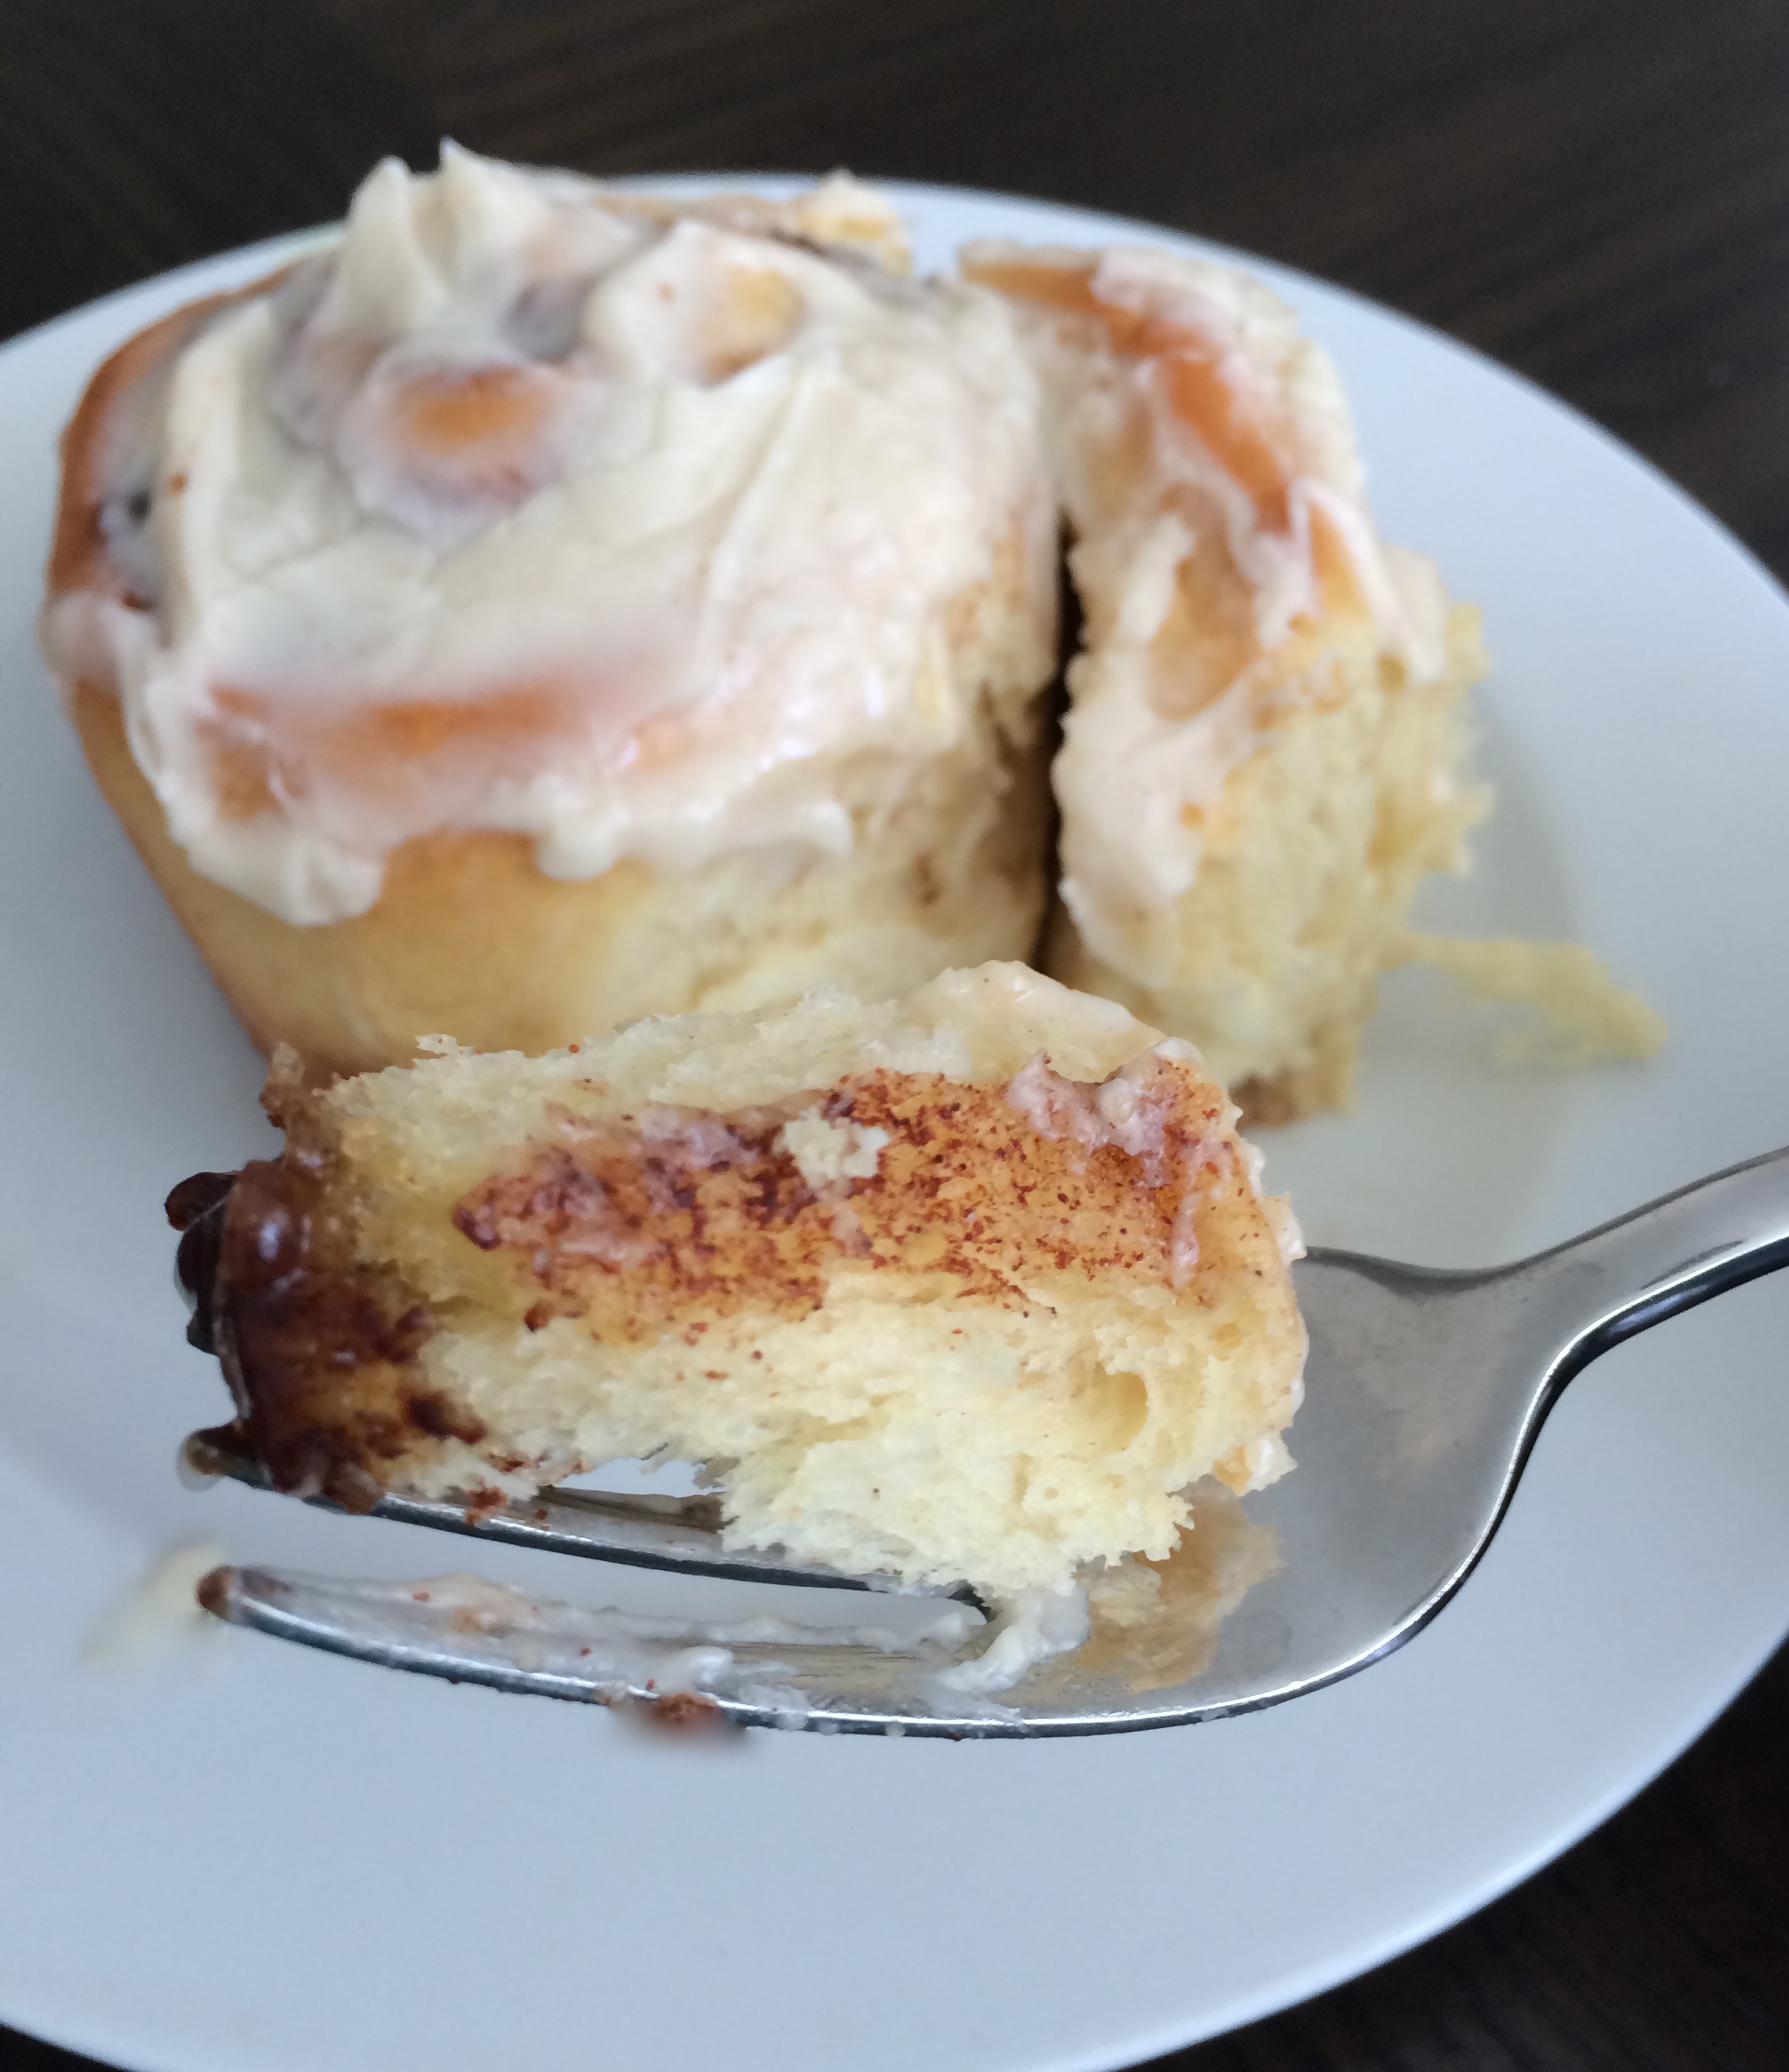
Since Valentine’s Day is all about love, we decided to share with you some of our favorite things that we LOVE. You can make one of these things a gift for one of your besties on Galentine’s Day (Feb. 13th, ditch the men and hang with your best girls! Who knew?) or simply try something new just for you! Another hint…leave this post open on your laptop right when your husband is around and walk away, very, very slowly…maybe he will get the hint?

If you hadn’t noticed already, my sister Abby and I look a lot a like. When I visit my sister, I often can sense other’s confusion because people aren’t quite sure if I’m her or not, that is unless we are standing right next to each other. Along with our twinner looks (yes I’m the younger one, she has a few years on me) we have very similar tastes, so her favorites are my favorites and vice versa.

Let’s get this started with some beauty products:

Benefit Cosmetics “Hello Flawless” Oxygen Wow Liquid Foundation is a mouthful, but it is my absolute FAVORITE foundation. I love it. It’s so light and has great coverage. It also has the highest level of UVA filtration, so keep that skin looking great and try it out! I would not recommend for women who need heavy coverage.

Angel Frost by MAC Cosmetics is one of Abby’s favorite pink shades. Let’s face it, MAC has amazing products and this lipstick does not disappoint.

BECCA Shimmering Skin Perfector Pressed in Moonstone is a serious favorite for Abby and myself (and not just because of it’s name). This shimmering, sparkly, glowing pressed powder is incredible! I get more compliments on my glowing complexion than with any product I have used before. It is a wonderful highlighter around the eyes and cheeks. The Moonstone is the perfect finish to your fabulous face and the Rose Gold is a beautiful color option as well. You CANNOT go wrong with this stuff! Try it, you’ll thank us! Checkout their Radiant Glow Collection as well. Then you’ll get to try a little bit of a few of their products.


BECCA Shimmering Skin Perfector Pressed - Moonstone

We love this amazing blush “Exposed” by Lorac.  And it’s not just us that loves it but everybody seems to.  Every time I go to Ulta it is, or almost is out of stock! Even on their website.  So many times I will buy two at a time.  It has a great shimmer and works with all different complexions.


IMG_1710

Who doesn’t love to smell amazing?! I tried Flowerbomb by Viktor & Rolf at Nordstrom a couple years back and have never looked back to my old fragrance loves. Random people stop me to tell how great I smell and to inquire about my perfume fragrance. A little awkward having strangers smell you, but mostly flattering! I’ve had many girlfriends ask and report back that they got it and love it. Its amazing, period.

Flowerbomb by Viktor & Rolf Women Perfume 3.4 oz Eau de Parfum Spray SEALED

The other girl in the kitchen, Heather, loves this Pacifica Tuscan Blood Orange perfume. Sounds yummy, right?! Its made with essential and natural oils, is gluten free, vegan, and cruelty-free. So you can feel good and smell good at the same time.

Pacifica Tuscan Blood Orange 1oz Perfume Spray

Now here’s a little fashion for your Valentine’s day. Hunter boots, need I say more?  Abby LOVES hunter boots. And what is not to love, they are functional and adorable, especially for spring? Word of caution: definitely try on a pair before you purchase, the calf can be tight, and if you’re dancing in the rain you want to be able to feel your toes. They do have a wide calf option.


I love jewelry. I was in Oklahoma visiting a sister of ours and she brought me to this adorable boutique in Duncan called Distintive-Decor. There I found some adorable Sea La Vie Spartina Jewelry. I bought the Follow Your Dreams/Feather Necklace.

Sea La Vie Necklace 18" Follow Your Dreams/Feather


Now on to the yummy part of Valentines…the chocolate! Heather loves baking with this Beanilla Dark Cocoa Powder. Not only does it have a deep chocolate taste, but its ebony shade gives a luscious dark color to your cakes and treats.


xdark-cocoa-powder-dutch-processed.jpg.pagespeed.ic.tma7Pva0cv


Along with the chocolate, there must be vanilla! Abby and I grew up on this Danncy Mexican Vanilla. We love it. I love how the clear vanilla doesn’t add any color to a white frosting or fondant. It is pure goodness. Make sure you keep it in the cupboard with your other baking supplies, I’ve been told the clear will discolor in the refrigerator.

Danncy Pure Vanilla Extract From Mexico 33oz Each 2 Plastic Bottle Lot Sealed

This book is a favorite of all the girls in our family.  The first time I read it I turned around and read it again and I still read it like 3 times a year.  It is that cute!  It will make you feel warm and fuzzy which is just what you want for any Valentine’s Day.  We know you will love it.


IMG_1719

So there you have it! Some of our favorite things.  We hope you try them and love them as much as we do. What are some of your favorite things? Share them with us in the comments! We would love to hear all about them!


HAPPY VALENTINE’S DAY!


Heather

Leave a Comment

Cookies & Bars

Soft Batch Banana Chocolate Chip Oatmeal Cookies

banana chocolate chip cookies

Ok, the cheesecake I posted the other day was a moment of weakness. I am back to the healthy eating of 2016 plan! So…I bet you are wondering why I am posting a cookie recipe if I am claiming to be eating healthy?

Interesting, huh?

Well, this particular cookie is a healthy cookie. I am not just calling it that. It is really a healthy cookie. Boasting whole wheat flour, rolled oats and no refined sugars, this cookie is as good as it gets health wise, but will surprise you at how good it tastes too! It is a softer cookie, and full of flavor. The banana really comes through as a subtle undertone, with sweetness from the maple syrup complementing the banana flavor. The oats make it a hearty cookie and the bursts of chocolate chips make it feel like you are eating a decadent dessert, without the guilt. You have probably realized that I am a sucker for oatmeal based cookies (with tons of chocolate chips) since I am posting them all the time, even with directions to eat them for breakfast!  This new banana one has become one of my favorites because of the soft and chewy texture and the lightly sweet flavor.

Banana chocolate2

Save Print
Banana Chocolate Chip Oatmeal Cookies
Author: Heather
Recipe type: Cookie
Cuisine: Dessert
Prep time:  10 mins
Cook time:  11 mins
Total time:  21 mins
Serves: 2 dozen
 
A delicious cookie so healthy, you can eat it for breakfast!
Ingredients
  • 2 sticks of butter, softened
  • ½ cup + 1 tblsp maple syrup
  • 2 very ripe bananas, mashed
  • 2 eggs
  • 1 tsp vanilla
  • 2 cups whole wheat pastry flour
  • 1 tsp baking soda
  • 1 tsp baking powder
  • 3 cups rolled oats
  • 1½ cups dark chocolate chips (or your favorite variety)
Instructions
  1. In a small bowl, mash banana.
  2. Add maple syrup and mash it all together until combined.
  3. In another bowl, Mix butter with a handheld mixer until smooth and creamy.
  4. Add banana mixture and mix until blended.
  5. Add eggs and vanilla and mix until smooth and creamy.
  6. In a third bowl, combine flour, baking powder, baking soda and salt.
  7. Add to butter mixture slowly mixing until combined, carefully not over mixing.
  8. Fold in oats and chocolate chips until well integrated.
  9. Using a cookie scoop or a tablespoon, drop cookie dough onto a parchment lined baking sheet. Bake at 350 for 10-12 minutes.
  10. Let cool on sheet for 1 minute.
  11. Move to a cooling rack and let cool for 10 minutes.
  12. Eat cookies warm-because you probably will not be able to wait!
3.5.3208

These cookies are so healthy, you can even eat them for breakfast! Enjoy!

banana choc3


Heather

Leave a Comment

Breads, Quick Breads and Rolls Breakfast

Orange Rolls (refrigerator)

IMG_1716

Once upon a time, I really wanted breakfast for dinner.

I tend to want that a lot.  I’m just a breakfast kind of gal.  I saw these beautiful oranges sitting on the counter and immediately thought of something delicious that I hadn’t given a thought to in a really long time.

Great Aunt Polly’s ORANGE ROLLS!

This recipe has not been in my possession that long so I look forward to any opportunity to make them.  I remember Aunt Polly bringing these anytime we had an extended family gathering.  They were wonderful, but unfortunately Great Aunt Polly was very possessive of her recipes and kept them all to herself.  Major bummer!  One day, while my Grandmother was visiting Polly she just happened to look through her recipes and just happened to jot down a few of her favorites while Polly was otherwise occupied! While some of you may think this was in poor form on my Grandmother’s part, you have to know that my Grandmother always shared her recipes with Polly, Polly just never felt the need to reciprocate.  So there it is. Try not to judge Grandmother too harshly for she had everyone’s best interest at heart, and without her we wouldn’t have these amazingly yummy rolls! A great story, with a great recipe to share as the result. Who could blame grandmother?

A lot of work went into getting this recipe, and I promise you won’t be disappointed.


Save Print
IMG_1717Orange Rolls (refrigerator)
Author: Abby
Recipe type: Bread
Prep time:  30 mins
Cook time:  10 mins
Total time:  40 mins
Serves: 24 rolls
 
Ingredients
  • Rolls
  • 2 pkgs yeast (4½ tsp)
  • 1 cup Hot water
  • ⅓ cup sugar
  • ¼ cup warm water
  • ½ cup butter
  • 3 well beaten eggs
  • 2 tsp salt
  • 4-5 cups flour
  • Orange Filling
  • rind of 1 orange grated
  • ⅓ cup sugar
  • ⅓ cup butter
  • Orange Glaze
  • Juice from 1 orange
  • 1 pound powdered sugar
  • Blend together until smooth
Instructions
  1. Sprinkle yeast over warm warm, set aside.
  2. combine sugar, butter and salt with hot water and stir until shortening is melted.
  3. Add eggs and 1 cup flour, stir in dissolved yeast.
  4. Add remaining flour
  5. cover and refrigerate overnight
  6. Turn onto floured board, roll out into large rectangle ¼ inch thick
  7. Spread with orange filling
  8. Roll like a jelly roll, cut into even slices and place in buttered muffin tins
  9. let rise 3-4 hours
  10. Bake @ 350* 10-12 minutes
  11. Place rolls on cooling rack with jellyroll pan underneath then pour glaze over rolls
  12. (I like to make these for dinners sometimes so I will prepare the dough in the morning, let it sit in the refrigerator for a few hours then pull dough out an hour before I want to roll them out.)
Nutrition Information
Serving size: 24
3.5.3208

Heather

Leave a Comment

Cakes and Cupcakes Desserts

Turtle Cheesecake

turtle cheesecake1

It was only a matter of time before I ignored my promise of healthy meals and shoved a cheesecake down your throat.

Ahem…a cheesecake recipe I should say.

I mean, after a month after only eating salads (haha! as if…) this cheesecake was a welcome splurge. A girl needs balance, you know?

Cheesecake is one of those decadent desserts that making seems only fitting for the most special of occasions. My daughter’s birthday was one of those occasions, and since it is her favorite dessert, I had no choice but to make her one.

DSC_0805

I mean, could you possibly resist that face?

The turtle cheesecake seemed like the logical choice with its buttery crust, and creamy cheesecake layered with caramel, chocolate and pecans. It is relatively an easy dessert to make for a really amazing result. It looks like you spent hours in the kitchen, and besides a few periods of cooling and chilling, it is not that labor intensive.

turtle cheesecake2

This dessert is so good that I think I need to change my ideas that it can only be for a special occasion. I mean, it’s a Monday? Let’s have some cheesecake!

DSC_0754

Save Print
Turtle Cheesecake
Author: Heather
Recipe type: Dessert
Cuisine: Dessert
Prep time:  4 hours
Cook time:  40 mins
Total time:  4 hours 40 mins
Serves: 1 cake
 
This is a decadent dessert that is fitting for the most special of occasions. Or...make it on a Tuesday. Either way, you will love it!
Ingredients
  • 4 cups vanilla wafers
  • 1 stick of butter, melted
  • 1½ cups of caramel sauce, store bought, or recipe below
  • 1 cup chopped pecans
  • 3, 8 oz. packages of cream cheese, softened
  • ½ cup sugar
  • 2 tsp vanilla extract
  • 2 eggs
  • ¾ cups semi sweet or bittersweet chocolate chips
Instructions
  1. Preheat oven to 350 degrees
  2. Butter the bottom and sides of a 9 inch springform pan
  3. Toast the pecans in the oven for about 4-6 minutes
  4. Remove and set aside
  5. Crush vanilla wafers in a food processor or a plastic bag
  6. Add melted butter until crumbs are crumbly and stick together with the butter
  7. Press the crumbs into the bottom of the springform pan
  8. Place springform pan on a baking sheet and bake for ten minutes
  9. Remove and allow to cool for ten minutes
  10. In a large bowl, combine cream cheese, sugar and vanilla until smooth.
  11. Add eggs, one at a time, and blend completely
  12. Pour about ¾ cup of caramel on top of prepared crust.
  13. Sprinkle ½ cup of pecans on top
  14. Pour cheesecake batter over caramel/pecan layer.
  15. Melt ¼ of the chocolate chips over a double boiler or in the microwave until smooth
  16. Take the melted chocolate and spoon a teaspoon into the cheesecake batter in various spots
  17. Take a toothpick and gently swirl chocolate into batter, being careful not to blend it in completely
  18. Bake cheesecake for 40 minutes or until just set.
  19. Chill for 3 hours or overnight
  20. Before serving, melt remaining chocolate chips and drizzle over cheesecake
  21. Drizzle leftover caramel over the top
  22. Sprinkle with remaining pecans
3.5.3208

Want to make your own caramel sauce? This recipe is my absolute favorite! It will take this cheesecake over the top!

Heather

Leave a Comment

Reviews

Corner Bakery Cafe Giveaway!

cornerbakery

Photo Courtesy of Corner Bakery Cafe

Corner Bakery is one of those places that you stop in for a quick bite, and find yourself wanting to order EVERYTHING on the menu! That was my story the other day, as I stopped in for lunch with a friend. We stood there, staring at the menu, for possibly  ten minutes trying to decide what to eat.

Could we just get a little of everything? Would that be frowned upon?

DSC_0742

We finally decided on a few things, and decided to share, so it would feel like we were getting to sample a little more than just one item. Our first choice was one of their best selling pasta dishes, Pesto Cavatappi. The pasta was cooked perfectly al dente (which I love!), tossed with tender grilled chicken and a delightfully creamy pesto sauce. The dish was finished with a crunchy bread crumb topping, which took the taste and texture completely over the top. The pasta reminded me of the best of comfort food. Perched on the side of the bowl, was a crunchy garlic toast, perfect for mopping up the leftover cream in the bottom of the bowl when we had finished off every last bite.

DSC_0740

The chopped salad came next (who says you need to eat your salad first?). The mixed greens were dressed with a flavorful house vinaigrette and tossed with juicy red tomatoes and green onions, but what made it unique was the addition of creamy blue cheese, applewood smoked bacon, and fresh avocado. The tender grilled chicken that topped the salad made it a meal, and really would have been filling enough for us…although then we would have missed out on that delicious pasta, and that would have been a tragedy!


DSC_0738

What else would you need after eating a crunchy, flavorful salad and a creamy hearty pasta? Does anyone even have to ask that question? Dessert of course!

DSC_0743

Choosing was tough, and the glass covered bakery case filled with the most tempting looking sweets did not help the situation. Finally we decided on a piece of their signature cinnamon creme cake. This rich golden cake was topped with a cinnamon streusel crumble and lightly dusted with powdered sugar. The cinnamon ribbons swirled throughout the cake were sweet and buttery. Is it wrong that I wanted more after every last crumb was eaten? Would it be weird to lick the plate clean? We decided against it, obviously using our better judgement, and sat back, completely satisfied with a delicious lunch.

The tasty food, the comfy setting, real dishes instead of paper and plastic, and the large, hearty portions, made you feel more like you were at a friend’s house eating lunch rather than a restaurant. The staff was super friendly at our location which made for a completely enjoyable dining experience.

Well, and you know my feelings about the food. I hadn’t been to Corner Bakery Cafe in awhile, but I was so glad I stopped in. Can you judge me for going back the next day for breakfast? A girl has to try everything right? Like the Anaheim Scrambler? Yes please! Breakfast that includes fresh scrambled eggs, applewood smoked bacon and avocado helps everyone start their day off right.

If you haven’t stopped in lately, give it a try. You will not be disappointed by their menu of fresh salads, hand crafted sandwiches, tasty pastas and so much more. Don’t forget dessert!

Do you want a reason to stop in? I have one for you! I am giving away a $20 gift card to Corner Bakery! Enter below! Good luck!

a Rafflecopter giveaway

You must be 18 years of age or older to enter and reside in the United States. Thank you for understanding!

Disclosure: Corner Bakery provided Girl and Her Kitchen with complimentary gift cards to purchase food items to sample. No other compensation was received.


Heather

6 Comments

  • « Previous Page
  • 1
  • …
  • 5
  • 6
  • 7
  • 8
  • 9
  • …
  • 38
  • Next Page »

Heather

I am a midwestern girl who grew up in the big city, but now enjoys her days as a stay at home mom in the suburbs. Who says spending time in the kitchen has to be boring? I hope to inspire your family kitchen with some new ideas, fun recipes and great tips.

Stay Up to Date

Get all the latest tasty goodness straight to your inbox!

Girl and her Kitchen

Join us!

Hey! I am the GIRL in the kitchen and I am so glad you decided to visit. Love to cook and eat? You will find some great recipes on this site, whether you are looking to eat healthy, splurge on a dessert, make dinner or host a party-I have it all! Sometimes I’ll give you a story along with my recipe, other times, I want to take you straight to the food!  Whatever the reason that you decided to visit, I am so glad you joined me in the kitchen! Feel free to take a look around the site, and please…stay awhile!

Archives

Popular Categories

  • Appetizers
  • Breakfast
  • Crafts
  • Salads and Dressings
  • Side Dishes
  • Vegetables and Fruit

Most Popular Posts

Corner Bakery Cafe Giveaway!

Corner Bakery Cafe Giveaway!

Filed Under: Reviews

Bacon Cheddar Skillet Cornbread

Bacon Cheddar Skillet Cornbread

Filed Under: Breads, Quick Breads and Rolls, Side Dishes

Puffy Pancakes {Perfect for Valentine’s Day!}

Puffy Pancakes {Perfect for Valentine’s Day!}

Filed Under: Breakfast, Valentine's Day

100 Days of Real Food Cookbook Review {and Giveaway!}

100 Days of Real Food Cookbook Review {and Giveaway!}

Filed Under: Vegetarian

Copyright © 2026 · Divine theme by Restored 316