We might have just found our new favorite meal.
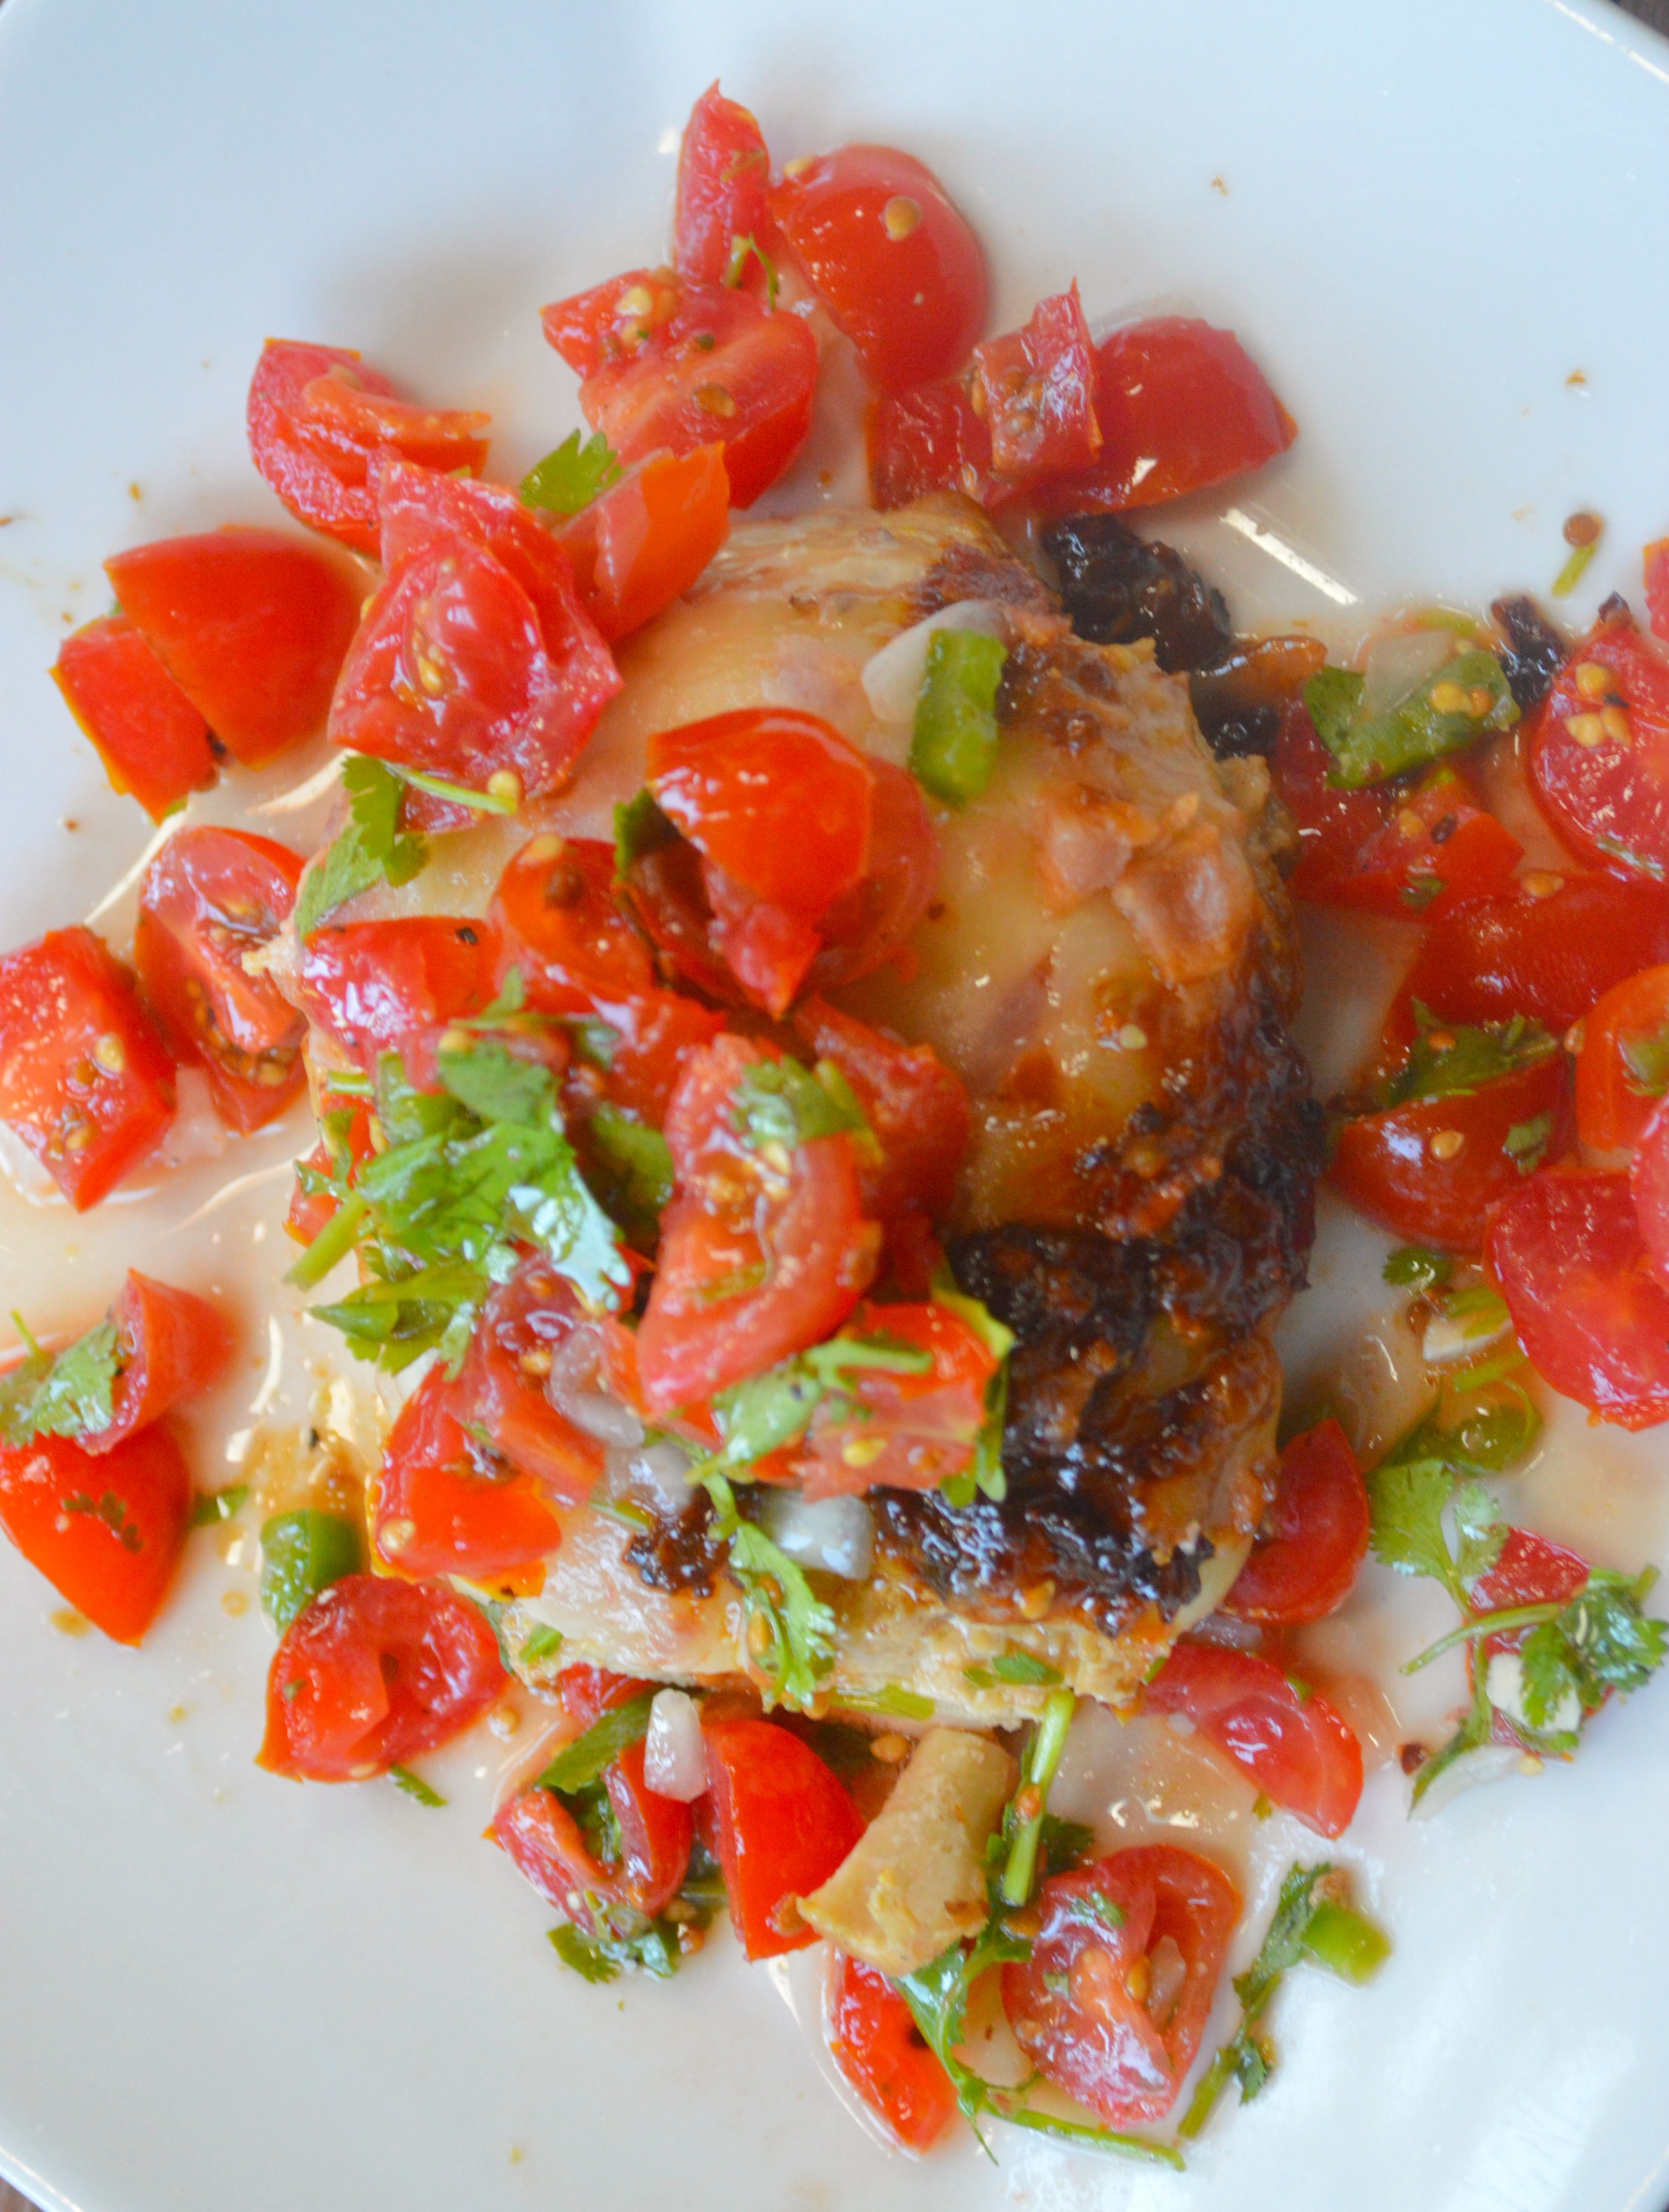
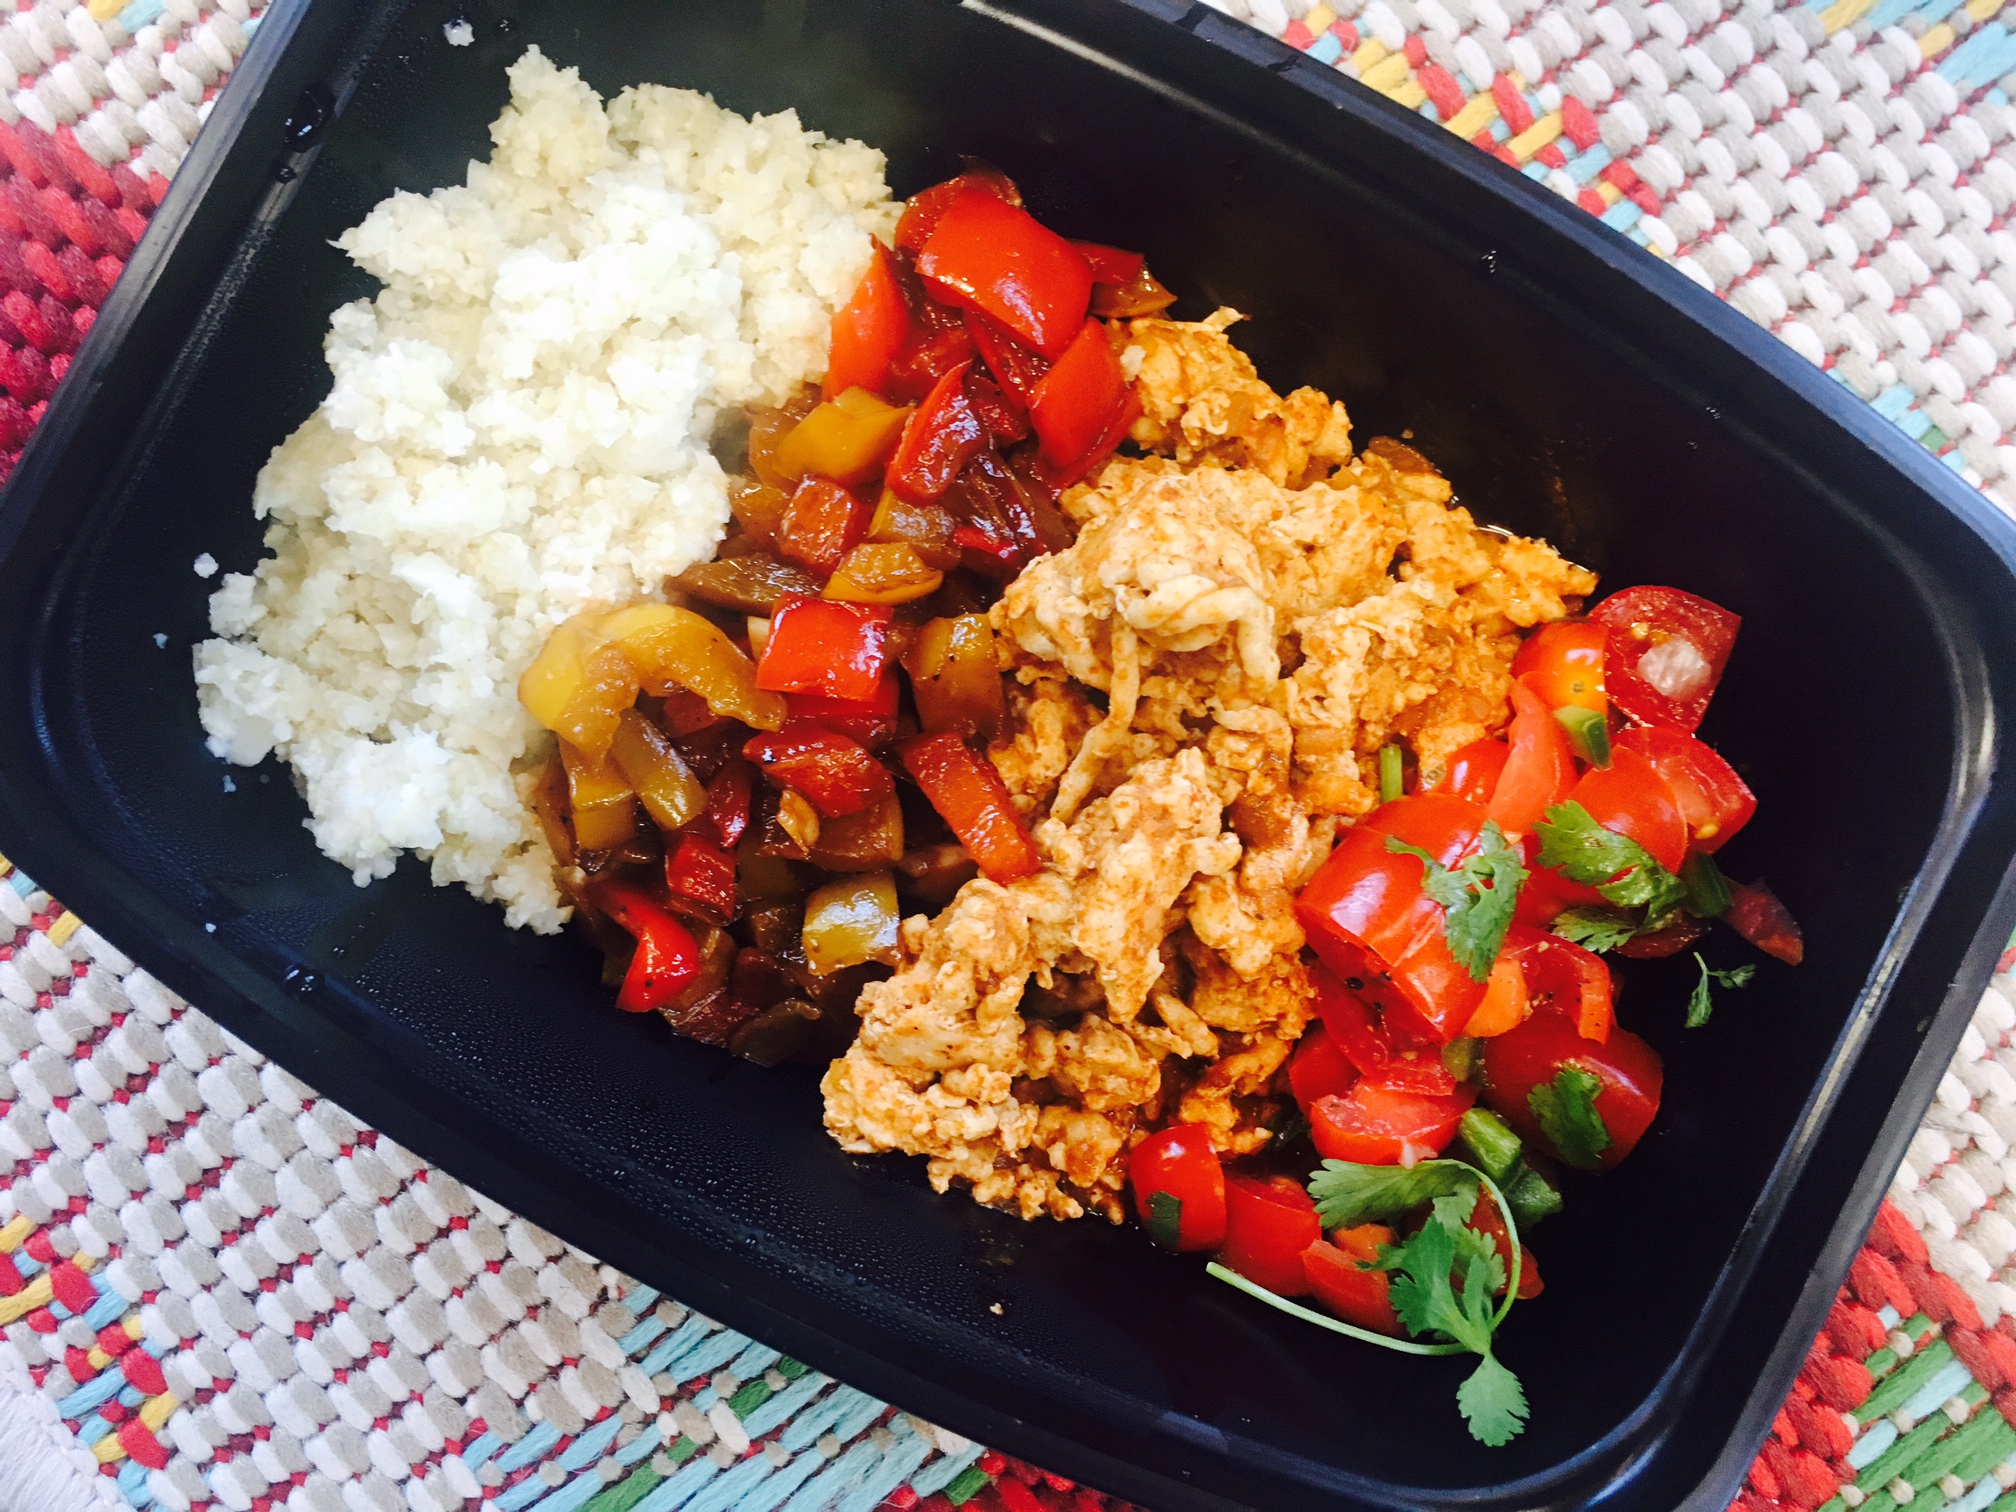
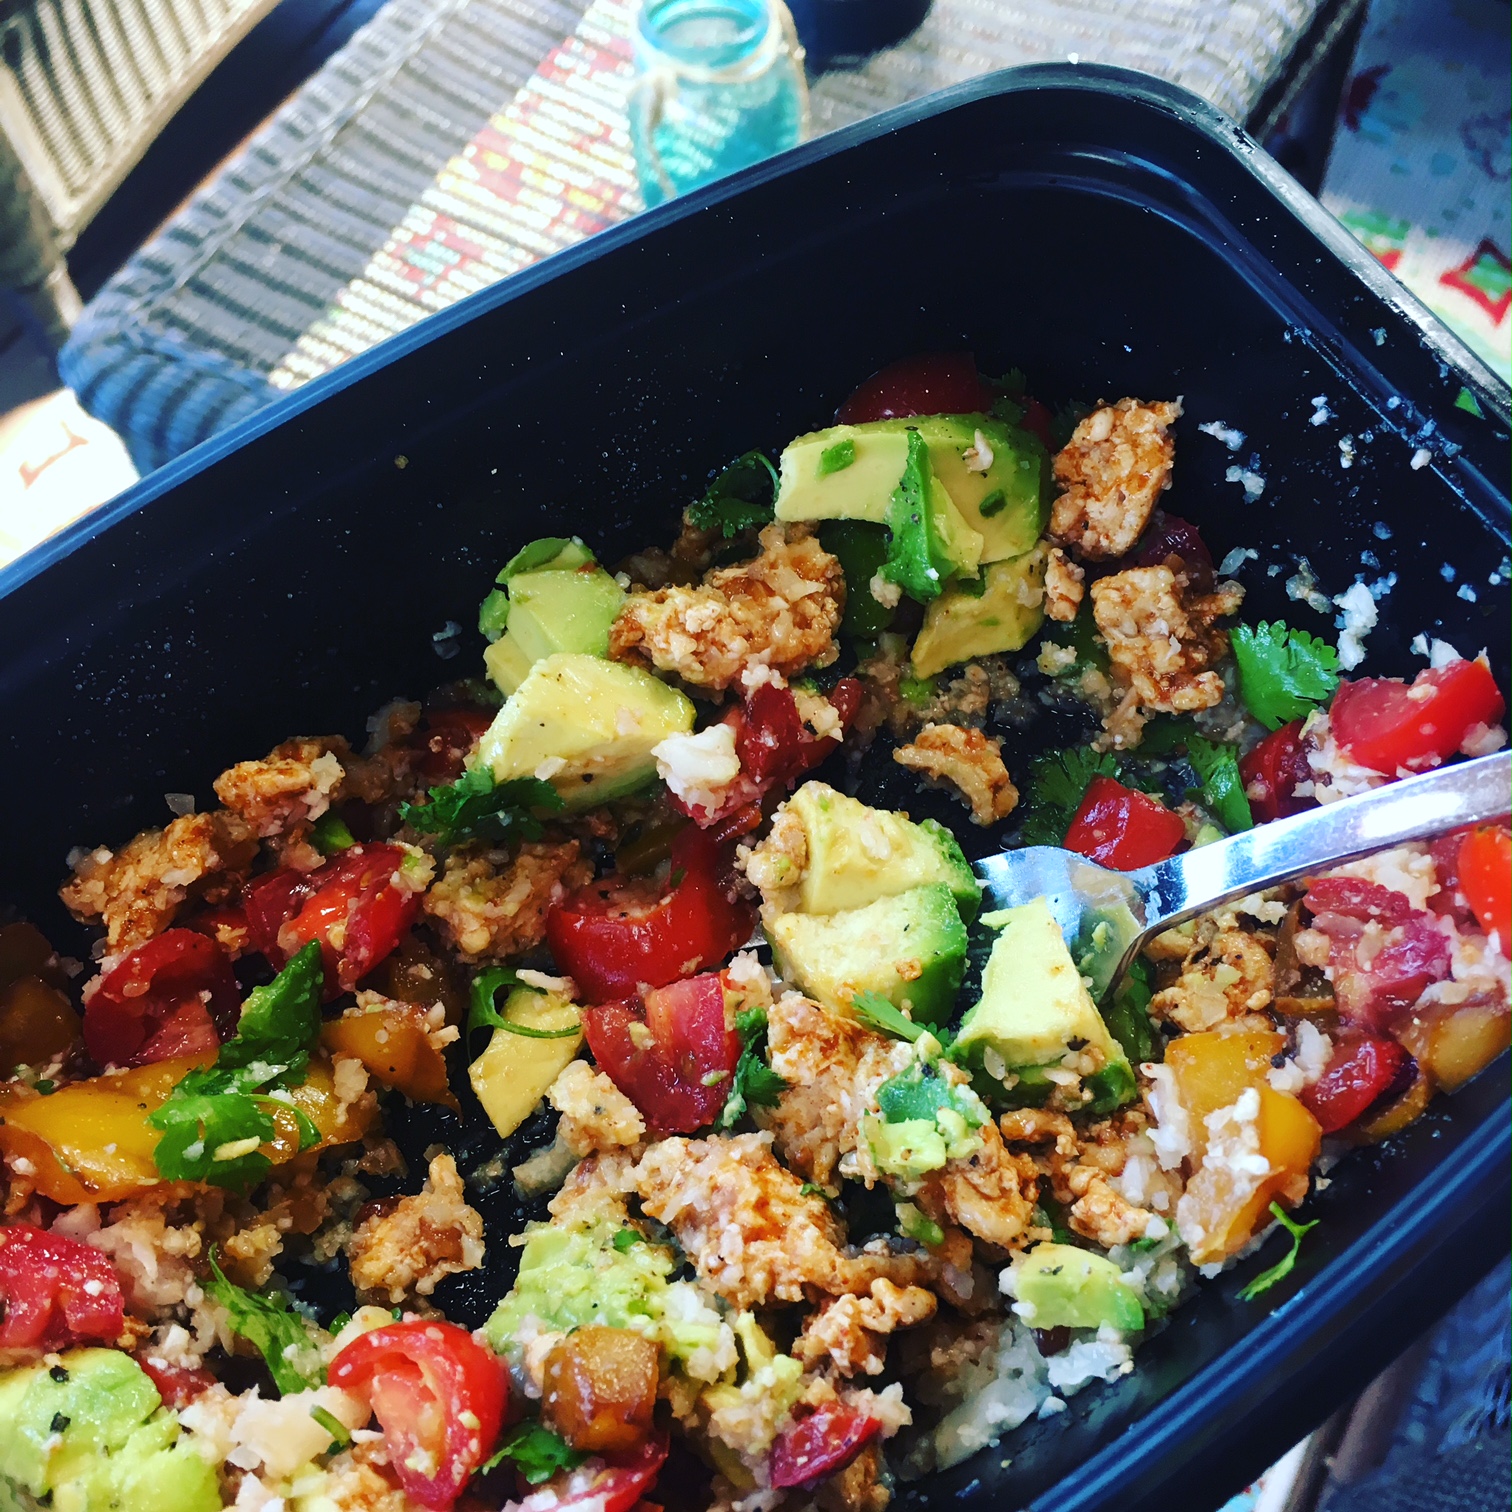
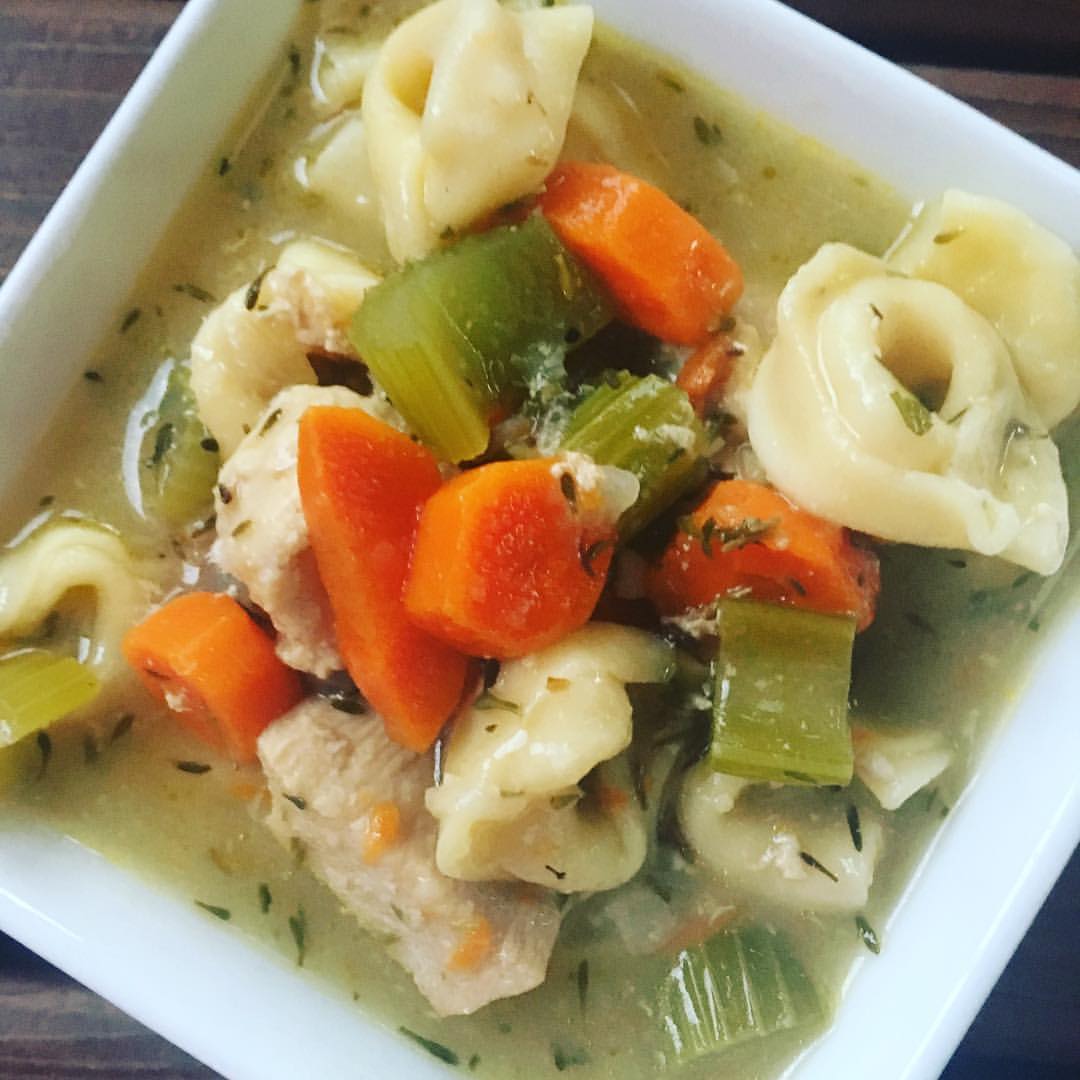
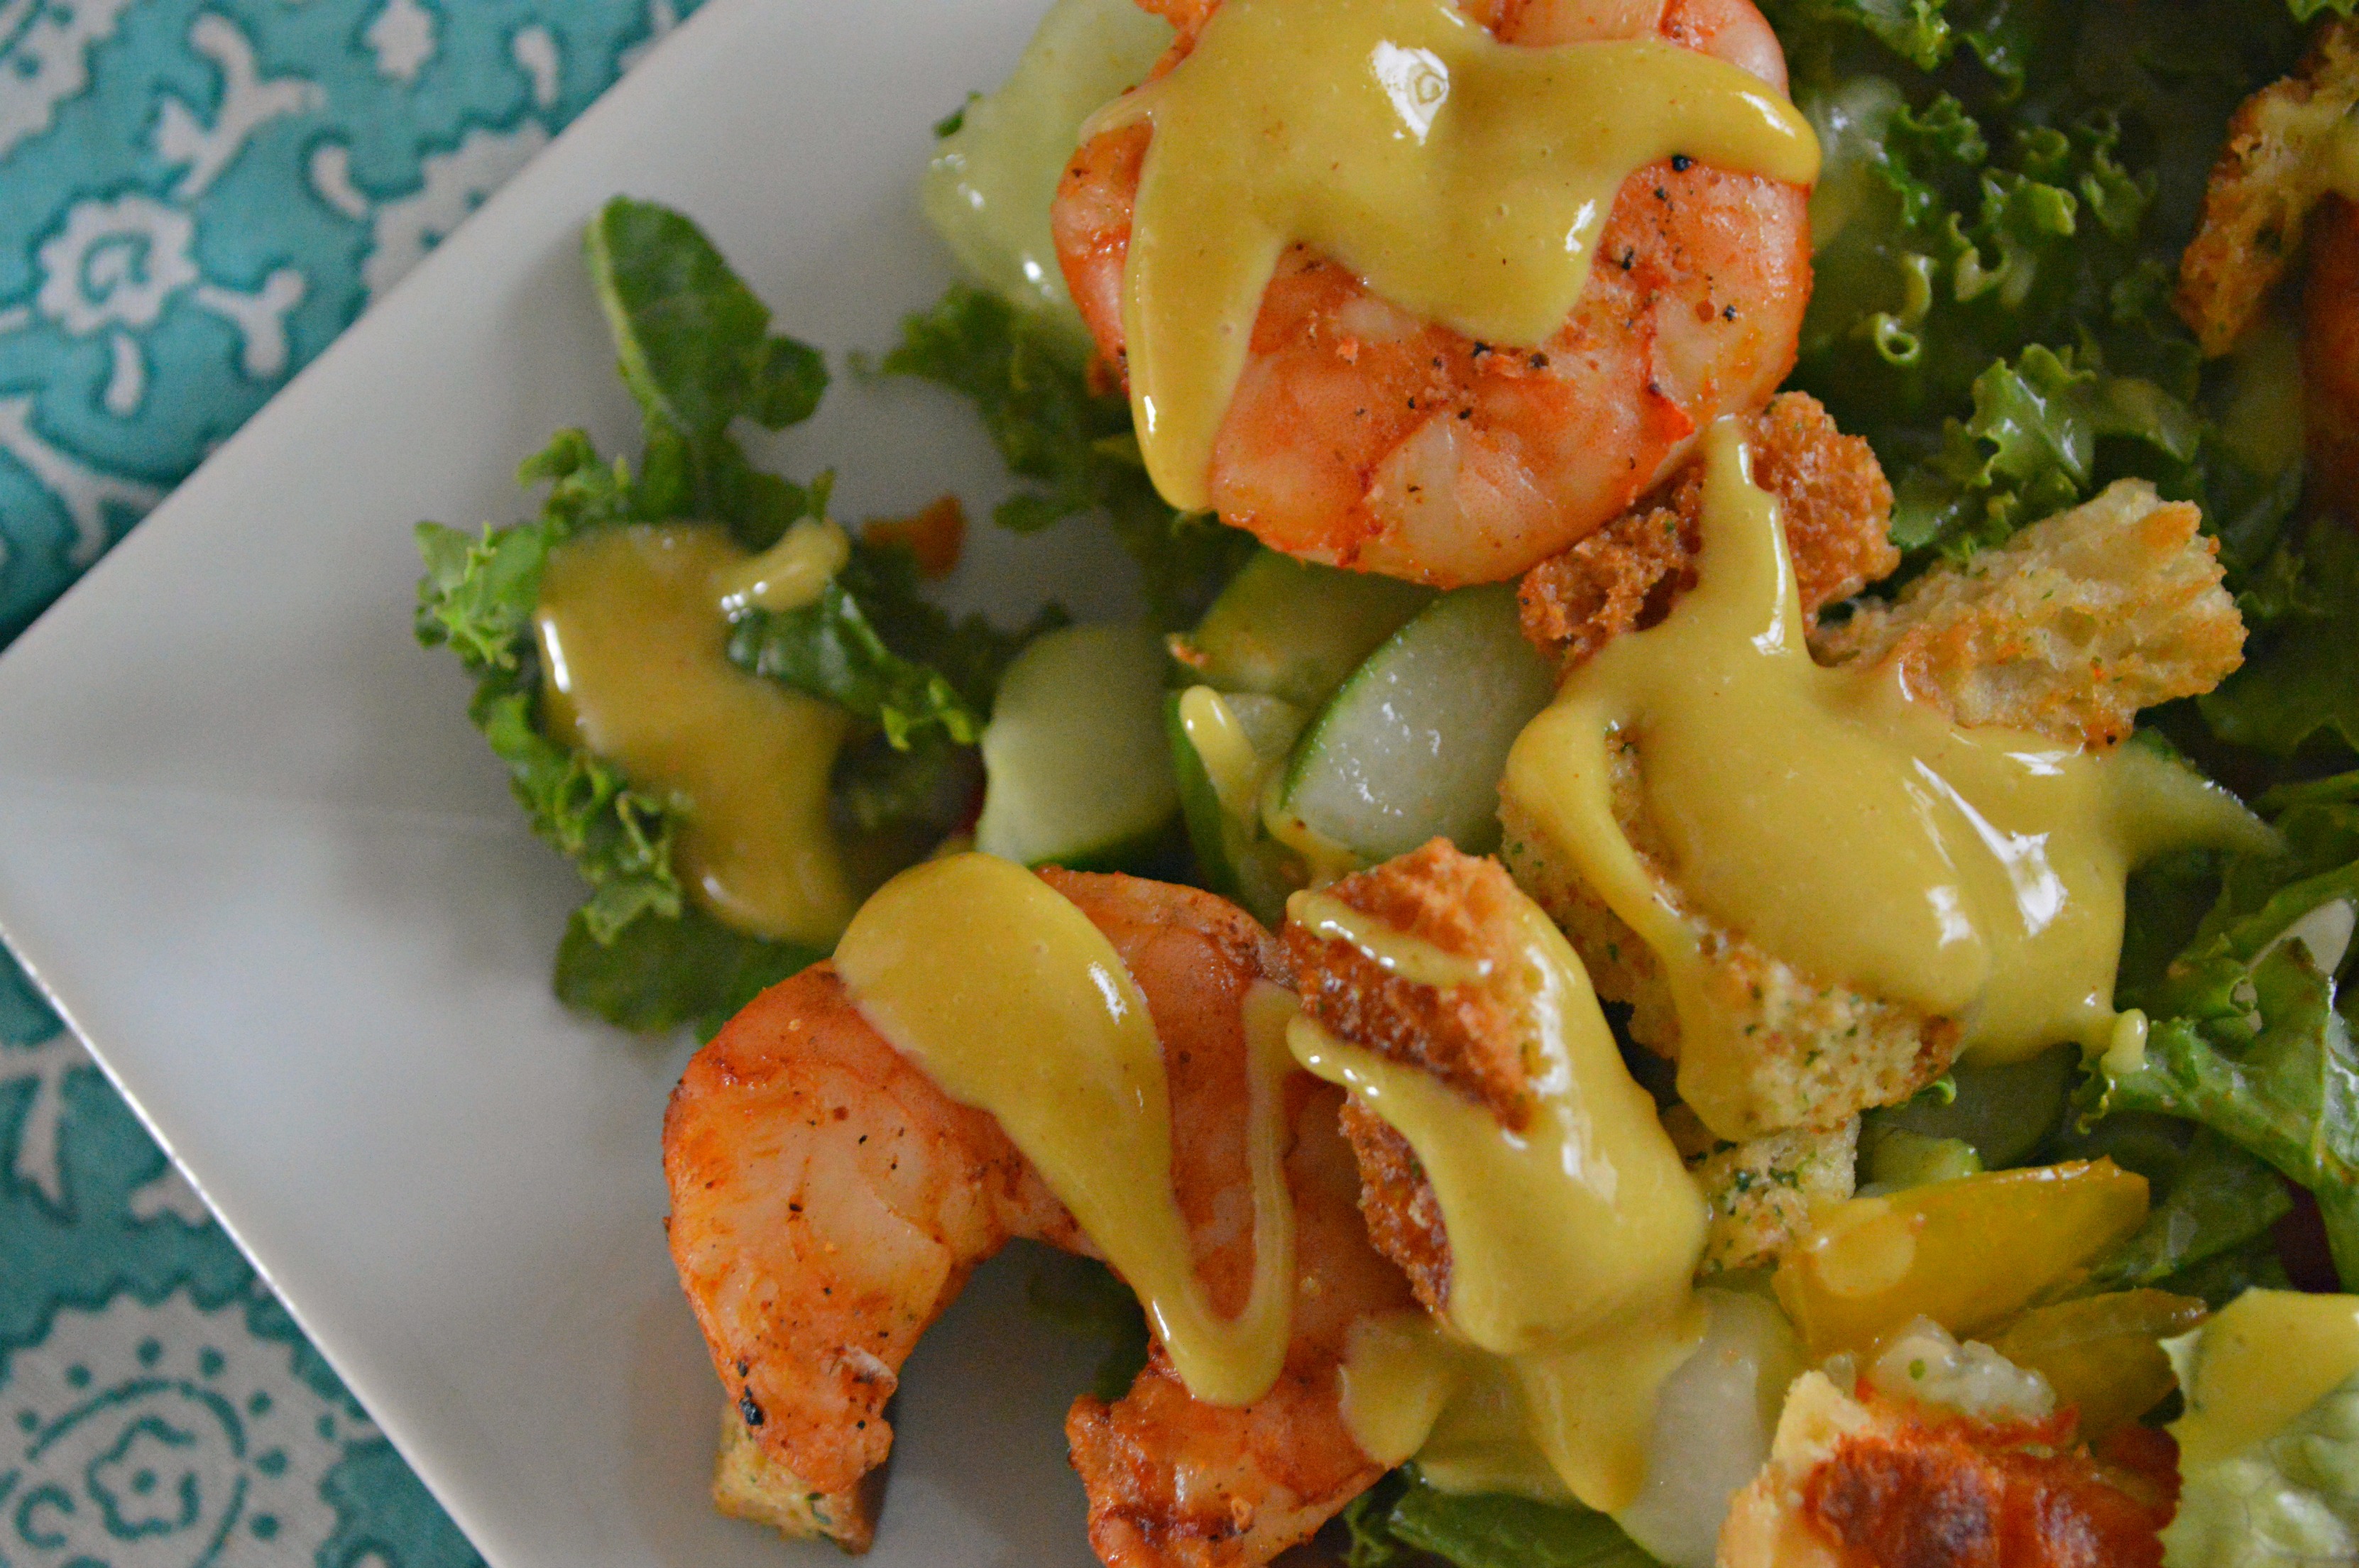
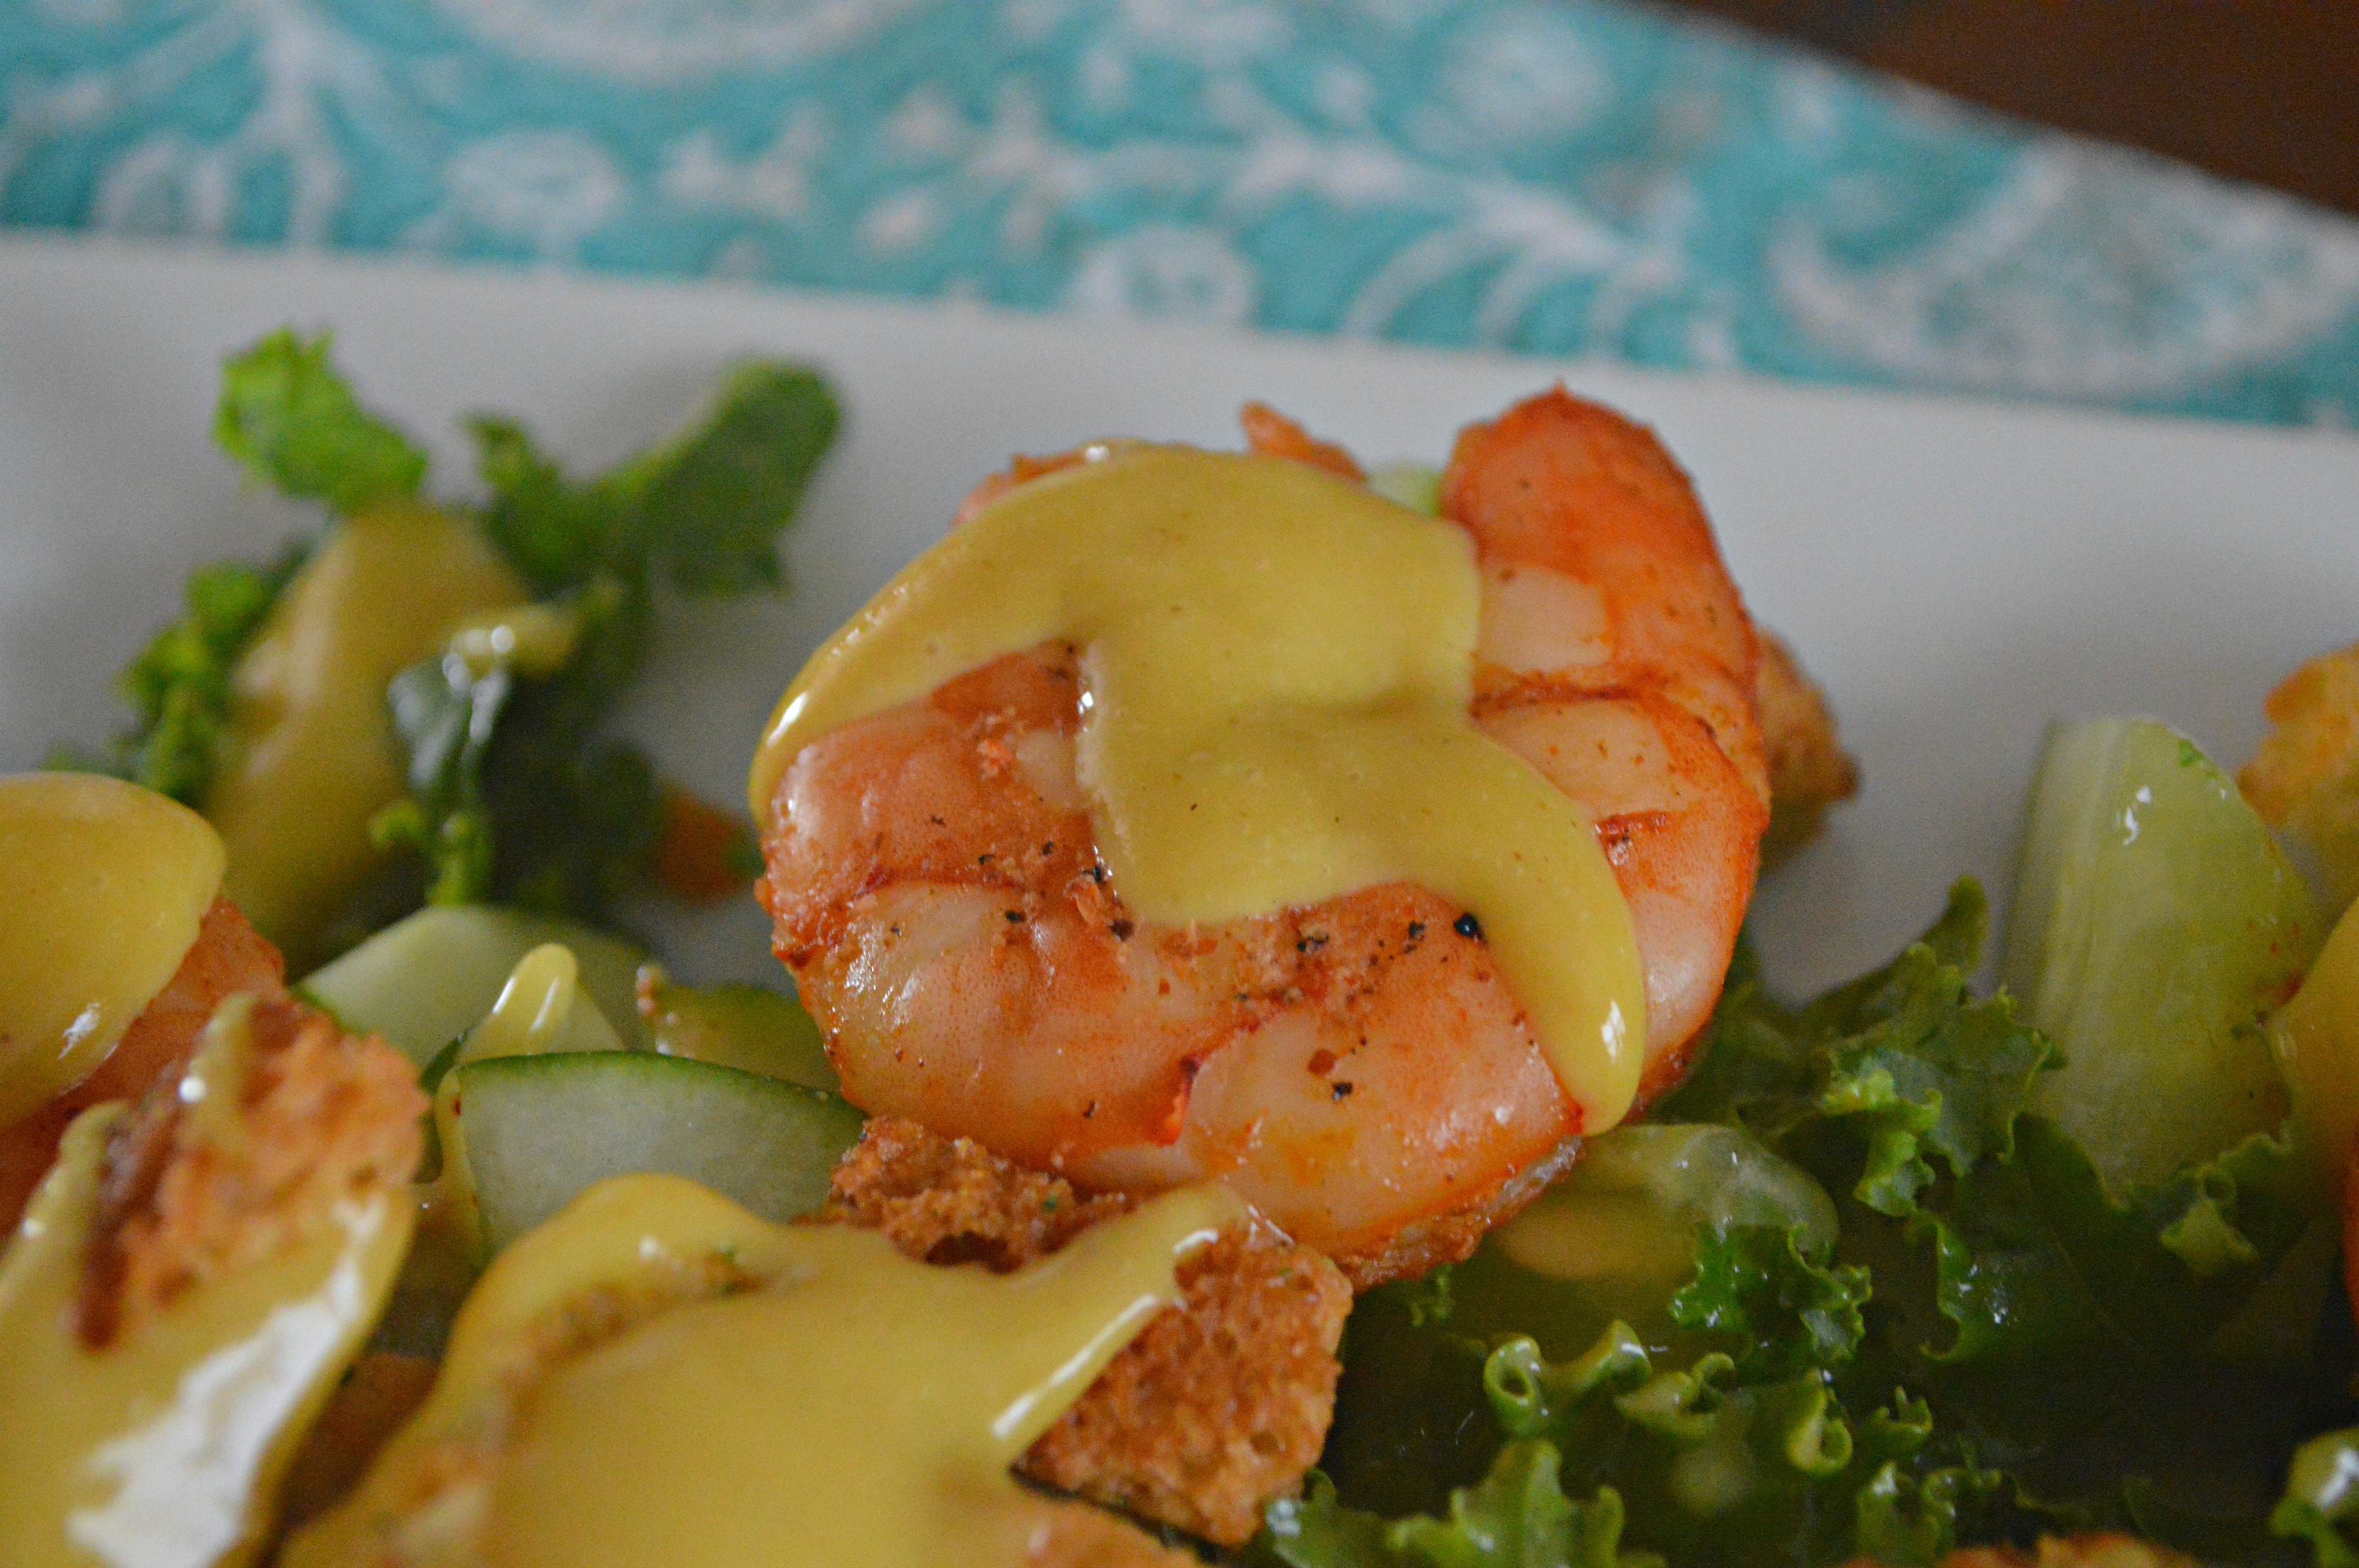
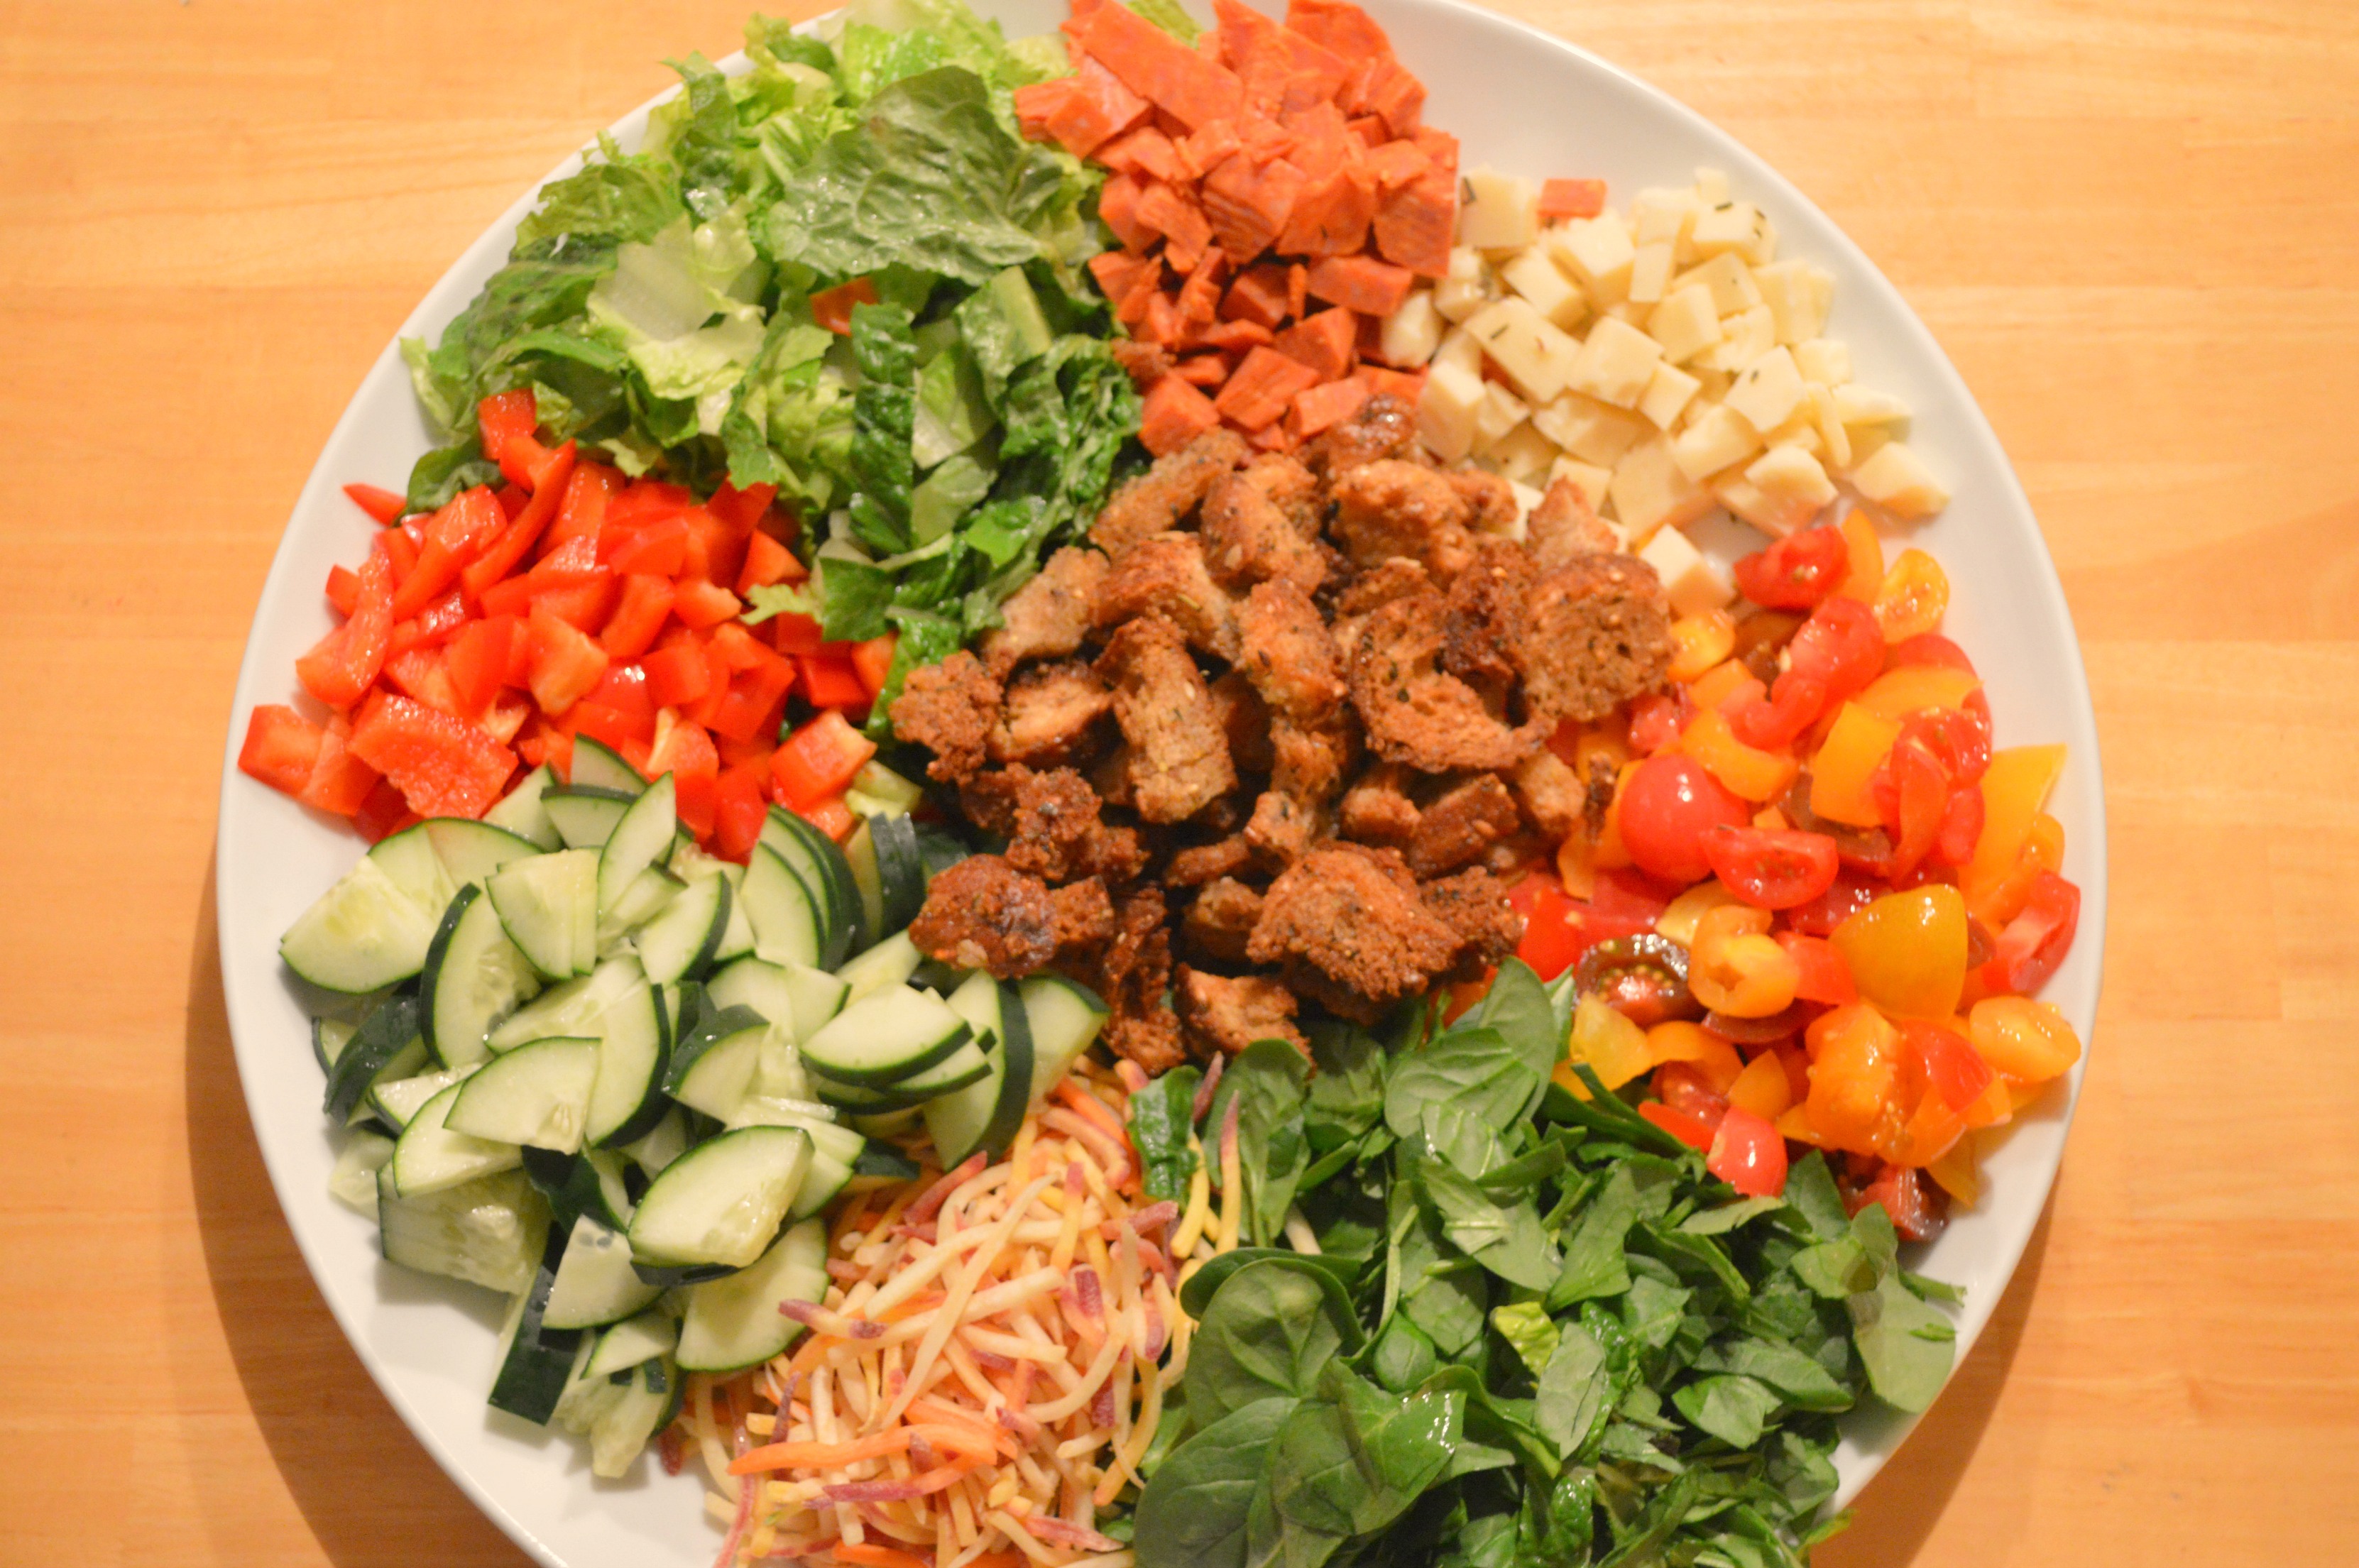
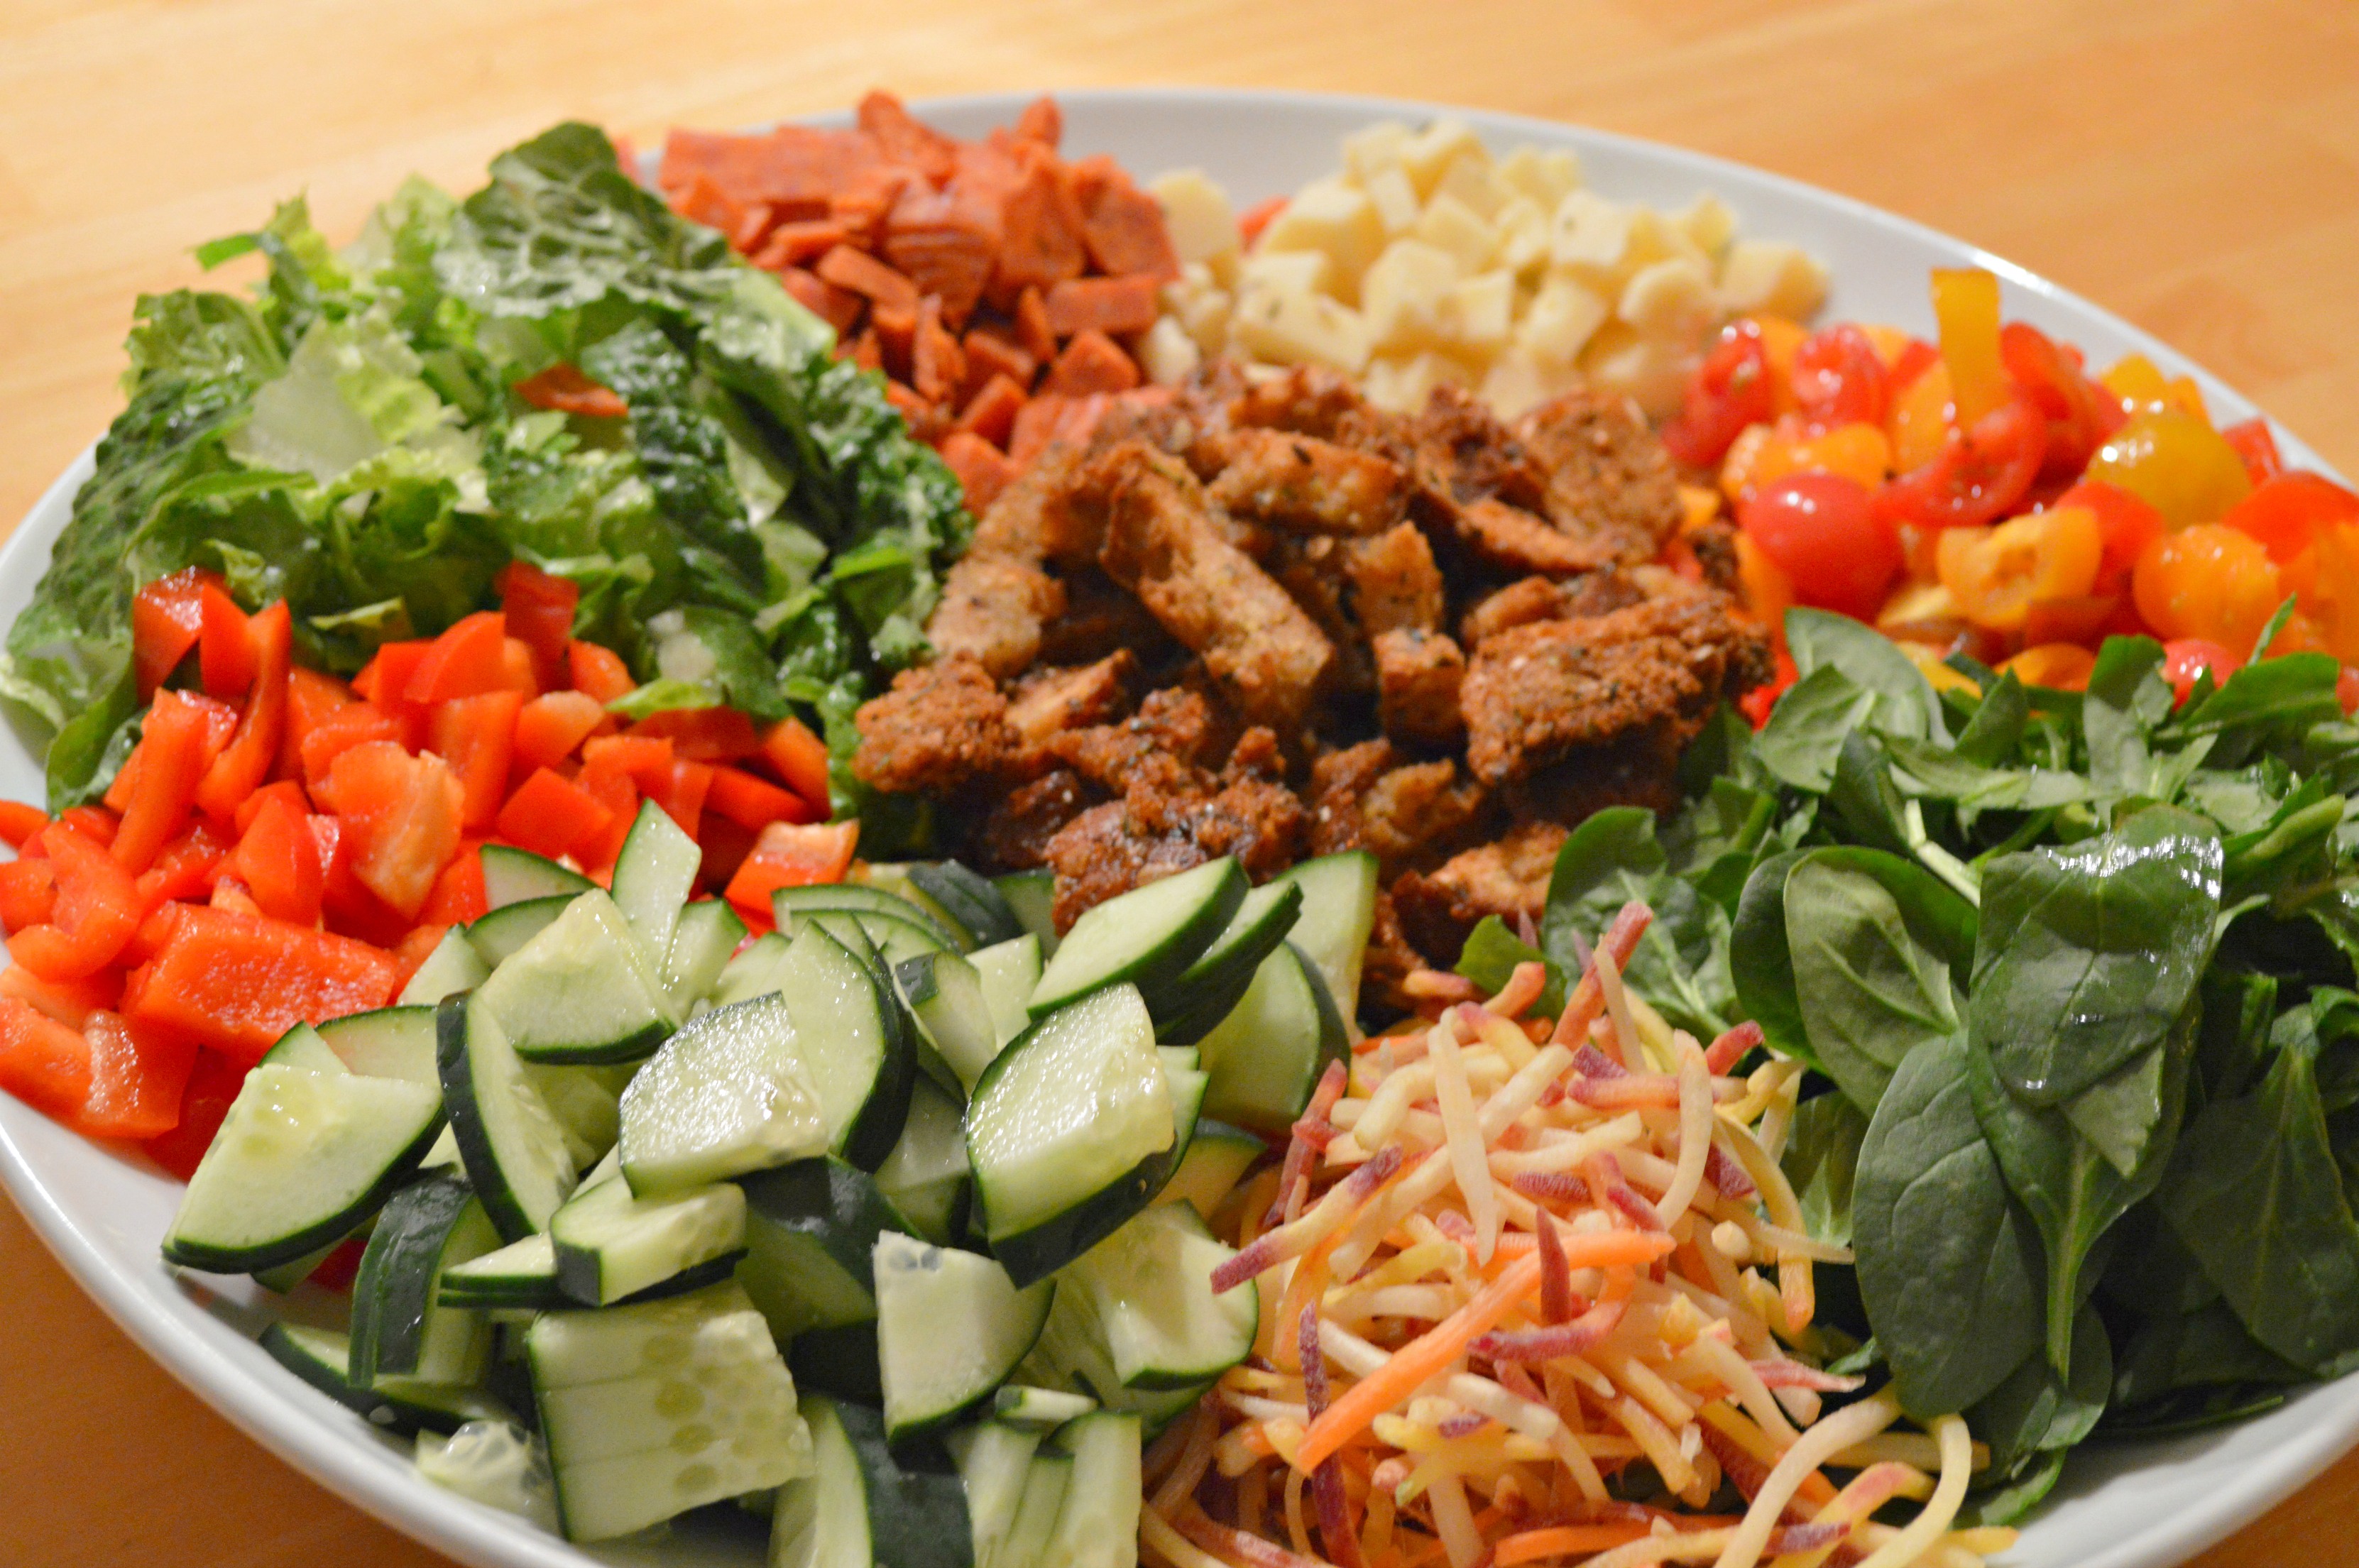
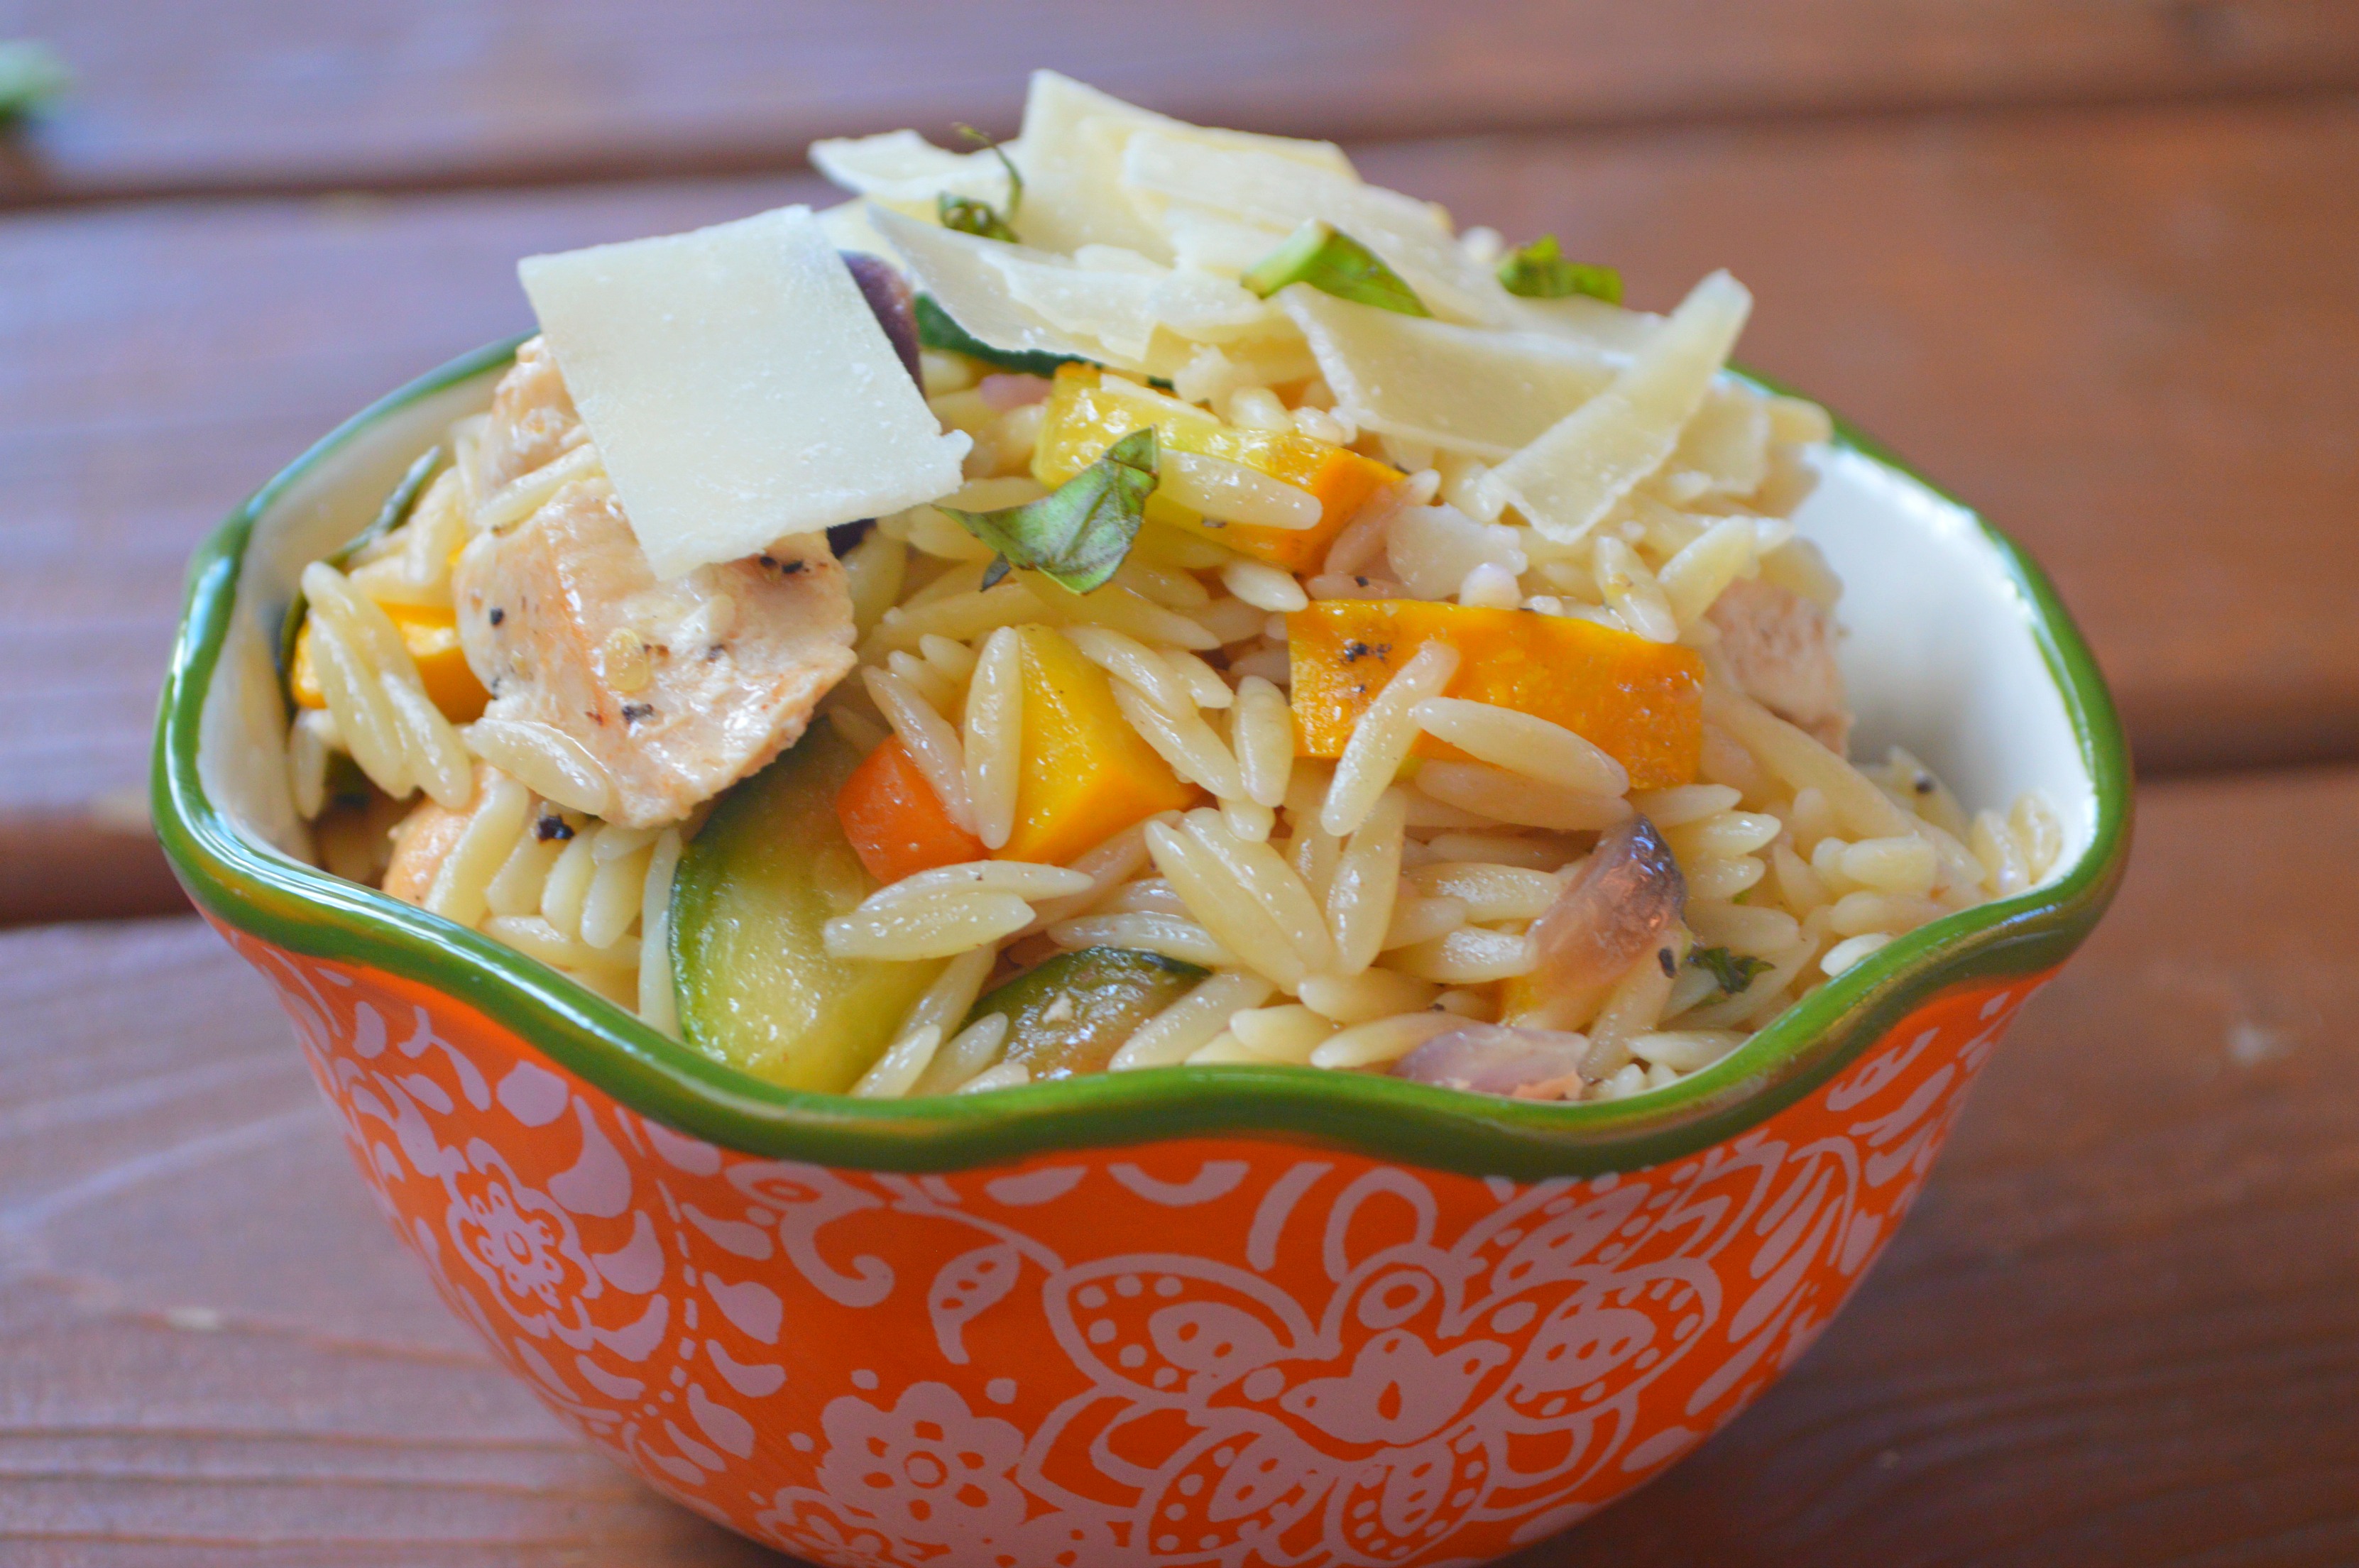
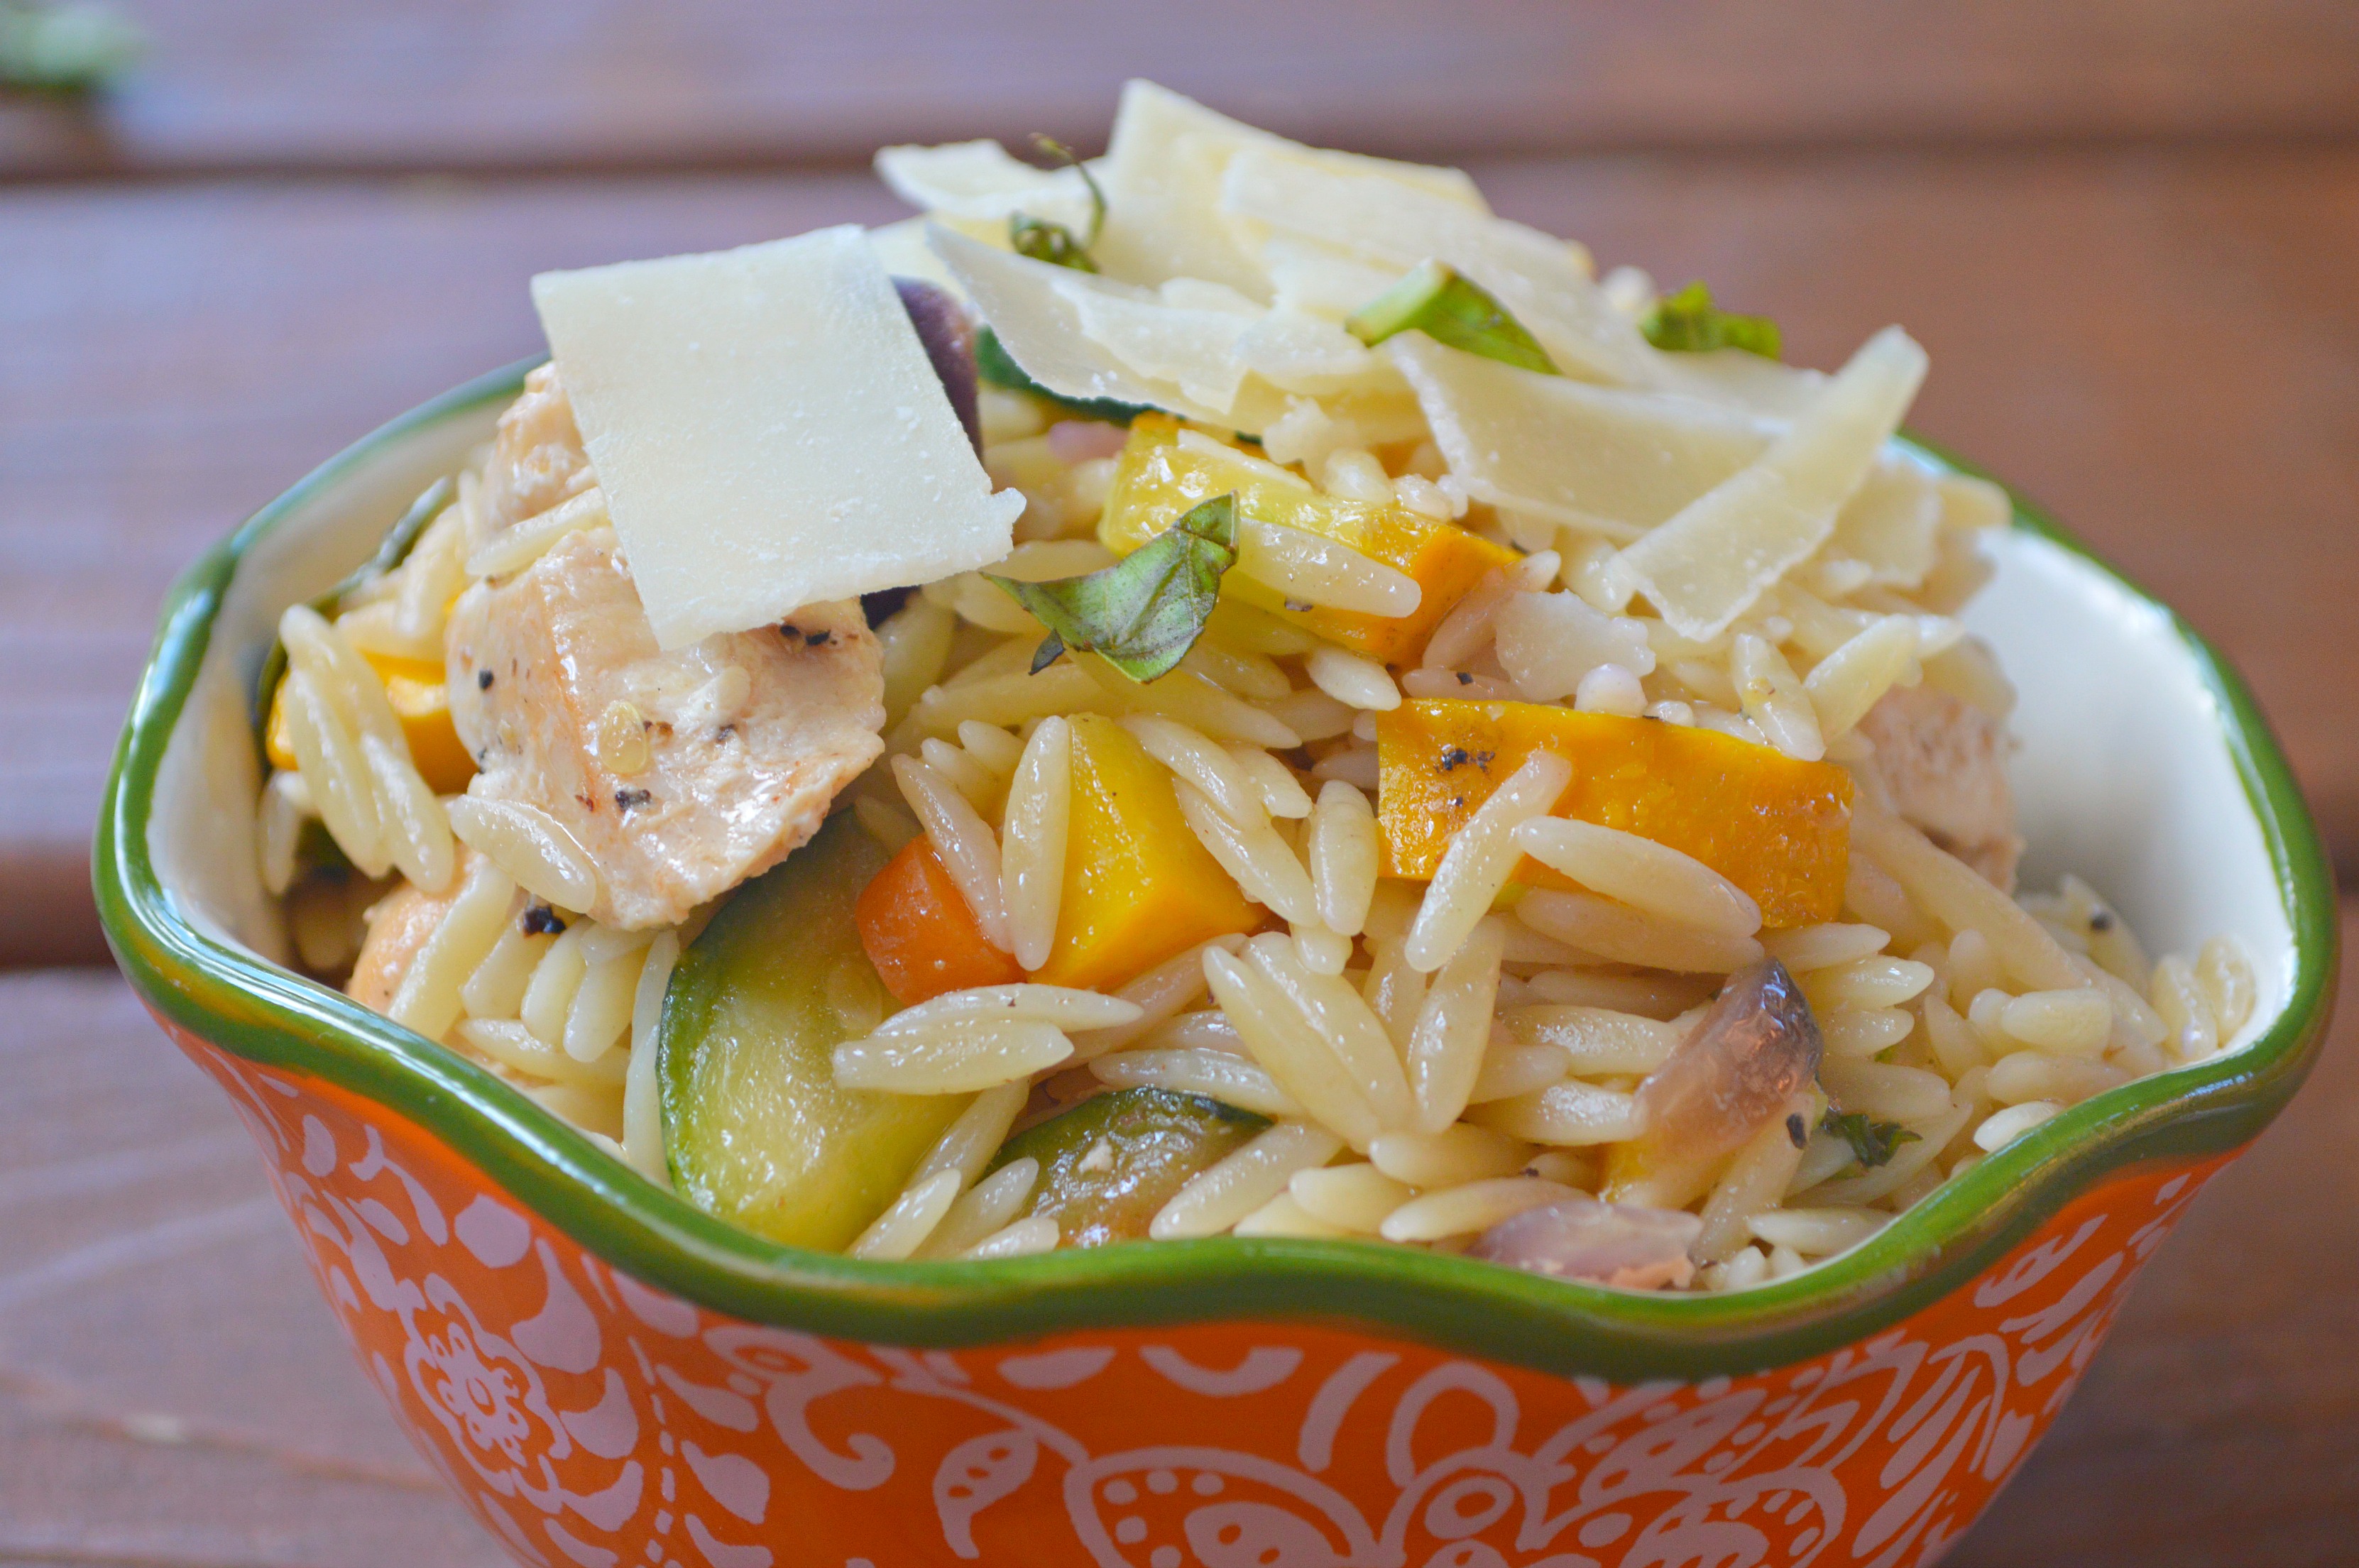
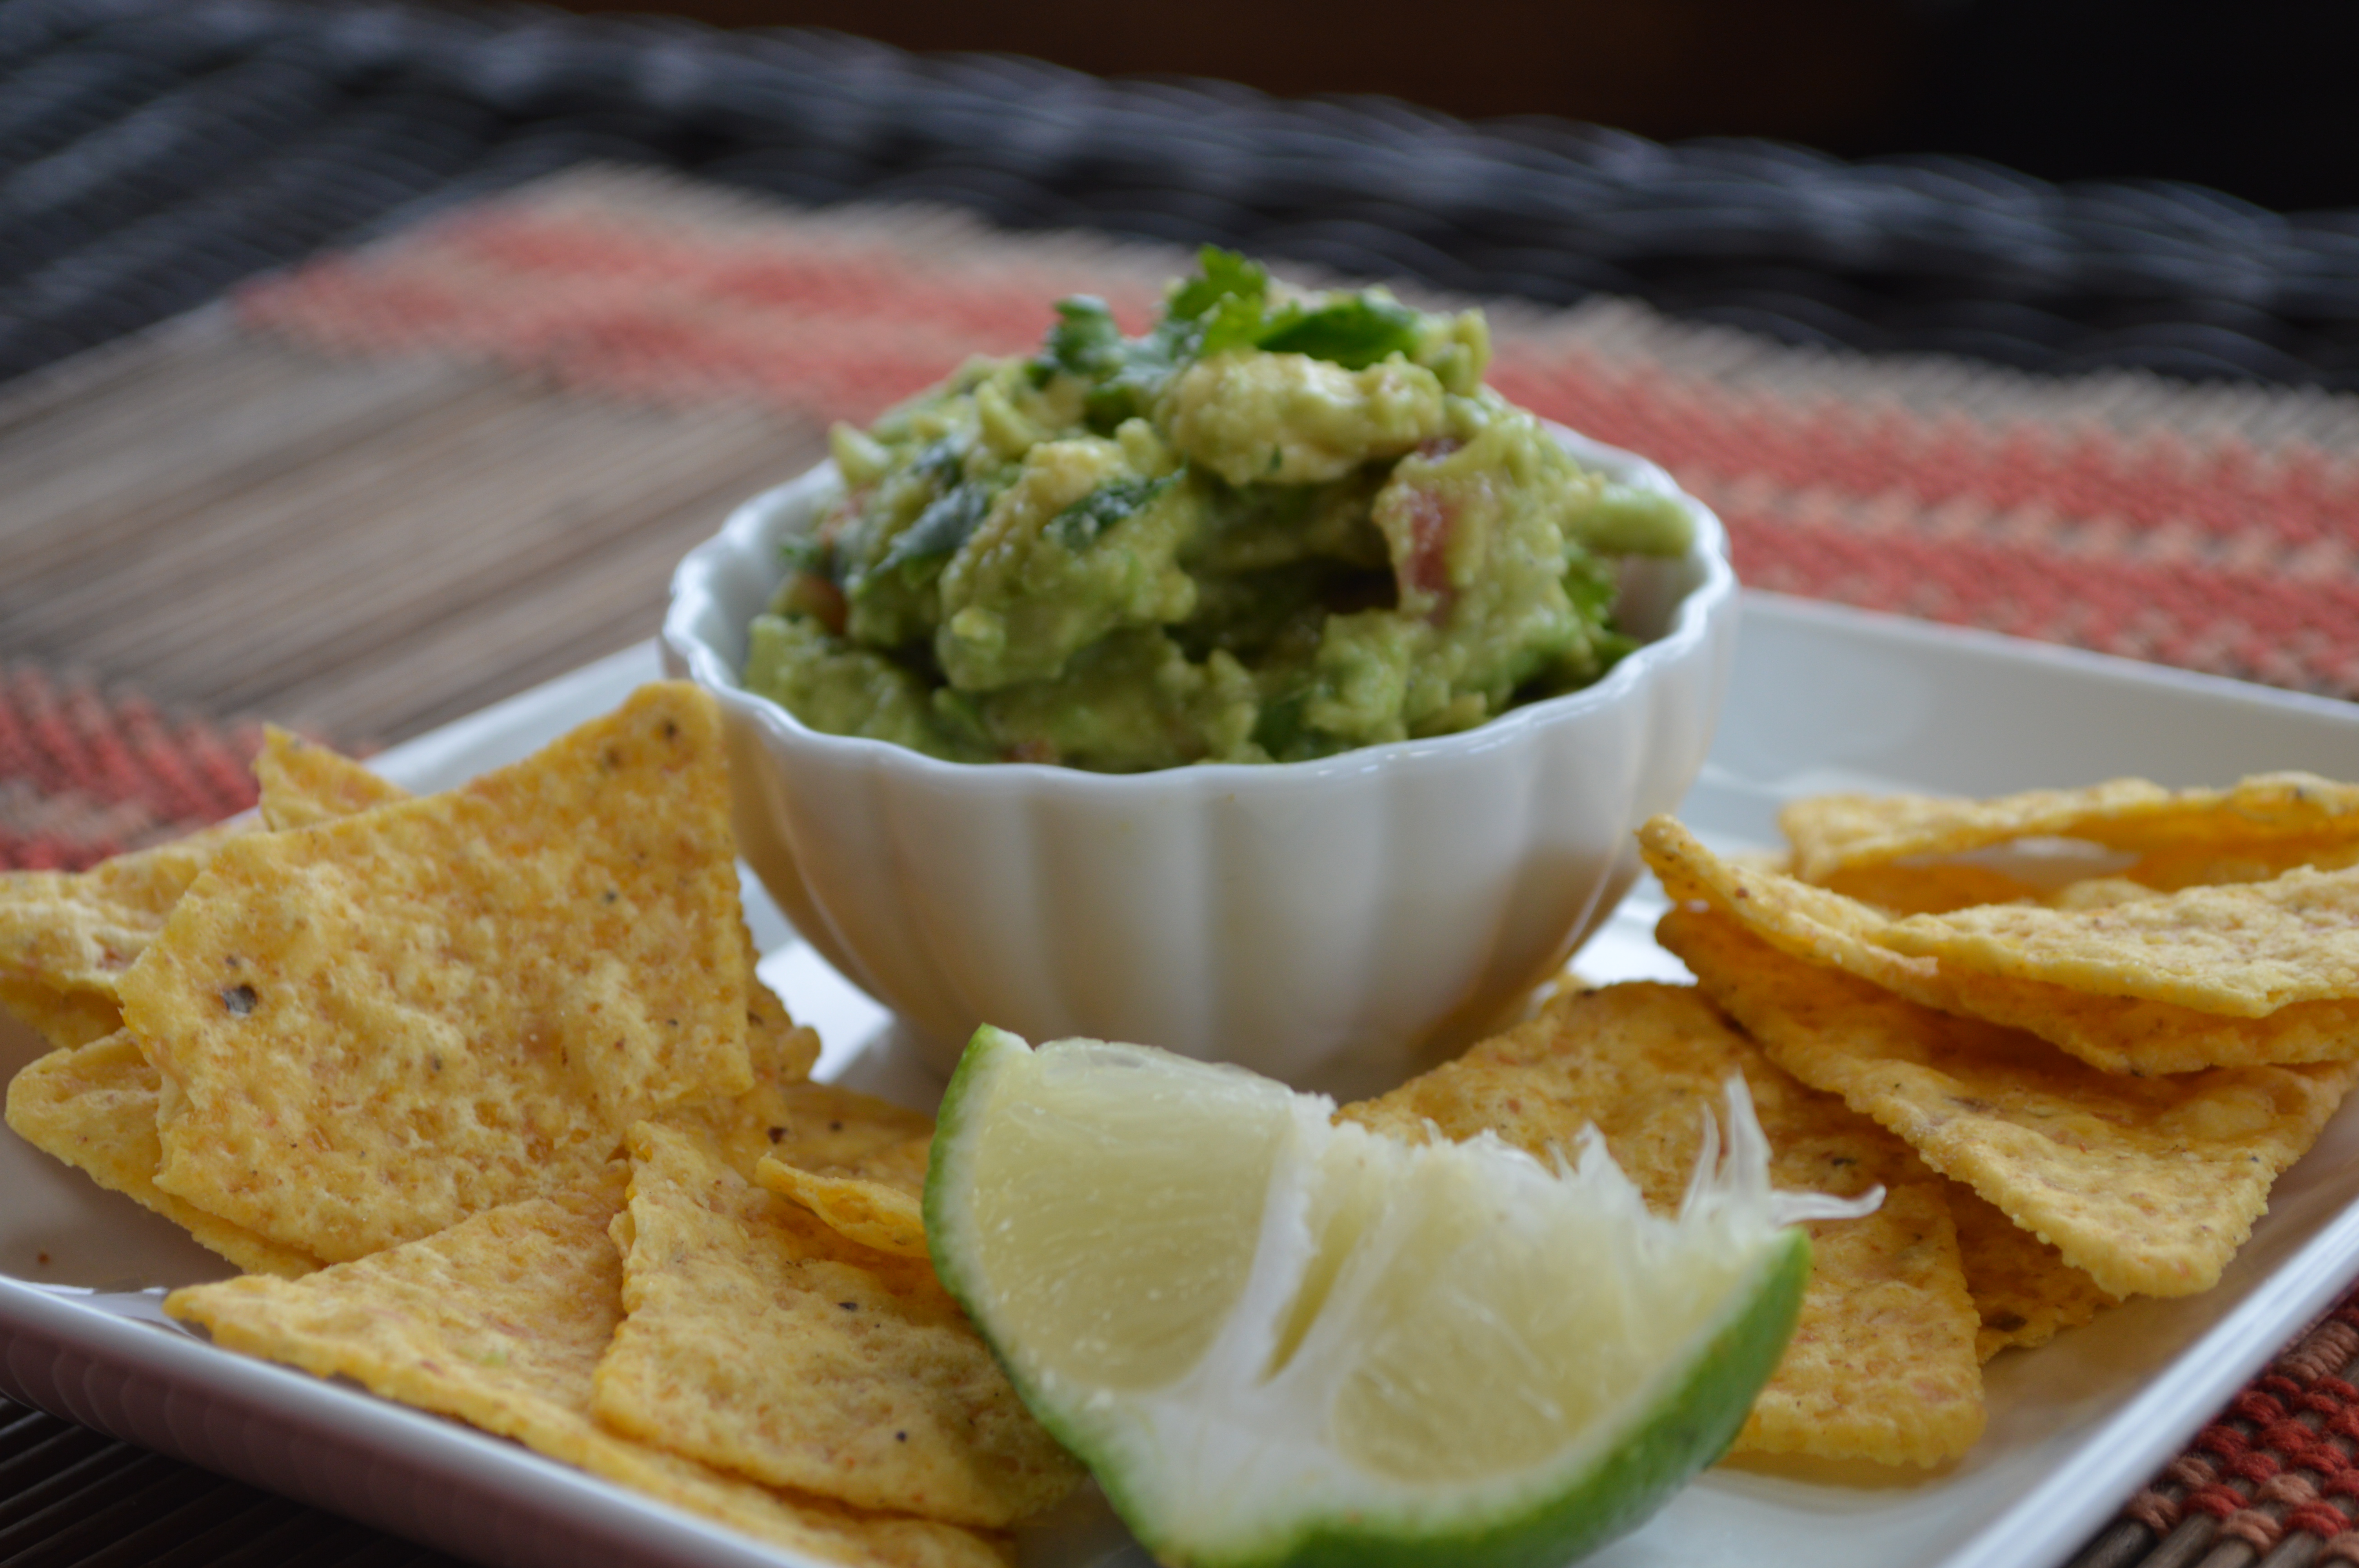
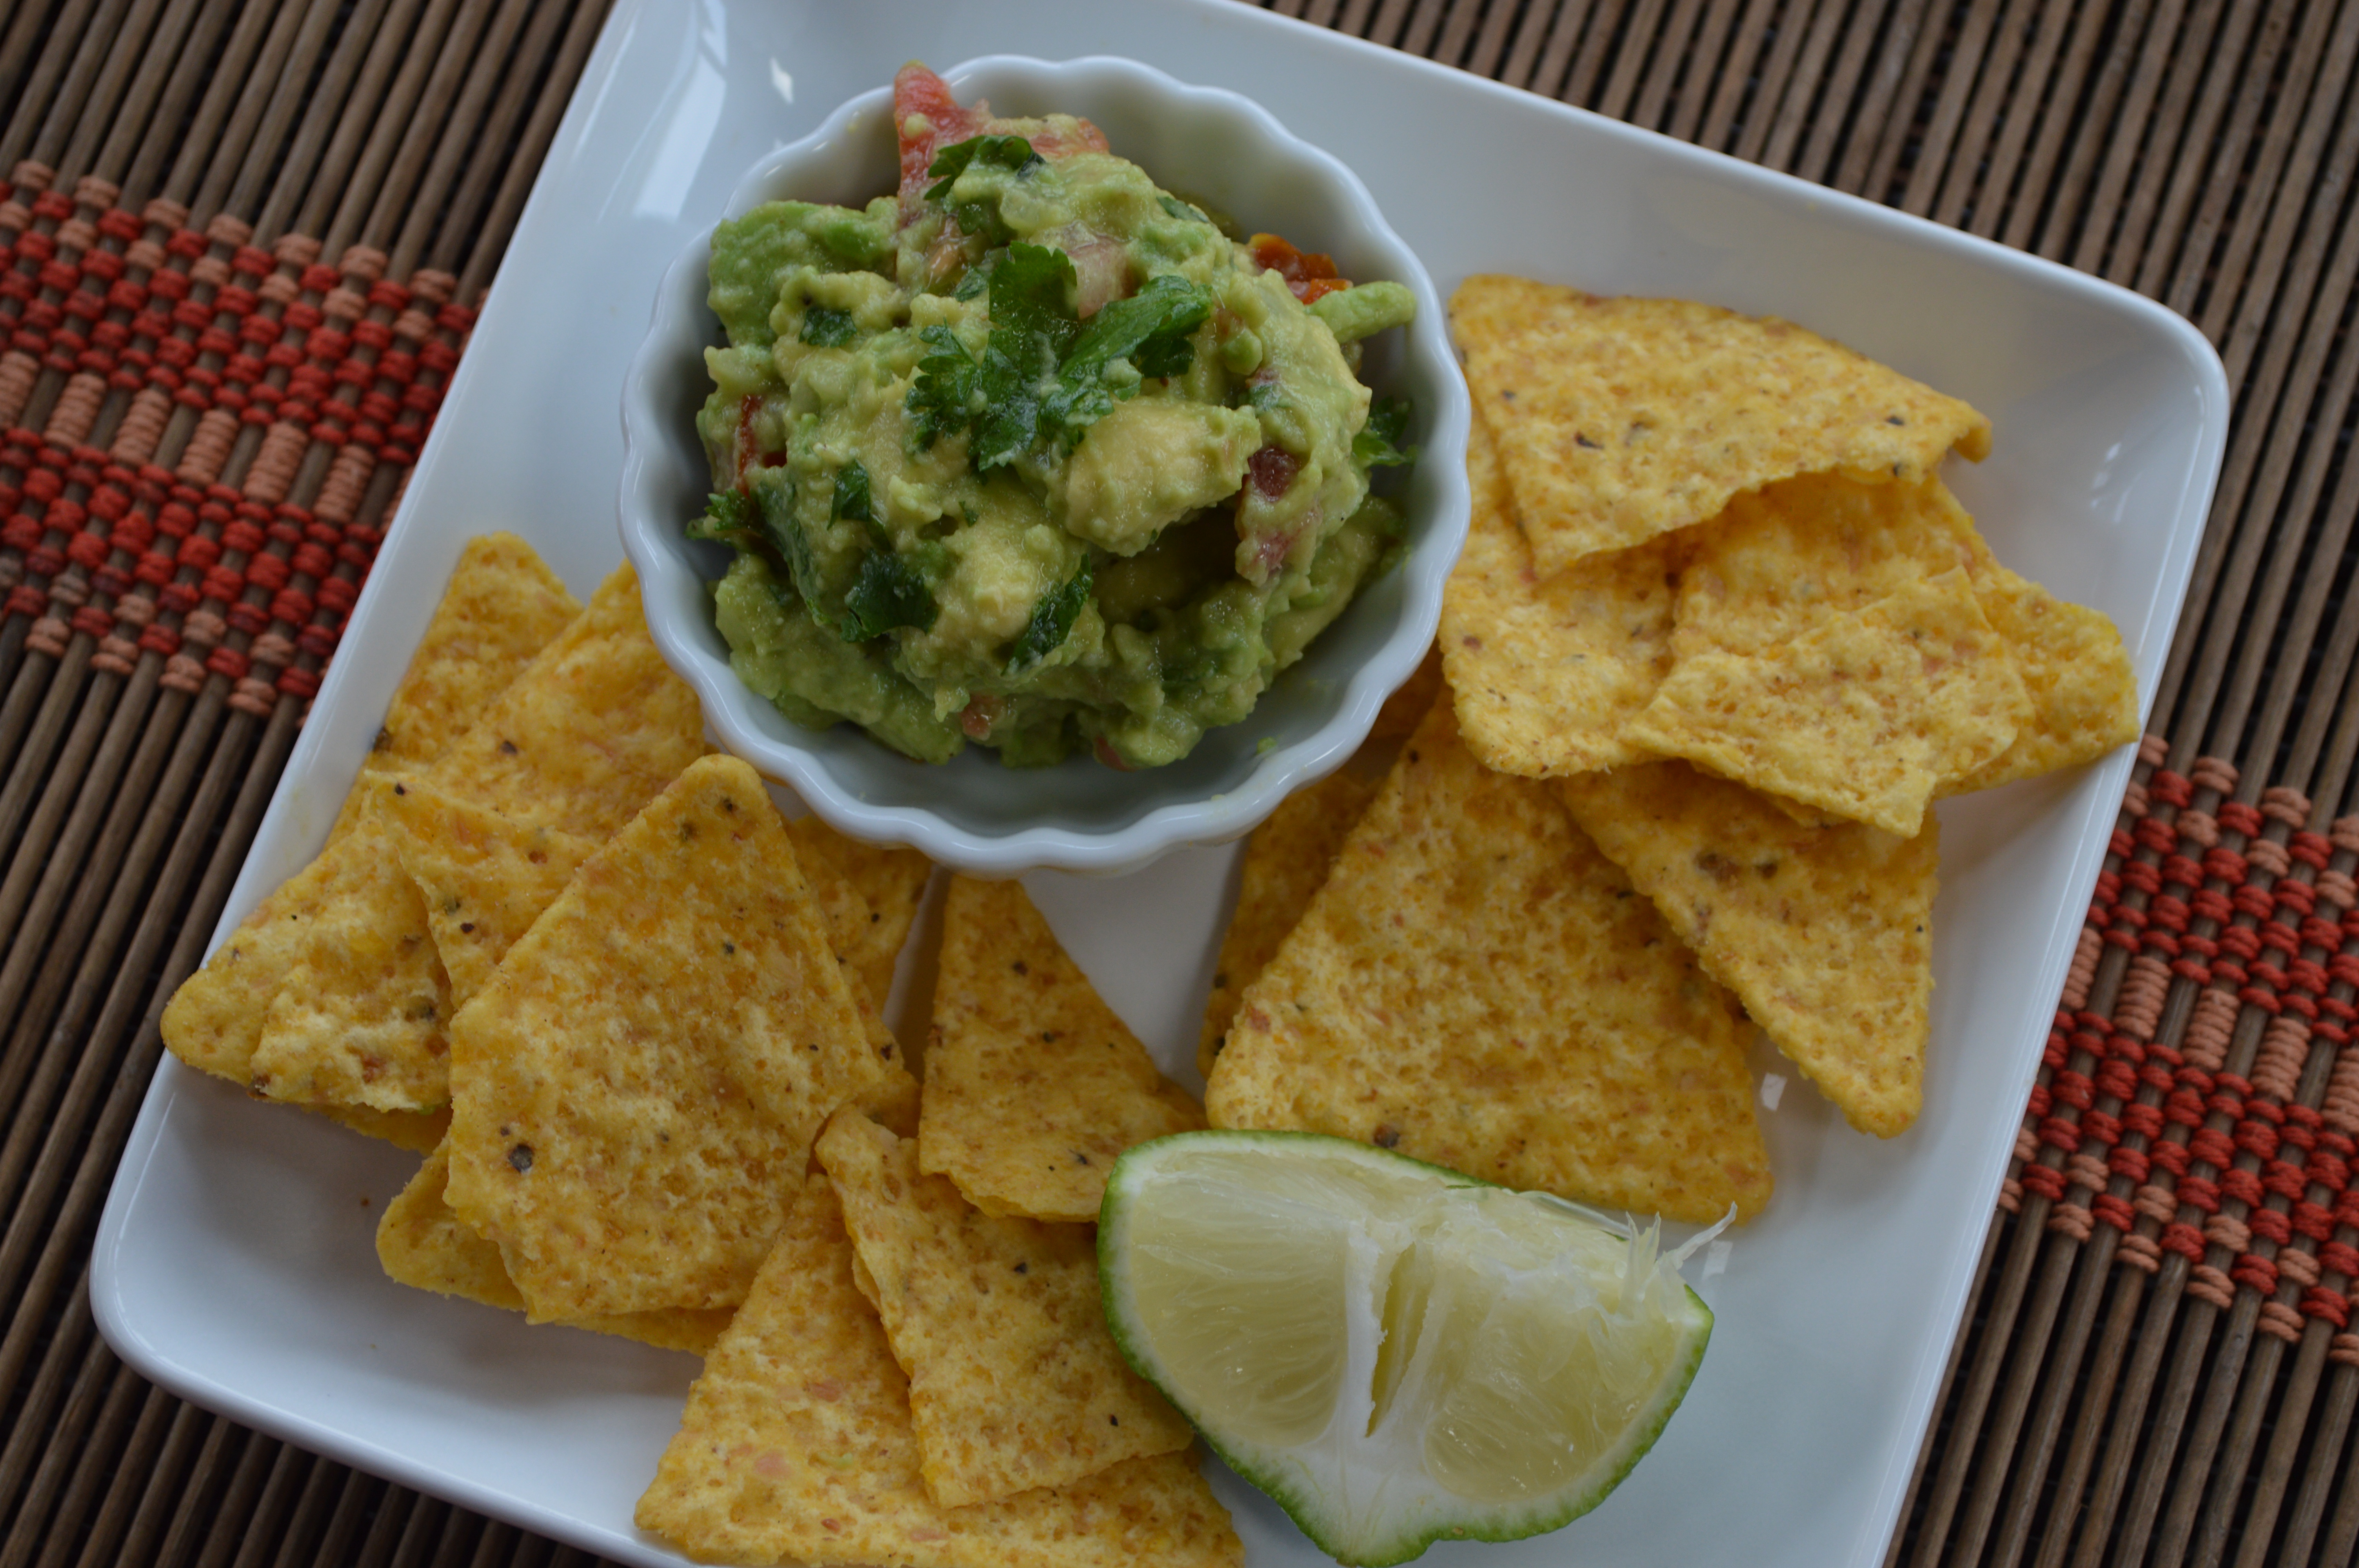
A simple chicken recipe…not a lot of tough steps, and pretty easy ingredients, transforms itself into what tastes like heaven on a plate. I mean, basically when you add cheese and bacon to anything, it’s going to be delicious, but this is ridiculously delicious. We were having a busy night so just paired it with some fresh veggies and tortilla chips! But you can toss together a salad, make a rice dish, or eat it on its own garnished with some avocado and pico de gallo. The pico de gallo really brings it over the top, so I highly recommend that!
It is always hard to find a chicken dish that is new and interesting, but I promise you, this one will do the trick. Perfect for summer, or anytime!
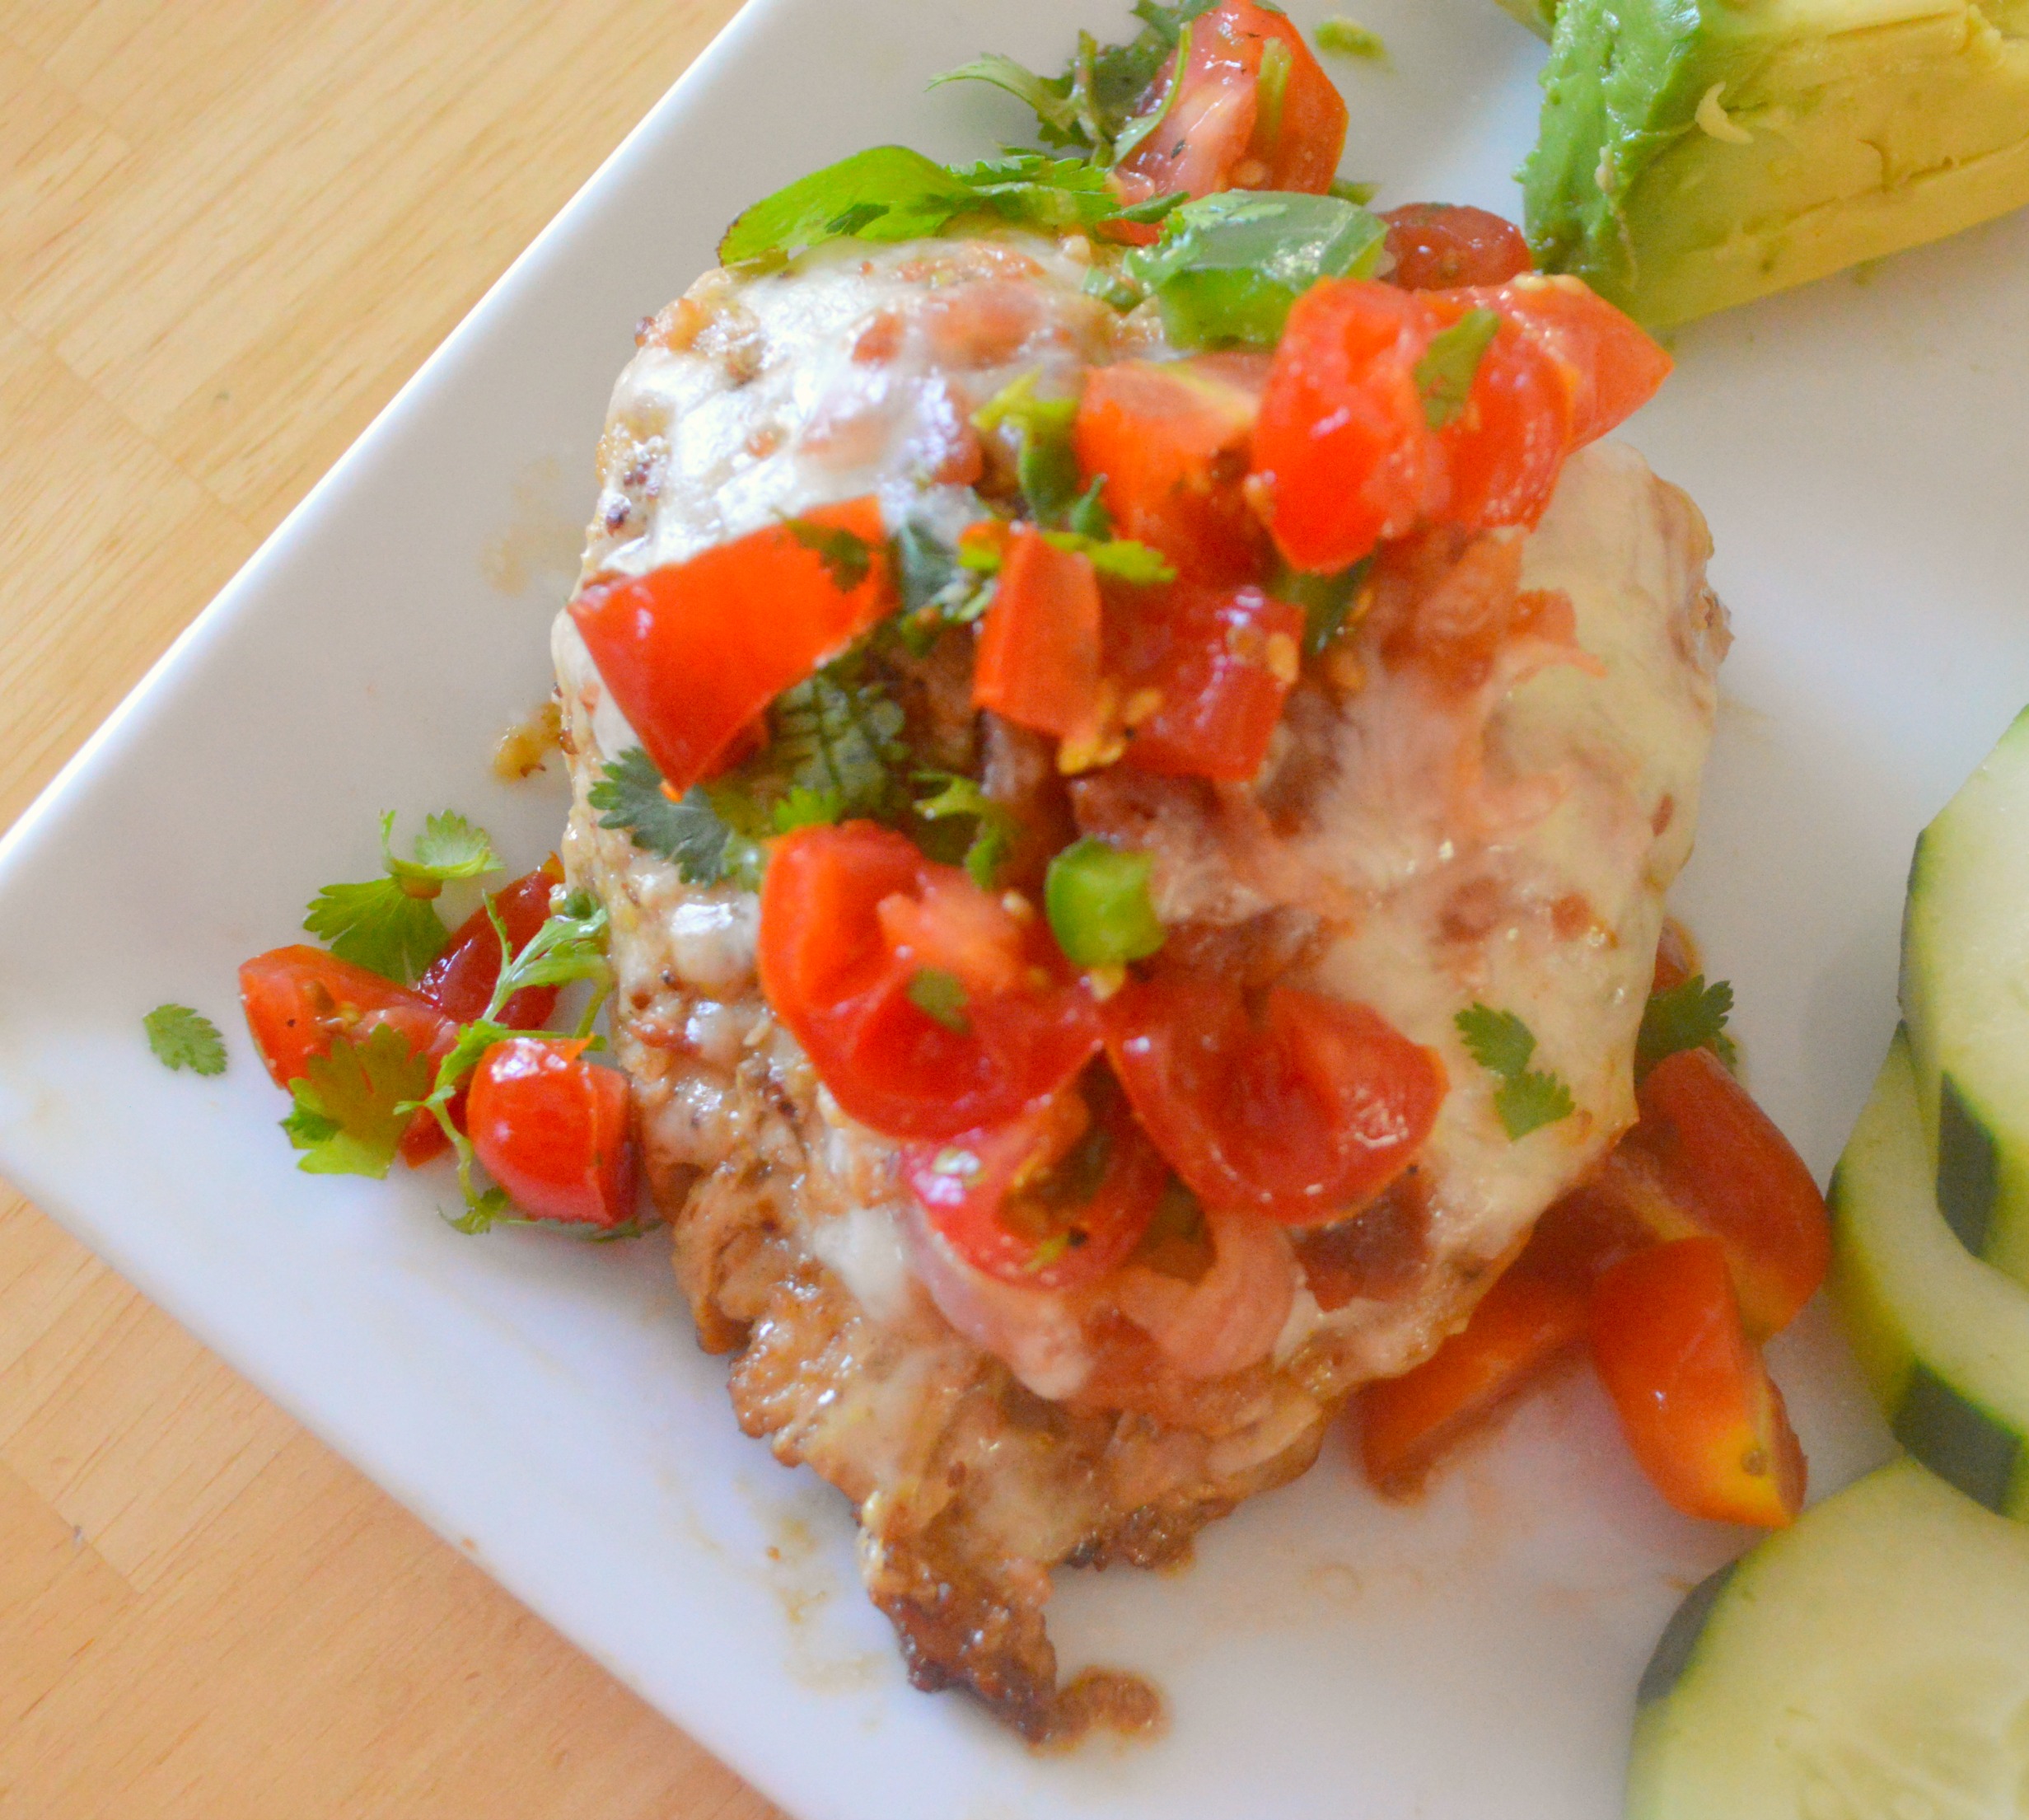
Monterey Jack Chicken
Author: Heather
Recipe type: Chicken
Cuisine: Dinner
Serves: 6 servings
This chicken dish is one of our new favorites. Marinated until tender, topped with melty cheese and bacon, it is one of the best!
Ingredients
- Marinade:
- 4 tbsp dijon mustard
- 4 tbsp worcestershire sauce
- 3 tbsp brown sugar
- 3 tsp salt
- Other:
- 6 thin chicken breasts (about ½ inch thick)
- 2 cups shredded monterey jack cheese
- 8 slices of bacon (turkey or regular) cooked crisp and cooked
- Pico de Gallo (optional-see link above for recipe)
- Avocado (optional)
Instructions
- In a small bowl, combine dijon mustard, worcestershire sauce, sugar and salt.
- Whisk together
- In a plastic bag or shallow bowl, marinate chicken for 30 minutes or up to 24 hours.
- In a large skillet or indoor or outdoor grill, heat 1 tbsp olive oil.
- Grill or saute chicken about 3 minutes on each side until golden brown.
- While chicken is cooking, combine shredded cheese and chopped bacon
- Distribute cheese bacon mixture evenly on browned chicken and cover with a lid or grill cover.
- Continue cooking on medium low until chicken is fully cooked, and cheese is melted.
- Feel free to put in the broiler for a minute or two as well to brown the cheese.
- Top with pico de gallo or avocado if desired.