My husband has difficulty relaxing. He doesn’t know how to sit down and enjoy the simple things of life, like watching a movie (you have to sit in one place too long), reading a good fiction novel (“I should be learning something if I’m reading…”), going out for a long, slow dinner (“Where’s the check?”) or just plain relaxing (“I’m bored!”). It’s like trying to lasso an eel.
It’s a difficult thing to live with because if there’s one thing I know how to do it’s relax. I like nothing better than to lose myself in a good book or movie, linger over a long, luxurious dinner out, and my idea of real fun: lounging around on the couch listening to the rain. Try as I might, I could never get him to see the point of any of that.
But–and this took many years of marriage–I’ve finally gotten him to stay in bed on Sunday morning. It took a good cup of coffee, a fresh newspaper, and a really lovely breakfast.
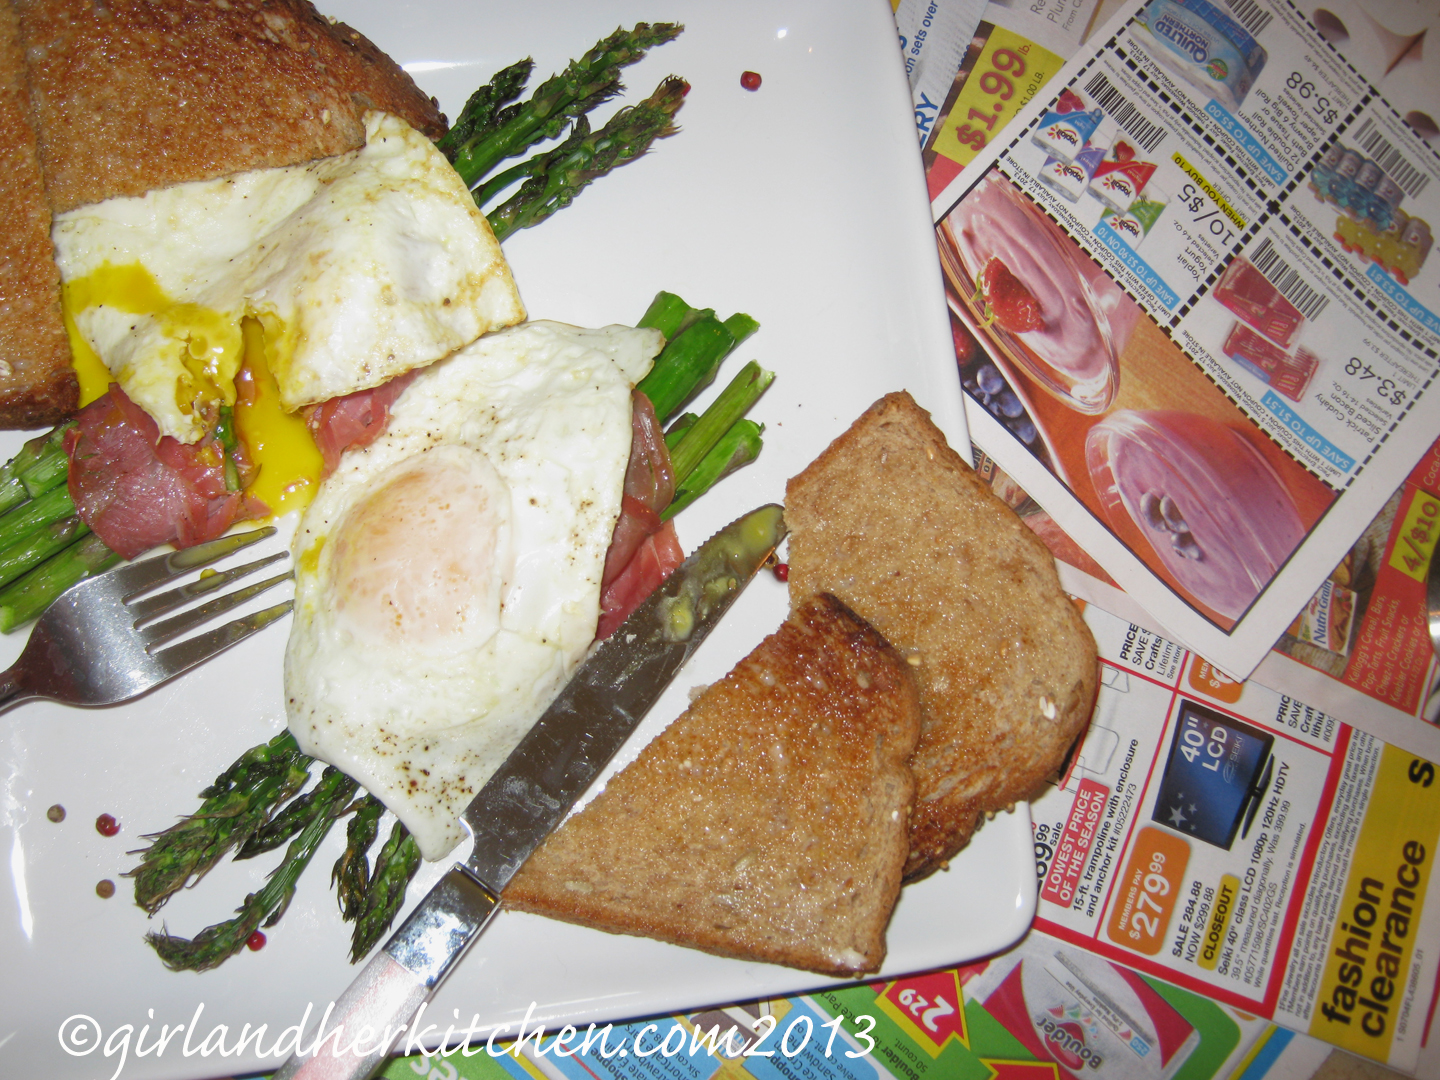
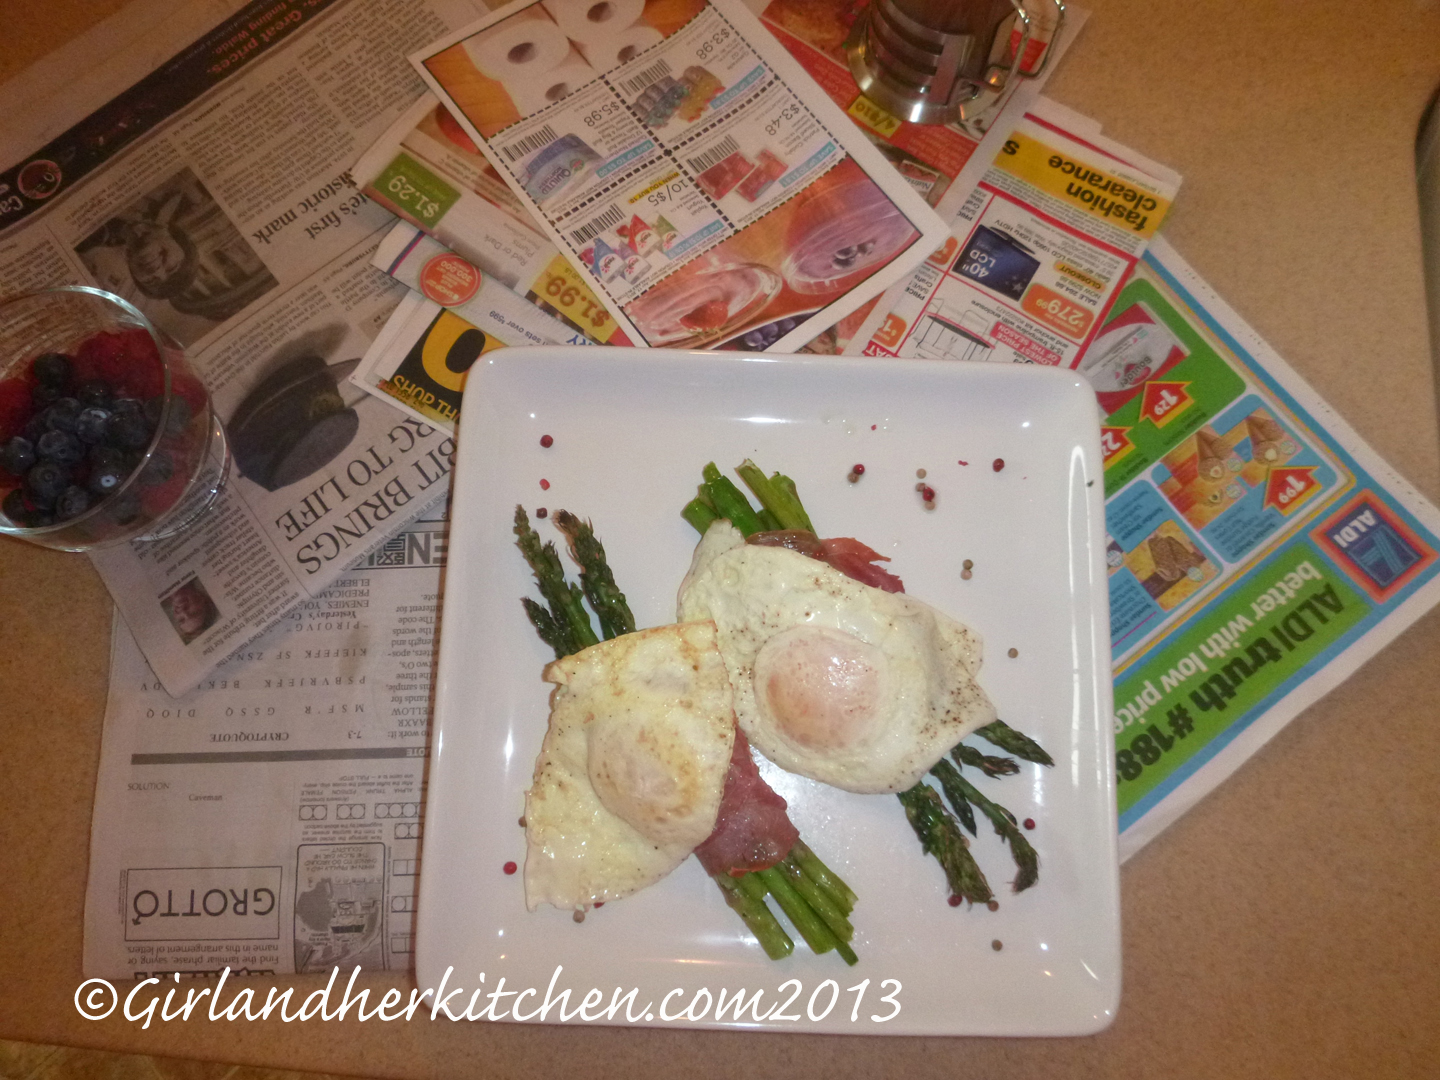
Of course, with Mr. Ants-in-His-Pants, it has to be a quickly made breakfast and Proscuitto-Wrapped Asparagus and Eggs fits the bill perfectly. Plus, an added bonus, it doesn’t require me to keep a lot of things stocked in the fridge to make it.
It has an amazingly satisfying flavor. Something about the egg yolk mixed with the asparagus is just so seductive and perfect. It’s as if they were made for each other. Add in the saltiness of the proscuitto and you have a perfect blending of taste sensations to keep anyone, even the fidgetiest of men, relaxing in bed on a lazy Sunday morning.
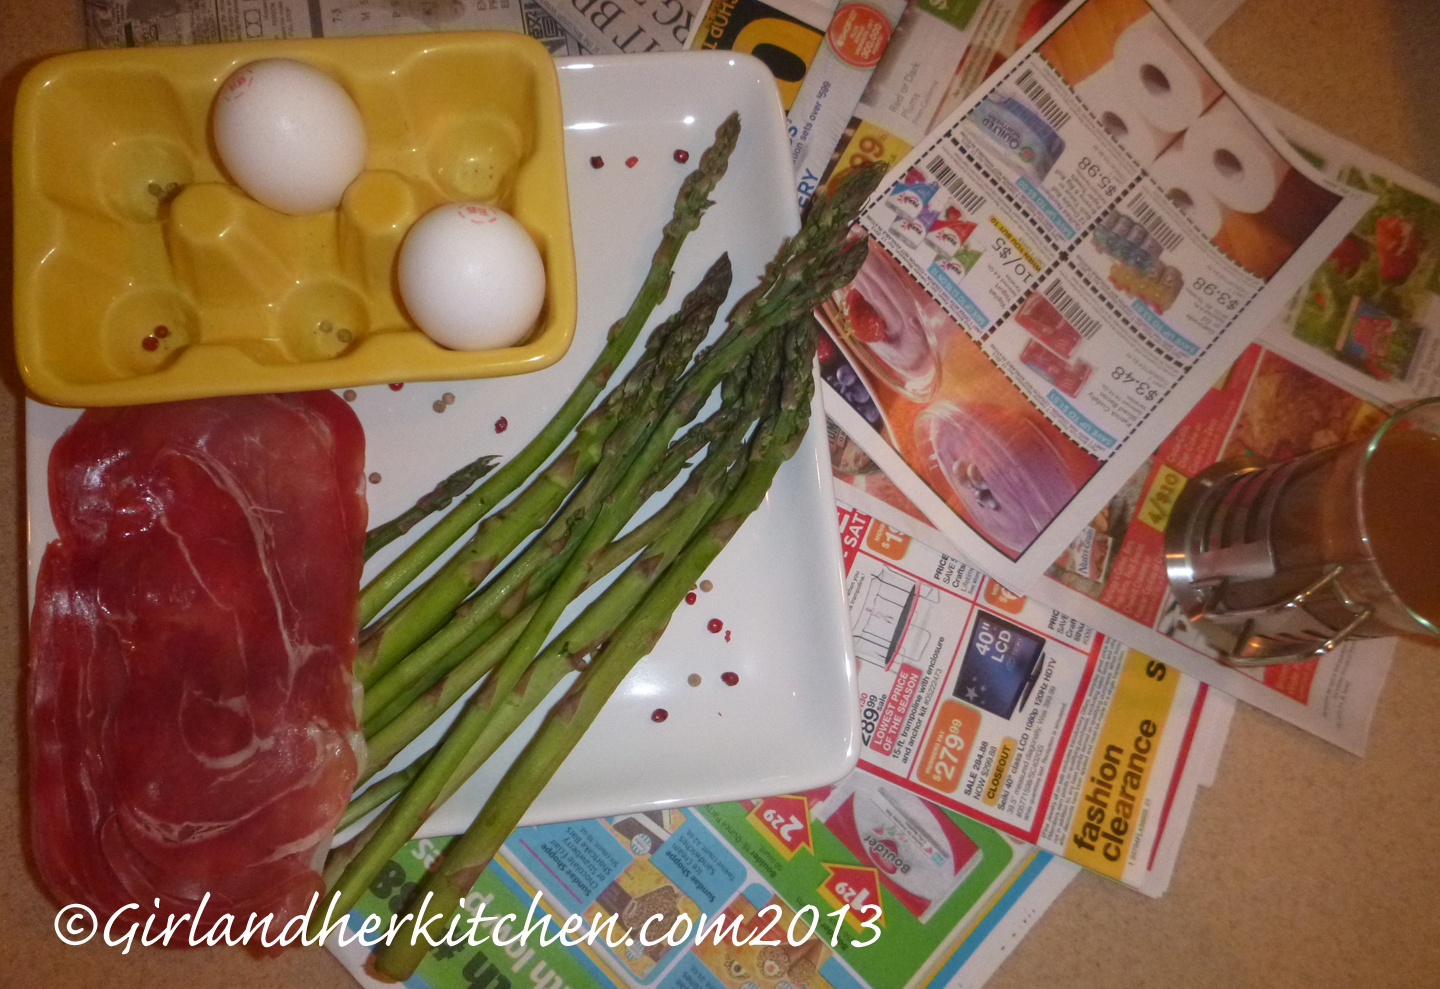
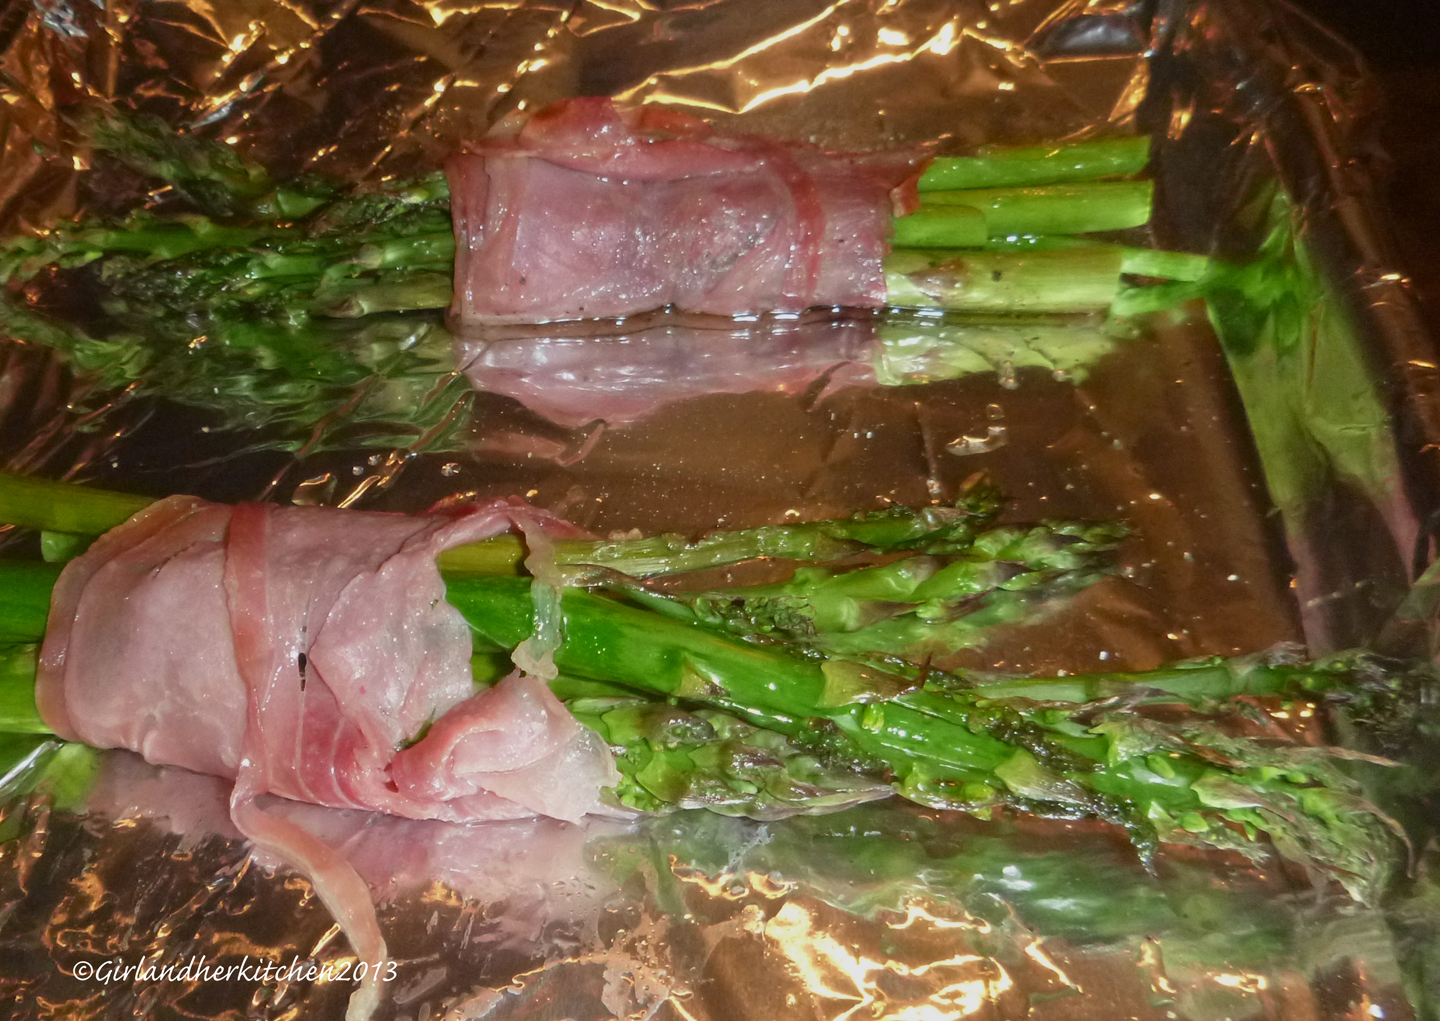
Proscuitto-Wrapped Asparagus and Eggs
4 slices of Proscuitto
6-8 spears of asparagus
1 Tsp oil
2 eggs
salt & pepper to taste
Preheat oven to 450 degrees. Wrap 3 to 4 spears of asparagus in two slices of the proscuitto. Do the same with the other 3 to 4 spears. Cover a baking sheet with foil and coat with cooking spray. Place wrapped asparagus spears on it. Drizzle oil over the wrapped spears and sprinkle with salt and pepper. Bake for 10 to 15 minutes. Remove from oven and set aside.
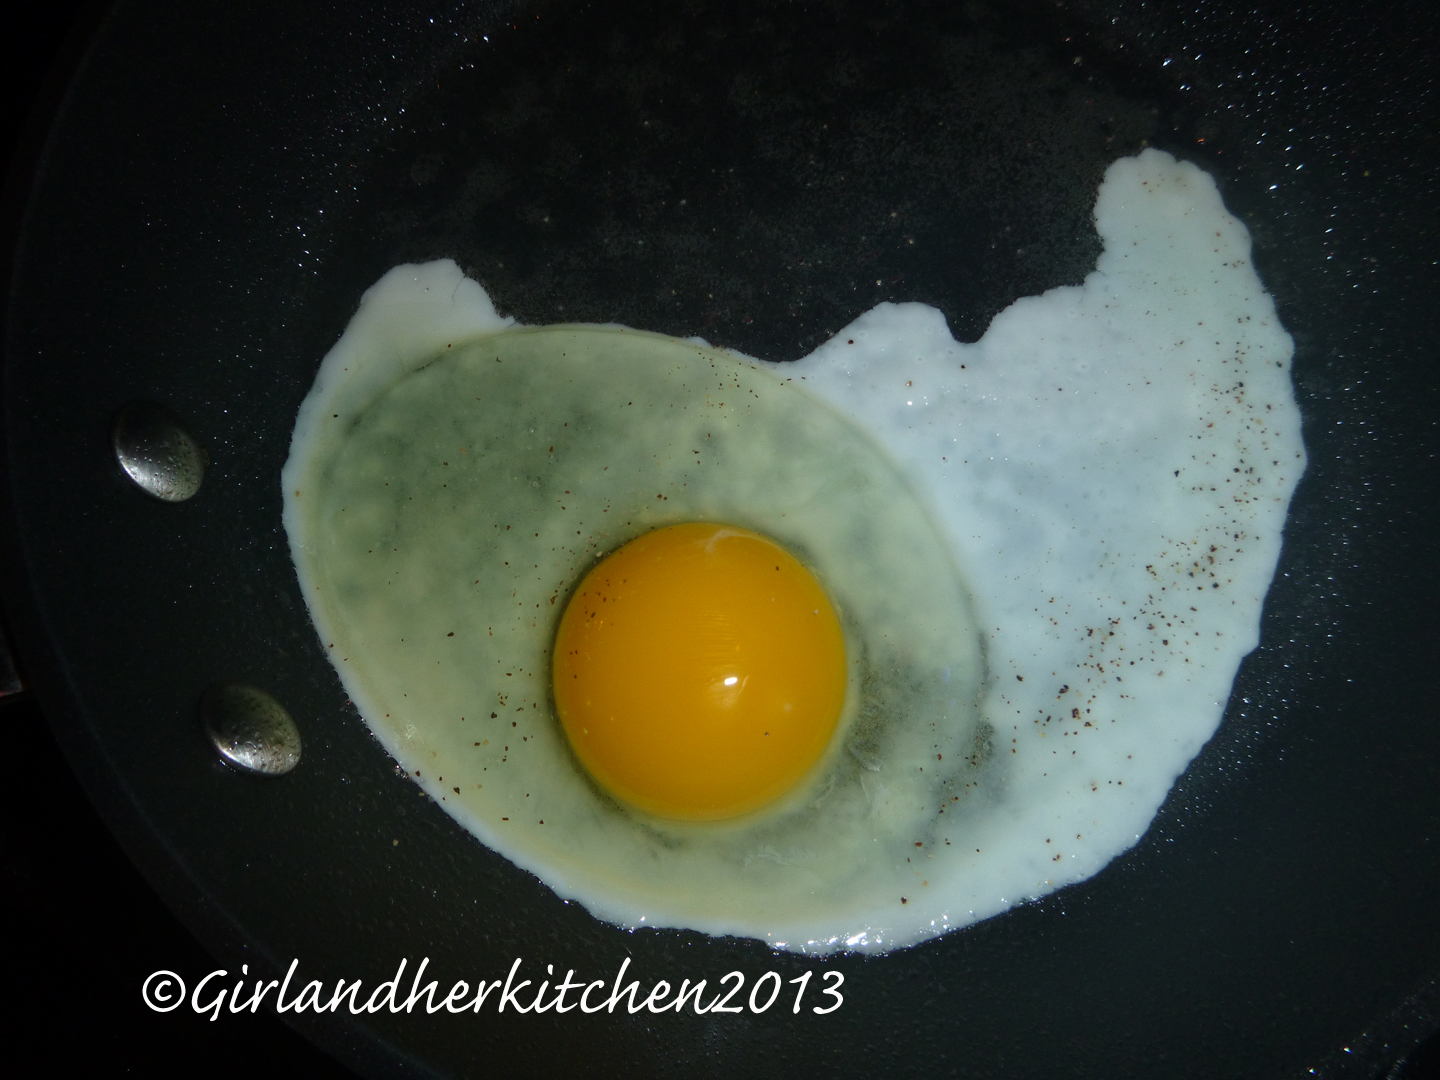
In a frying pan coated with non-stick cooking spray, crack two eggs. Fry, over medium low heat to your liking, sunny side up or over easy.
Place the asparagus spears, one bundle to a plate, on two plates. Top with a fried egg, and serve. I recommend some toast, a cup of piping hot coffee and some fruit to round out the meal. And, don’t forget the Sunday funnies!