• Email
    • Facebook
    • Instagram
    • Pinterest
    • Twitter

Girl and Her Kitchen

Plan. Make. Eat. Design. Craft. Create. Celebrate. Life.

  • Home
  • About the Girl
  • Recipe Index
  • We LOVE
  • Weekly Menu

Vegetarian

100 Days of Real Food Cookbook Review {and Giveaway!}

You need this book.

Take it from me. I love cookbooks.

No, seriously, come over sometime. You will really see that I sincerely LOVE cookbooks.

I collect them. I read them. I use them.

But then…

I forget about them.

What can I say?  It happens.

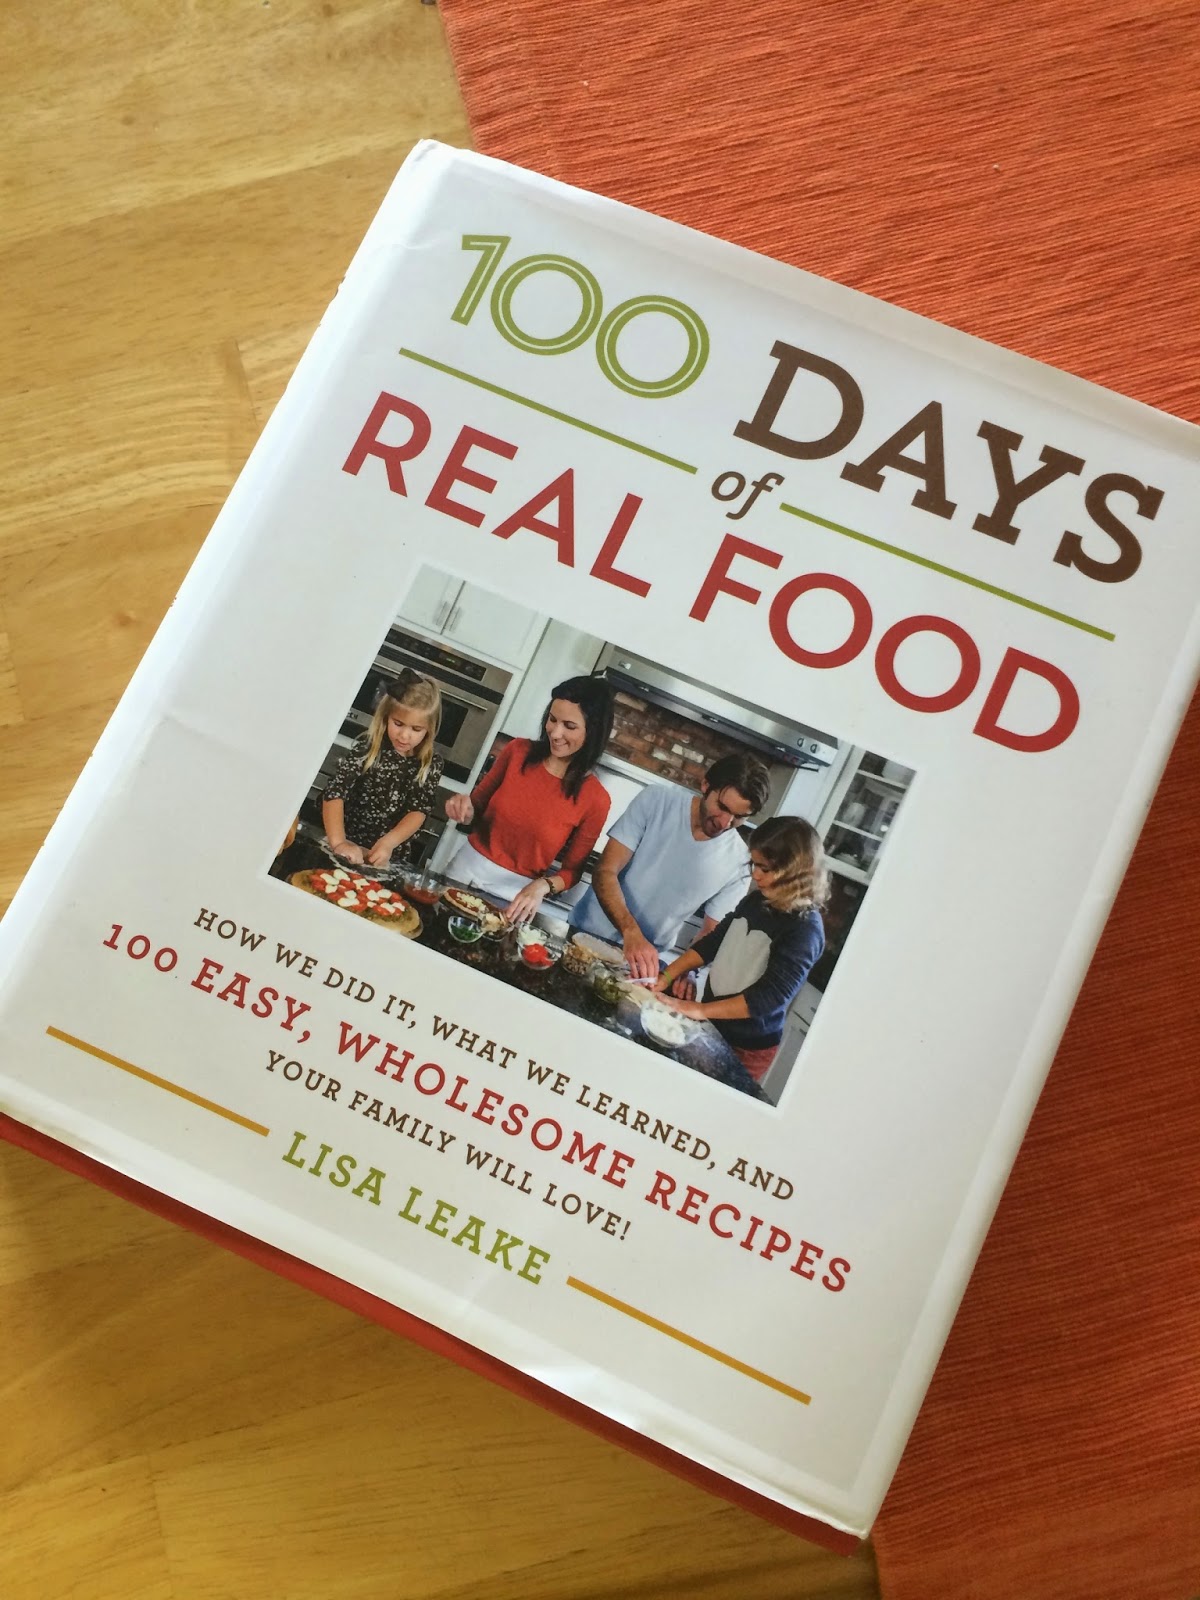
When I received my copy of Lisa Leake’s new cookbook, 100 Days of Real Food, I wondered if this one would make the cut. Would it end up collecting dust on my shelf, or would it be something that I could actually use? Would it be something that would speak to me, be useful for my family, and give me new ideas? Or would it be another book using hard to pronounce ingredients, with recipes that my family would never eat?

Only a few pages in, I realized that this book would not become one of the forgotten ones.  I see this one remaining shelf-free, on my counter and being used for a long time!

This book is one of those rare finds that has everything you are looking for in a healthy eating cookbook. Packed with recipes, you will find yourself paging through, wanting to make each and every one of them. The book really caters to almost every “cooking” lifestyle, showcasing many types of recipes ranging from gluten free, vegetarian, dairy free, and all kid and family friendly.

The coolest thing about this book? The recipes barely even scratch the surface of what is included inside. The book begins with some history of Lisa’s challenge with her family to attempt to go 100 days of only eating real food, and details “the plan” to eliminate processed food from your family’s lifestyle. She includes menus, shopping lists and personal stories, all with a flair that makes you feel as if you are reading a book written by a good friend. She is helpful and understanding, never judgmental or condescending. She writes this book knowing that this is a challenge, but instilling you with the confidence to get it done. After you read only a small section, you feel the need to clean out your pantry and get started!

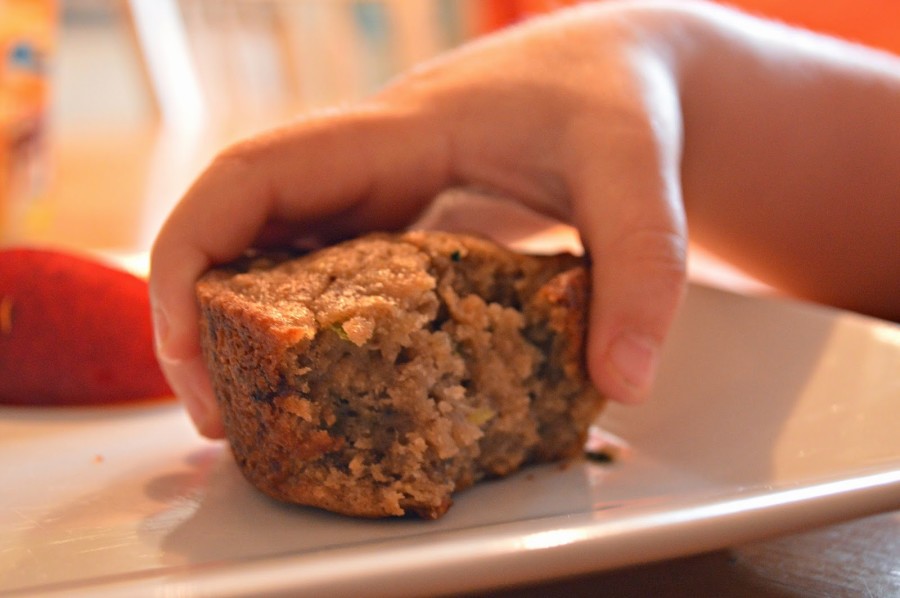
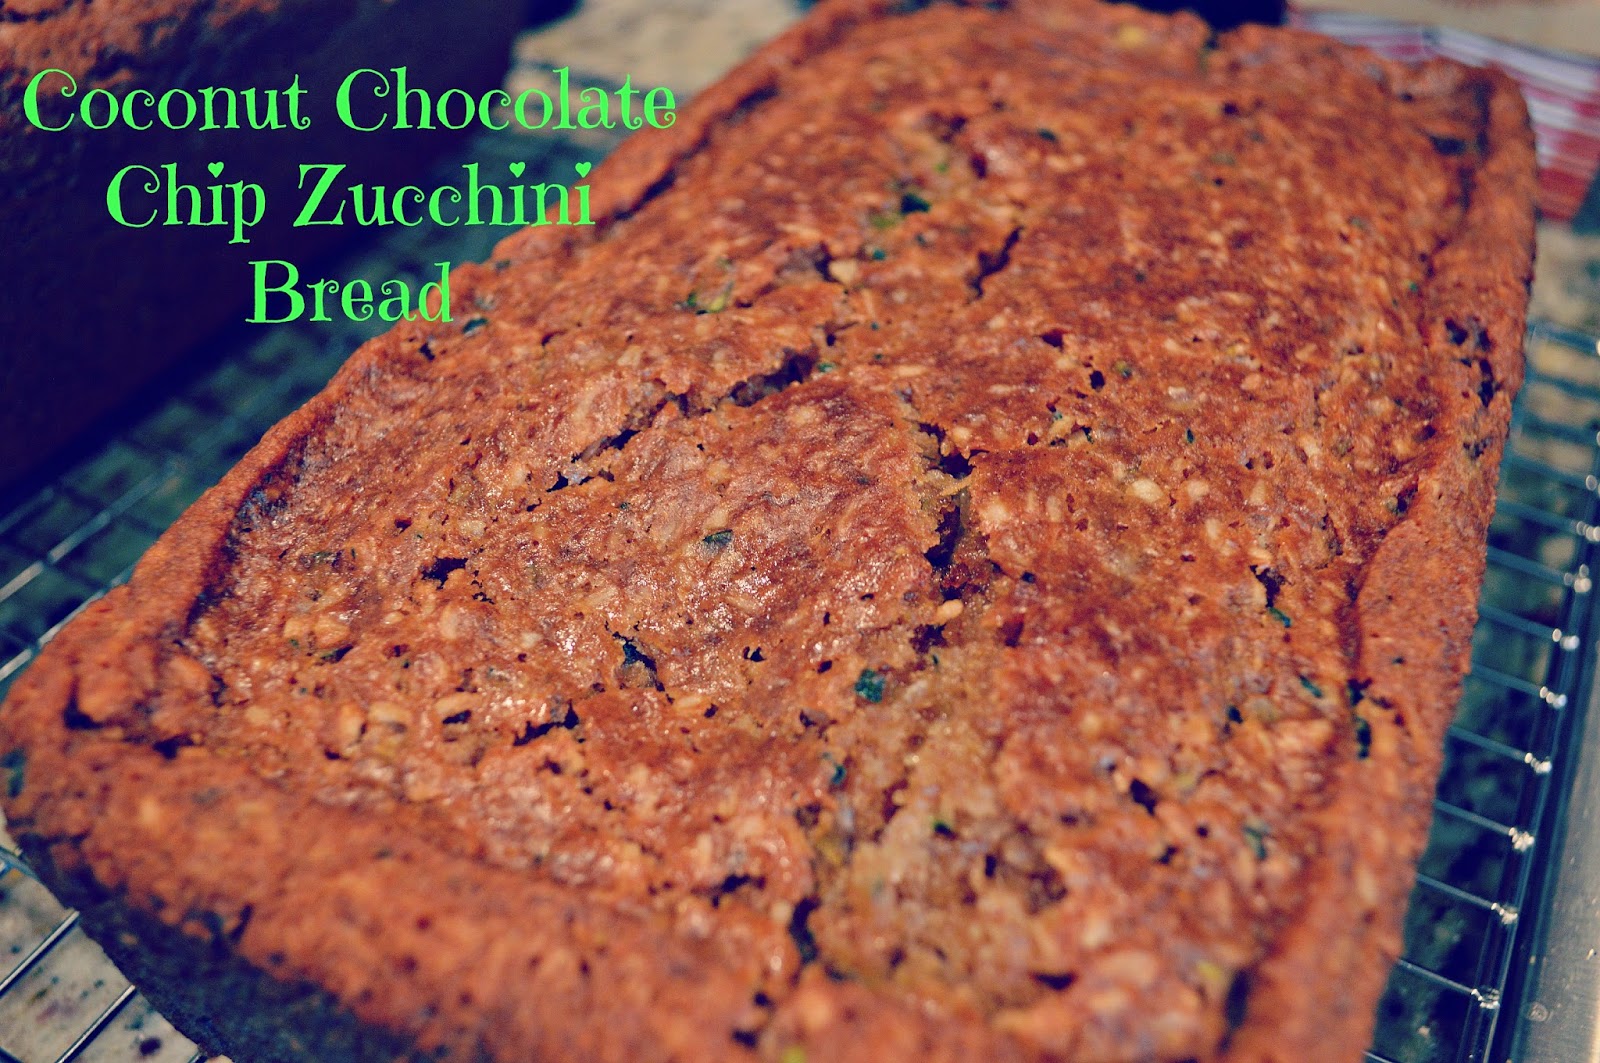
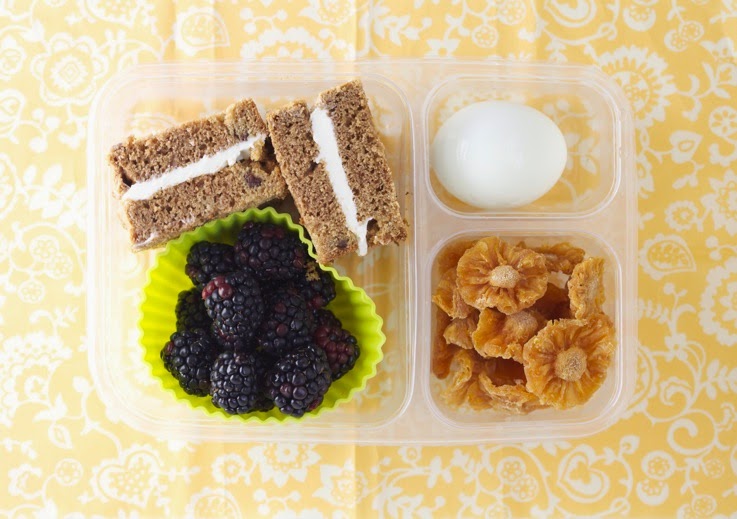
The recipes are delicious too! I have followed her for a couple years now online, and have loved everything I have made that I found on her site. She is the person that inspired my creative lunches for my kids, and she includes a section in her book all about lunches and some easy to make staples to make life simpler when making those (sometimes dreaded) school lunches. She includes delicious kid friendly recipes like Cinnamon Raisin Quick Bread, which, I am sharing with you if you scroll down below.

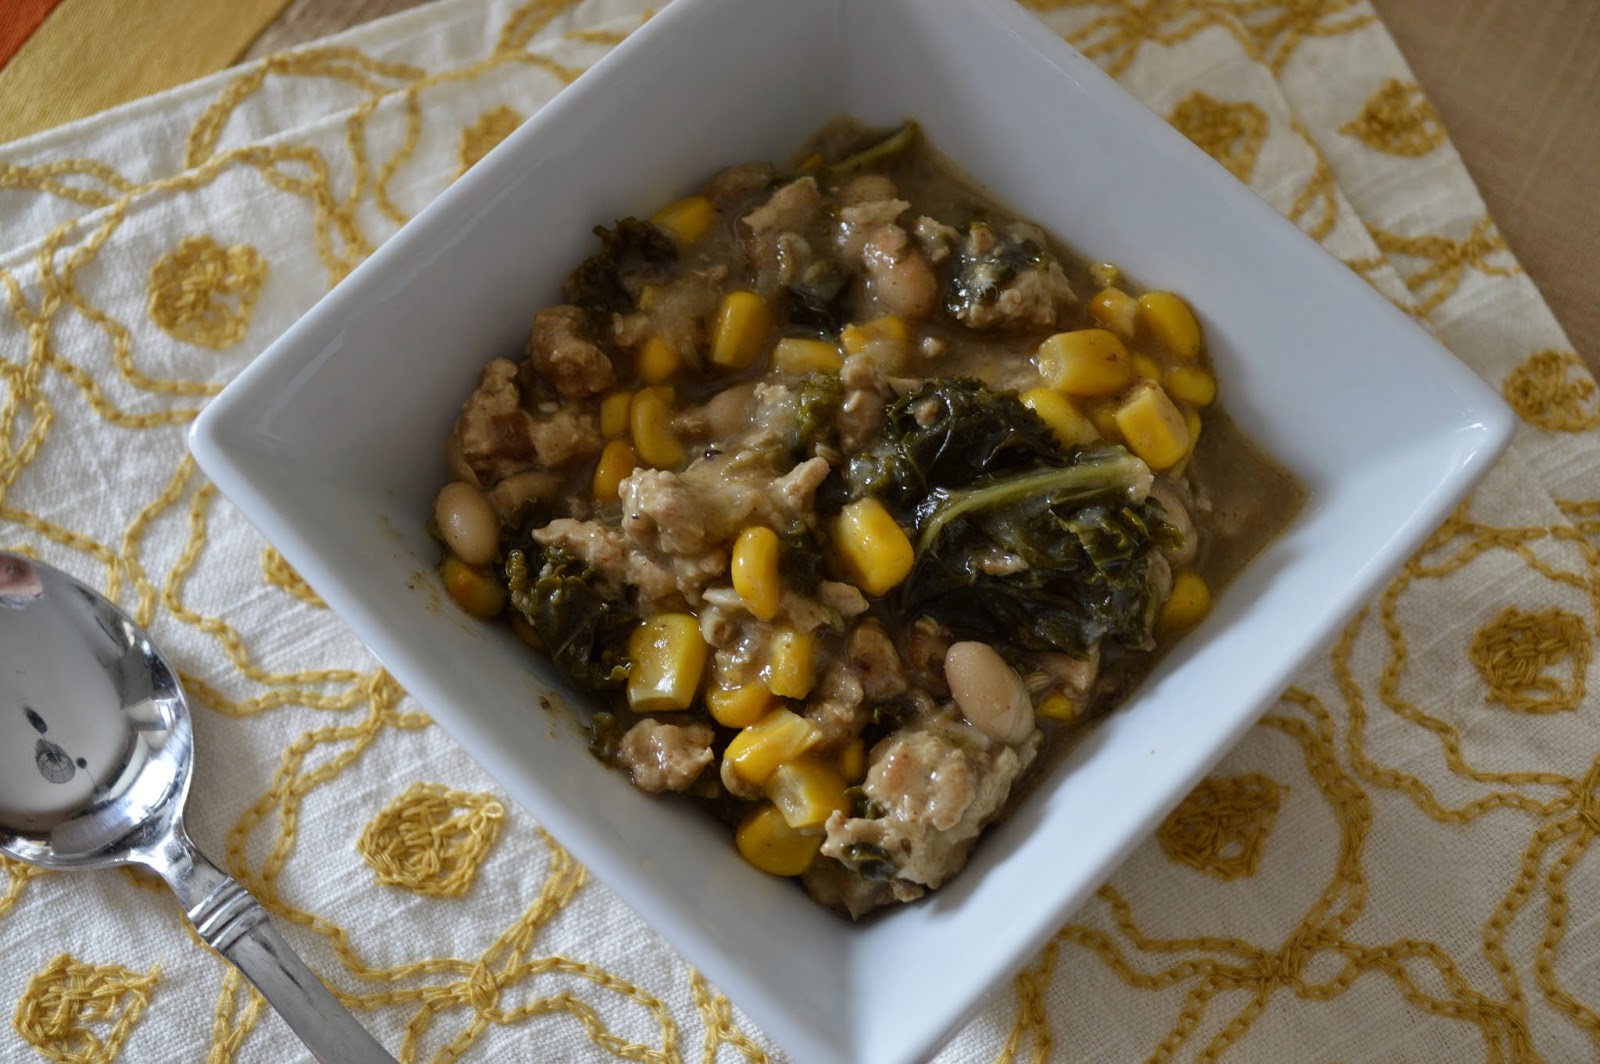
There are some other recipes to not miss as well, like this Veggie Corn Chowder, that your kids will gobble up as the weather gets cooler.

And this one? This short cut eggplant parmesan makes me swoon because eggplant is my absolute favorite! And the fact that it has the word “shortcut” in it, makes me even happier!
The book is pleasing to read, and the pictures are so beautiful it makes you want to get cooking. The author’s step by step directions are easy to follow and the ingredients for the recipes are simple to find, and most likely on hand in your kitchen. 
This is a book you do not want to miss! And, one LUCKY reader will win this SIGNED copy of her book from Girl and Her Kitchen! Fill out the rafflecopter below, keep your fingers crossed, and hope for the best-it could be YOU! 
Not a winner? Check out these sites to buy her cookbook and get reading. You will not be able to put it down! 🙂
Amazon
Barnes and Noble
…or support your local bookstore!
Now, for that recipe I promised you…

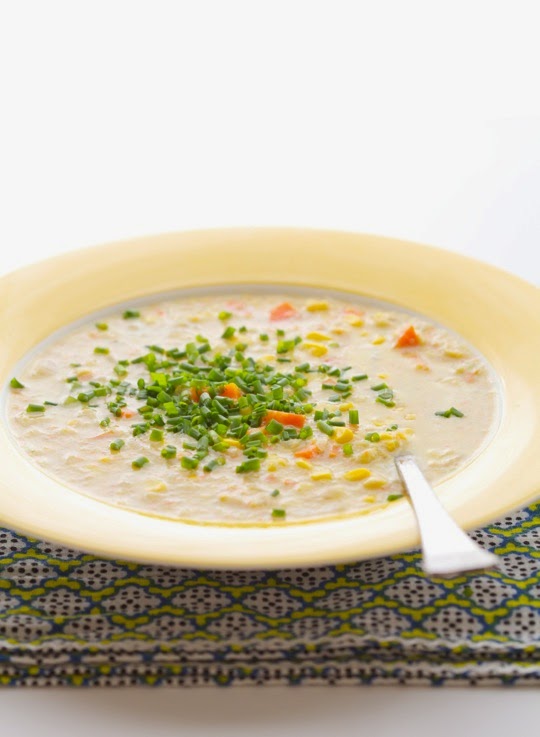
Photo Credit: Carrie Vitt and Kelly Trimble

a Rafflecopter giveaway

Heather

3 Comments

Ice Cream

Creamy Peanut Butter Ice Cream


peanutbuttericecream2.jpg

It is officially the last day of summer (in my head).

And, because I love all of you, I am giving you this.

Your welcome.

This is the BEST homemade ice cream recipe, I have ever had. Since I love ice cream…A LOT, I feel qualified to make that decision. I first tried this ice cream at my mom’s house and fell in love. I begged her for the recipe (which she gave willingly, like all the other millions of recipes I beg from her!) and decided to make it. I was sure I could never replicate the flavor that I experienced when she made it, but I did! This is really a no fuss recipe that yields extraordinary flavor results.

The peanut butter gives the ice cream a really smooth texture and the chunks of peanut butter cups throughout, make this dessert over the top! Best part? This is extremely easy to throw together and doesn’t even call for a ton of ingredients. There is no cooking and cooling (which makes ice cream taste so good, but I hate that step in other recipes!), and once all the ingredients are thrown together, you just throw it in your ice cream maker for about 30 minutes.

Happy Last Day Of Summer!

Creamy Peanut Butter Ice Cream

1 1/8 cup creamy peanut butter* 
3/4 cup sugar
1 1/4 cups whole milk** 
2 cups heavy cream
1 1/2 teaspoons pure vanilla extract
1 cup chopped chocolate peanut butter cup candies*** 
 
In a medium mixing bowl, use a hand mixer to combine the peanut butter and sugar until smooth. Add the milk and mix on low speed until the sugar is dissolved, about 1 to 2 minutes.  Stir in the heavy cream and vanilla. Turn the 2 quart ice cream machine on and pour the mixture into freezer bowl. Let mix until thickened, about 25 to 35 minutes.  Five minutes before mixing is completed, add the chopped candy through the top and let mix in completely.  The ice cream will have a soft, creamy texture.  If a firmer consistency is desired, transfer the ice cream to an airtight container and place in freezer for about two hours.  Remove from freezer about 15 minutes before serving.  Makes about 14 half cup servings.
*I used the natural kind that does not need to be refrigerated–do not use the one you have to stir-the consistency will be off
*I used 2% and it was still good, but whole amps up the creaminess
**I used the dark chocolate peanut butter cups from Trader Joes-so good!


Heather

2 Comments

Breakfast Muffins & Scones

Zucchini Banana Muffins

zucchini banana muffins1

School breakfast madness preparation is here!

You know, the time of year where you may have some awesome ideas to fill your kids with healthy, nourishing, balanced breakfasts each and every morning before they head off to school? You probably planned to set their outfits out the night before and pack a creative lunch. That morning, you had decided to get up early, get showered, (maybe even work out before that??), prepare breakfast, set the IPod to some relaxing, brain stimulating music, set the table and then sit with the kids for some meaningful conversation before you send them off.

And then reality sets in. For me, it started on the first day when my alarm didn’t go off.

I tried my best not to swear, since that was the opposite of what I was trying to do as this fresh, good mom. But as I looked at the time on my clock, I began to panic. Racing to the kids rooms to wake them up, I found them dressed and playing legos with each other on the floor.

Oh, okay.

Well, thank goodness THEY woke up. This could have been a total disaster! I threw on some clothes that I hoped were clean, forgoing my shower for a quick teeth brushing and face washing and raced down the stairs to get their first day of school breakfast ready.

Chocolate chip pancakes, bacon and strawberries was not too hard, or at least I thought. Isn’t it funny that food you might make often with no problems, always seems to NOT work when you REALLY, REALLY need it to work? That was the case this morning as pancakes were coming out slightly over-brown and bacon was splattering everywhere. Strawberries were rotten (crap! I just bought them!), but I subbed some sliced peaches instead.

Kids barely noticed, except to take time to say how good everything was.

Oh, okay.

Off to school with their creative lunches, that gosh darn it would not fit in their lunch bags. Seriously, why didn’t I test this before one. minute. to. leave.

Okay, sideways they will go, slightly shoved in. Kids were excited to go and kissed me goodbye, happily off to their first day.

Oh, okay.

Ahhhh….I see now. This is all ME. I am the one trying to go overboard here, and my kids can dress themselves, enjoy a little overcooked breakfast, and shake it off when their lunch doesn’t fit perfectly in their lunch bags.

Basically what I am learning here is the mornings do not need to be crazy. Keeping easy things on hand for breakfast, packing healthy lunches and encouraging the kids to be independent is the best thing  I can do for them to have a good morning before they are off to school.

The kids love muffins and so do I. These are easy to make, packed with some healthy ingredients and absolutely delicious. Making a few huge batches and freezing these are a must to ensure easy breakfasts and little stress this day forward.

Happy Beginning of School!

Zucchini Banana Muffins
Makes 12 muffins

1/4 cup sugar
1/2 cup light brown sugar
1/2 cup coconut oil, melted (canola oil may be subbed)
2 tablespoons unsweetened vanilla almond milk
2 teaspoons vanilla extract
1 1/2 teaspoon cinnamon
1 cup ripe mashed bananas (about 2 medium bananas)
1 1/2 cup whole wheat pastry flour
1 tablespoon baking powder
1 1/4 cups shredded zucchini, measured loosely

Preheat oven to 400 degrees and adjust baking rack to middle position. Spray a 12 cup muffin pan with non stick baking spray and set aside.  Do not use liners. These muffins are so moist, they will stick to the liners. In a large bowl, mix together sugars and oil with a handheld mixer on low. Add in milk, extract and cinnamon. Mash banana in a separate bowl and add to the sugar mixture. Mix on medium until blended together.  With mixer on low, slowly add in flour and baking powder and mix just until  combined and no dry ingredients remain. Squeeze water out of zucchini with paper towels. Fold in zucchini with a spoon and stir until all incorporated. Fill muffin cups 3/4 full and bake for about 15 minutes or until set and not overcooked. Depending on the moisture level of your zucchini, this time could vary. Check at 10 minutes and every five minutes after that until set. Let cool in pan for 10 minutes and carefully remove from muffin pan. Enjoy warm or let cool completely and freeze for another time.


zucchini banan muffin2


What is your best secret for quick, on the go breakfasts? Share your ideas in the comments below!


Heather

Leave a Comment

Breads, Quick Breads and Rolls Breakfast

Coconut Chocolate Chip Zucchini Bread

Or cake.

Because these “breads” we speak of, are really just cakes baked in a loaf pan, right?

This one, in particular, really got me. It is so good. I mean, really, really good. So good I wish I could come over and bake it for you. Besides you being totally creeped out that I was in your house using your oven, you would definitely thank me.

At some point.

I love the traditional zucchini bread recipe and will share a friend’s recipe that I love soon, but I am always trying to find new and exciting ways to use zucchini. I was super happy when a friend gave me one of their gigantic garden zucchinis that I happily spent an afternoon baking as much as I possibly could using it. I used the entire thing and made four different recipes.

Yum.

This one was definitely my favorite. A thick, moist slice of this cake bread was so delicious right out of the oven full of coconut flavor with dark chocolate chips oozing out. If you have zucchini and can make one recipe, this one is it.

If you don’t, you are basically inviting me in to your house to bake it for you!

Coconut Chocolate Chip Zucchini Bread

1 3/4 cup zucchini, grated, squeezed with a paper towel to remove excess moisture
1 2/3 cup whole wheat pastry flour
1 cup brown sugar, loosely packed
3/4 cup unsweetened flaked coconut
1 teaspoon baking soda
1/2 teaspoon baking powder
1/4 tsp salt
1 cup coconut or almond milk
1 1/2 tsp vanilla extract
1/2 tsp coconut extract
1/2 cup coconut oil, melted (if you do not have this, feel free to use canola oil)
1/2 -3/4 cup dark chocolate chips (depending on how chocolate-y you want it!)

Preheat oven to 350 degrees. Squeeze out moisture from zucchini using paper towels. Set to the side. Grease a 9×5 loaf pan with coconut oil or baking spray. Set aside. In a large bowl, combine flour, brown sugar, coconut, baking soda, baking powder and salt. In a medium bowl, whisk together milk, vanilla and coconut extract. Slowly drizzle in coconut oil whisking vigorously until smooth and creamy. Add zucchini until coated. Add wet ingredients into the dry and stir just until wet. Pour into loaf pan and bake 50-60 minutes or until golden brown on the top and the top middle is not jiggly anymore.


What is your favorite thing to make with zucchini this time of year? Let me know in the comments below! I would LOVE to hear your ideas! 


Heather

1 Comment

Appetizers Snacks

Summer Mango Salsa

So…I am in summer ending denial.

What? You have never heard of it? Okay, let me set the scene. Your kids go back to school SUPER early. No, like really early. Like the kind of early that you are second guessing if you wrote the correct date on your calendar because there is NO way you could possibly start school this early.

But, it is true. And…if school is starting, that obviously means summer is over. Right? Right.

But, I refuse to let it happen. I am in summer ending denial. I am feeding my children popsicles all the time. I am setting up the sprinkler and forcing them in, even though the temps have dipped below seventy in the last few days. We are grilling out more than we have in the whole summer. And let me assure you, we are eating outside since that is what you do IN THE SUMMER.

And then, this salsa. This salsa really makes it feel like summer. Fresh mangoes, colorful splashes of bright color all coming together to make the most delicious salsa you could possibly imagine.

This salsa recipe was given to me by a friend. She even made it for us and it was ah-mazing! She gave me the recipe. I lost it. She gave it to me again. Um.

So… I just improvised with what I remember about it (yeah, I lost the recipe again), and although I don’t think it was the exact same as the one she gave me, this one was really delicious too!

Intrigued? Check out the recipe below!

Save Print
Summer Mango Salsa
Author: Heather
Recipe type: Appetizer
 
This is sure to wow any summer guests, or just satisfy your own summer salsa craving!
Ingredients
  • 4 mangoes, pitted and diced small (I bought pre-sliced mango at the grocery store, blame it on summer laziness)
  • 2 ripe, but firm avocados, diced small
  • ½ cup red onion, diced small
  • 2 tblsp jalapeño, seeds removed, diced very small
  • 2 tblsp olive oil
  • 4 limes, juiced
  • sea salt
  • ½ cup fresh cilantro, chopped and loosely packed
Instructions
  1. Add mango and avocado to a serving dish. Add red onion and jalapeño Drizzle olive oil and lime juice over the top and stir very, very gently as to not mash the avocado. You want to make sure the avocado stays intact, but is coated with the lime juice so it is preserved. Sprinkle with sea salt and cilantro. Serve with chips. Store leftovers tightly covered in the refrigerator. Stir gently before re-serving. Enjoy!
3.5.3226


Heather

Leave a Comment

Cookies & Bars

Whole Wheat Oatmeal Chocolate Chip Cookies

wholewheatcookie2.jpg

Well, I did it. I have officially jumped on the coconut oil train.
Come join me! You know you wanna.
I have been using coconut oil for awhile now, and really love it. Make sure you buy the extra virgin coconut oil and not the refined. The refined coconut oil reminds me of lotion. The good stuff smells like fresh coconut and will make you almost want to scoop it out and eat it with a spoon. Of course, you would not want to do that though, because it will be a let down. I am not saying I have experience with trying to taste it, but….well…um…okay, so anyways…let’s just say, it is not meant to be eaten plain. But, about these cookies…
This cookie recipe uses many healthy, wholesome ingredients, but still yields a really delicious, moist and flavorful cookie. My husband loves sweets and he even gave this cookie a thumbs up. Of course my kids never complain when I hand them something with chocolate in it, but they were gobbling them up too.
Come on-just buy some coconut oil and give this recipe a try.

Whole Wheat Oatmeal Chocolate Chip Cookies

  • 1 1/4 cup lightly packed brown sugar
  • 1 cup extra-virgin coconut oil, soft -NOT melted
  • 3 large eggs
  • 1 teaspoon vanilla
  • 2 3/4 whole wheat pastry flour
  • 1 1/4 teaspoon baking soda
  • 1 tsp baking powder
  • 1 teaspoon salt
  • 1 1/4 cups quick oatmeal
  • 1 1/4 cups old-fashioned oatmeal
  • 1 1/2 cups dark chocolate chips
  •  
  • Preheat the oven to 350 degrees. In a large bowl, cream together the brown sugar and coconut oil until light and creamy. Add the eggs and vanilla and whip the mixture for 2 minutes. Stir in the flour, baking soda, baking powder, salt, and oatmeal until just combined. Add the chocolate chips and mix until combined. Scoop the cookie dough out with a cookie scoop, or scoop and roll the dough and roll  into 1-inch balls and place two inches apart on a parchment lined or lightly greased baking sheet. Bake for 11-13 minutes. The edges will be golden, but the middle will still be soft.  Let the cookies sit for 2-3 minutes on the baking sheets. Transfer to a cooling rack carefully and let cool completely. 

Heather

1 Comment

Desserts Fourth of July Ice Cream

Fourth Of July Treat: Patriotic Ice Cream

It is red, white and blue time!

The time when you could feed your kids a lot of artificial dyes to make everything red, white and blue (hey…we all do it!), or give them a big bowl of strawberries and blueberries in a white bowl and call it a day.

Or…you could make this delicious, fresh frozen yogurt ice cream, try to be oblivious that is is slightly more purple, yellow and red, and delight in a fourth of July treat that you can feel good about feeding the kids!

Better yet? It is SUPER easy and only calls for a few simple ingredients!

Check out Little Lake County today for this festive recipe! Enjoy and have a safe and Happy 4th of July!

All Spoons Welcome!


Heather

Leave a Comment

Chicken & Turkey

White Chicken Chili with Kale

Chili in the summer? Are you thinking I am crazy? Well read on…I promise you, I am not. Well…at least as far as this chili goes.

I love chili in the fall, but I have to say, I sort of crave it in the summer too. I was on a hunt for a lighter, more summer-like chili awhile back, and I came up with a variation of a recipe I saw in a magazine. It was hearty like a chili, but light and fresh as well.  Better yet, my kids really liked it, which I thought was sort of funny.

Funny because they usually will not eat kale, spinach or anything that seems green and leafy besides lettuce. Now, my kids are really not picky at all, but leafy greens do not make the “I will eat it” list for them. Funny enough, they gobbled down this chili as if they did not even notice any kale in there at all. I served this with a crusty bread and a fruit salad and the dinner was complete. Best yet? This recipe makes a lot, so there were some leftovers for lunch!

This is sure to be a summer, fall, winter and spring staple in your house too.

White Chicken Chili with Kale

2 tblsp olive oil
3/4 cup red onion, diced
4 garlic cloves, minced
2 lbs ground chicken
(If you cannot find it in the store, ground your own using chicken breast and a food processor)
1 1/2 tsp salt
2 tblsp ground cumin
1 tblsp fennel seeds
1 tblsp dried oregano
2 tsp chili powder
3 tblsp flour
1 15 oz can of cannellini beans, drained and rinsed
1lb kale, stems removed, leaves chopped in small pieces
2 cups frozen corn, thawed
4 cups chicken stock
salt and pepper to taste
cheddar cheese (optional)

Heat the oil in a dutch oven. Add ground chicken, onion and garlic and cook until chicken is cooked through and onion and garlic are translucent and fragrant. Add salt, cumin, fennel seeds, oregano, and chili powder. Stir until coated. Stir in the flour and cook for 1 minute. Add beans, kale, corn and chicken broth. Bring to a simmer, stirring well and scraping the bottom. Cook on low for 50 minutes until liquid has reduced and chili has thickened. Use salt and pepper if needed. Serve hot sprinkled with cheddar cheese.

What is your “winter in the summer” food?

Heather

Leave a Comment

Cakes and Cupcakes Desserts

Strawberry Rhubarb Crumble Cake


Um, yum?

This cake is simply fantastic. It has everything I love in a cake. Warm fruit. Moist, tender cake. Crumbly, buttery topping. Just perfect.

I think you have probably realized with my most recent postings that I cannot get enough of strawberries and rhubarb. I promise you, this is my last, but by far, it is the best!

This cake is perfect for a party. It has so many dimensions to it, that you sonly need a small little piece. Even though this is made in an 8×8 pan, I still was able to get plenty of small slices out of it. It is also an easy cake to freeze. You can either freeze it whole, take it out to thaw and cut for your occasion, or cut into small bars and freeze to use a little at at time.

However you choose to eat it or store it, most importantly, enjoy it.

A perfect summer dessert-enjoy!

Strawberry Rhubarb Crumble Cake

CRUMBLE TOPPING:

1/2 cup unsalted butter, melted
1/2 cup brown sugar
1/2 tsp salt
1 1/4 cup unbleached, all purpose flour

BARS:

1 1/2 cups rhubarb, sliced into 1/2 inch slices
1 1/2 cups strawberries, hulled and sliced 1/4 inch thick
1 tblsp brown sugar
1 1/3 cups unbleached, all purpose flour
1 tsp  baking powder
1/2 tsp salt
3/4 cup butter, softened
1 1/4 cup powdered sugar
2 large eggs
1 tsp vanilla extract

Butter an 8×8 baking pan and line with parchment paper, leaving an overhang on two sides for easy removal of bars. Preheat oven to 350 degrees.

In a medium bowl, combine brown sugar, salt and flour. Pour in melted butter and work into a crumbly mixture using your hands. Store bowl in the fridge until ready to use.

In another medium bowl, combine rhubarb, strawberries and brown sugar. Mix until coated and juices start to flow. Sprinkle in 1/3 cup of flour and gently mix until coated. Set aside.

In a small bowl, gently toss together the remaining flour, baking powder and salt.

In a third medium bowl, beat butter and powdered sugar on medium with a hand mixer. Add eggs one at a time and beat well. Add vanilla. Mix just until smooth. Sprinkle in dry ingredients and mix for 30 seconds with hand mixer. Spread cake batter evenly onto the parchment paper. Layer with the fruit mixture. Take the crumble mix out of the refrigerator and sprinkle generously all over the top of the cake. Place on middle rack in preheated oven and bake for 50-55 minutes or until the top is golden brown. Remove from oven and cool for 20 minutes in the pan. Using the parchment overhang, gently lift bars out of the pan and cool outside of the pan for an hour. Slice and serve with fresh whipped cream. Leftovers can be stored in a sealed container for 1 day, the refrigerator for 1 week and the freezer for up to 3 months if well stored. Enjoy!


Heather

Leave a Comment

Breakfast

Strawberry Rhubarb Baked Oatmeal

This…

This is so good.

Breakfast. Fresh, hearty and perfect to start your busy summer day. Not to mention, every bite is full of summer flavor.

In the summer, some of us have a little more time in the morning without the rush of school prep and the possibility of missing the school bus. This takes a little time to prep, but is so worth it. If you still are rushing around in the morning, you can mix up the wet and dry ingredients separately, store in the fridge, mix and bake in the morning. Or, as a last ditch effort, you may just make this for dessert!

Head on over to Little Lake County for the recipe, since Girl and Her Kitchen is featured on there today.

Don’t miss it!

Heather

Leave a Comment

  • « Previous Page
  • 1
  • …
  • 14
  • 15
  • 16
  • 17
  • 18
  • …
  • 38
  • Next Page »

Heather

I am a midwestern girl who grew up in the big city, but now enjoys her days as a stay at home mom in the suburbs. Who says spending time in the kitchen has to be boring? I hope to inspire your family kitchen with some new ideas, fun recipes and great tips.

Stay Up to Date

Get all the latest tasty goodness straight to your inbox!

Girl and her Kitchen

Join us!

Hey! I am the GIRL in the kitchen and I am so glad you decided to visit. Love to cook and eat? You will find some great recipes on this site, whether you are looking to eat healthy, splurge on a dessert, make dinner or host a party-I have it all! Sometimes I’ll give you a story along with my recipe, other times, I want to take you straight to the food!  Whatever the reason that you decided to visit, I am so glad you joined me in the kitchen! Feel free to take a look around the site, and please…stay awhile!

Archives

Popular Categories

  • Appetizers
  • Breakfast
  • Crafts
  • Salads and Dressings
  • Side Dishes
  • Vegetables and Fruit

Most Popular Posts

Corner Bakery Cafe Giveaway!

Corner Bakery Cafe Giveaway!

Filed Under: Reviews

Bacon Cheddar Skillet Cornbread

Bacon Cheddar Skillet Cornbread

Filed Under: Breads, Quick Breads and Rolls, Side Dishes

Puffy Pancakes {Perfect for Valentine’s Day!}

Puffy Pancakes {Perfect for Valentine’s Day!}

Filed Under: Breakfast, Valentine's Day

100 Days of Real Food Cookbook Review {and Giveaway!}

100 Days of Real Food Cookbook Review {and Giveaway!}

Filed Under: Vegetarian

Copyright © 2026 · Divine theme by Restored 316