Are you ready for the best Easter side dish you have ever had in your life?
Yes? Then please proceed because you are just about to read all about it.
I am a huge potato fan. Like, an obsessed fan. Like an “I can eat potatoes every day for every meal” type of fan.
Crazy huh?
The funny thing, I wasn’t always like that. When I was pregnant with my first child, I went through that stage where every food you thought you liked turned you off and cravings of oranges, white flour bread and pasta, and, most of all, POTATOES, took over my life!
Fried, roasted, mashed, baked…give them to me in any preparation and I was all over it. Like my pregnancy hatred of onions and garlic, I thought it would subside over time after I had my baby.
Here I am. Ten years later. Still in love with potatoes.
So, of course, when someone gave me this recipe a few years back, it made our rotation more than it should have due to its very decadent nature. It was actually sent to me in one of those recipe chain letters. Did you ever do one of those? I hate chain letters in general, especially as an adult. I mean, it feels weird to take part in something like that as an adult, let’s be honest! Anyways, because this was a recipe one, it intrigued me. I was promised something like 48 recipes from people! How could I say no?
I received one. One recipe. O-N-E.
Well, the light at the end of that tunnel was that it was seriously the best recipe in the world with one of my favorite ingredients. Did you guess potatoes? If so, I now know you pay attention to what I write! Thank you!
This recipe soon fell off of my meal rotation because it is so decadent, it truly deserves a place at a holiday table. I am not a fan of ham, but it goes perfectly with a baked ham or roast chicken dinner. It would be great for Thanksgiving as well in the place of the traditional mashed potatoes.
Leftovers? Toss with ham and broccoli for another meal ready to go! Serve with eggs for a cheesy egg dish. Toss in some thawed, frozen peas and cooked crumbled bacon for a twist on the side dish.
You can make this in a large casserole dish, or in small little ramekins. Whatever floats your boat works for this versatile dish that is sure to please!
Hope you enjoy it as much as I do!
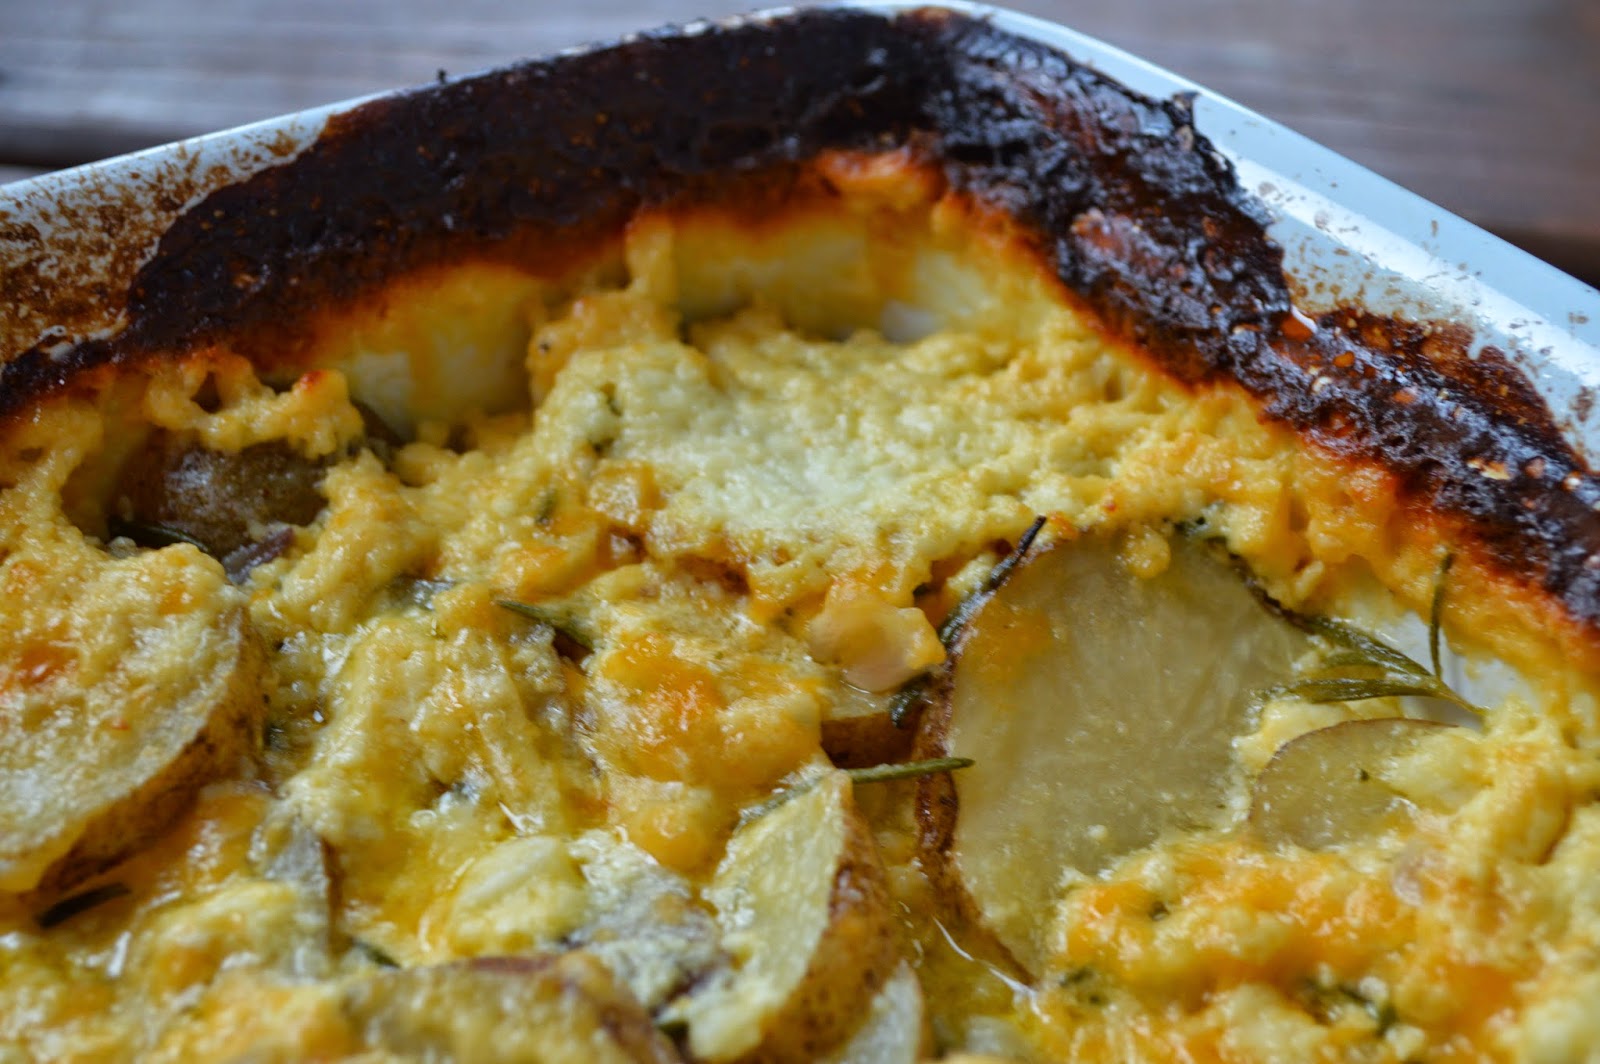
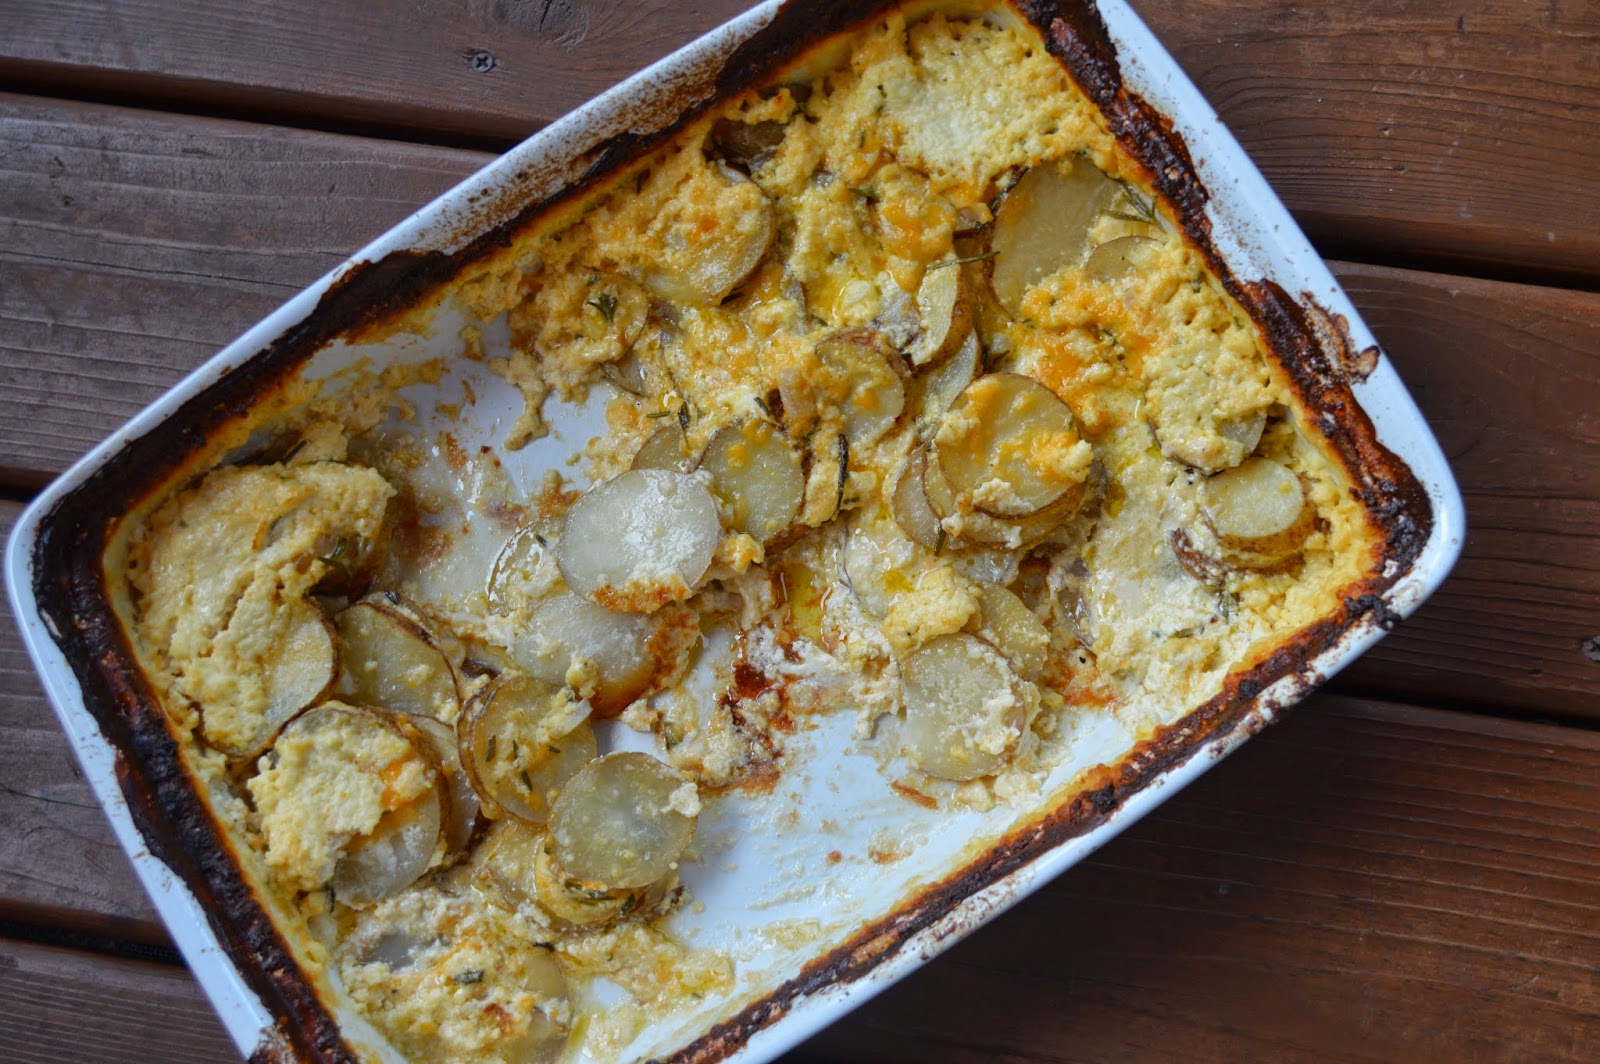
Rosemary Cheddar Au Gratin Potatoes
Butter, for baking dish
4 lbs of Yukon Gold Potatoes, peeled, sliced very thin
2 large shallots, sliced thin
2 tbsp fresh rosemary, chopped
2 cups heavy cream
2 tsp salt
1 tsp black pepper
3 cups freshly grated cheddar cheese
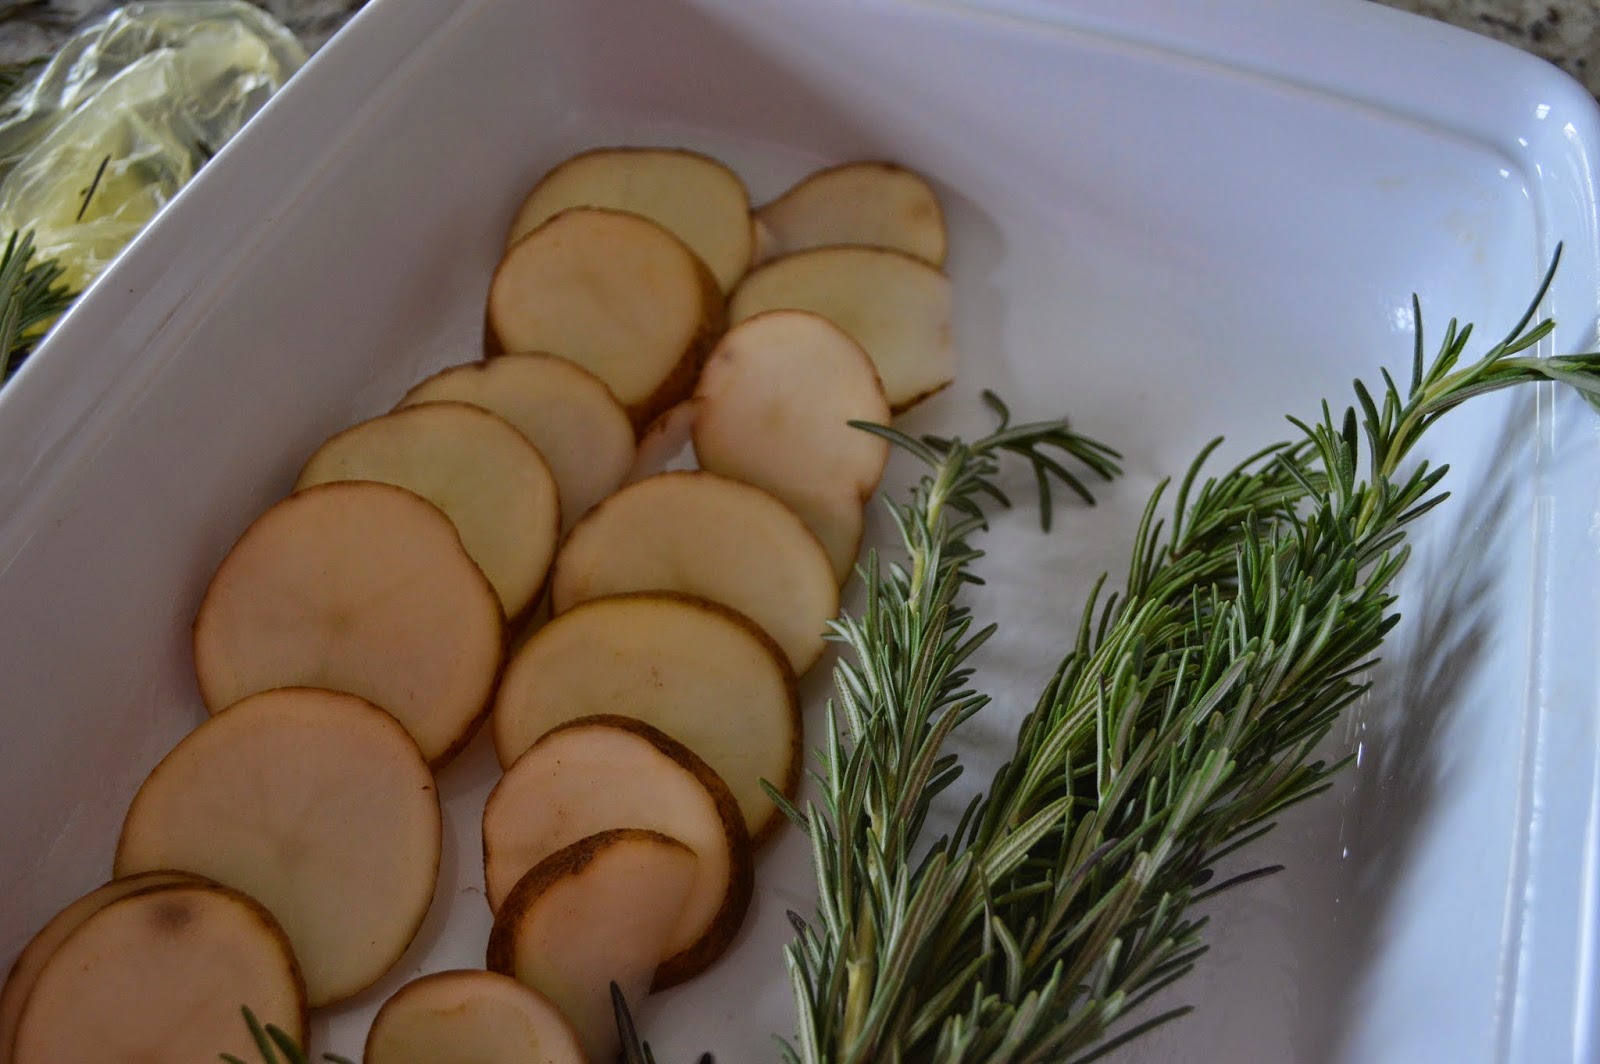
Preheat oven to 350 degrees. In a medium bowl, whisk together cream, shallots, rosemary, salt and pepper. In a single layer in a buttered 13×9 baking dish, arrange potato slices. Sprinkle 1 1/2 cups shredded cheese over top. Layer with another layer of potatoes. Pour cream mixture over the top. Cover with foil. Bake for 1 hour, covered. Remove foil and sprinkle with remaining cheese. Bake for 40 minutes more until cheese is melted and potatoes are tender. If you like it extra browned on top, put under the broiler for 3-5 minutes before taking it out of the oven. Remove from oven and let sit for five minutes before serving.