• Email
    • Facebook
    • Instagram
    • Pinterest
    • Twitter

Girl and Her Kitchen

Plan. Make. Eat. Design. Craft. Create. Celebrate. Life.

  • Home
  • About the Girl
  • Recipe Index
  • We LOVE
  • Weekly Menu

Uncategorized

Summer Corn Salad

This weather is so beautiful! I love summer time, but last week, with temperatures rising to over 100 degrees, I felt as if was winter because we were staying in the house to have some respite from the heat, just like we had to do in the winter from the cold. My kids and I played in the cool basement, my husband talked me (tricked me) into cleaning out the crawl space –“since we were down there anyways”, and we were having movie nights to stay cool inside instead of being outside enjoying what should be beautiful summer nights.. On the 4th of July, the adults were almost begging the kids to come out of the pool and come back inside so we didn’t have to sit outside and sweat.
It was THAT hot.
That is not the summer I envisioned.
Summer for me is warm weather, but only topping out in the mid eighties. Oh, and don’t forget a cool breeze. A nice breeze is a must. I love getting the kids outside and playing all day long until they are good and tired and ready to turn in extra early so I can continue to watch season 2 of The Vampire Diaries.
Whaaat?
I mean….relax.
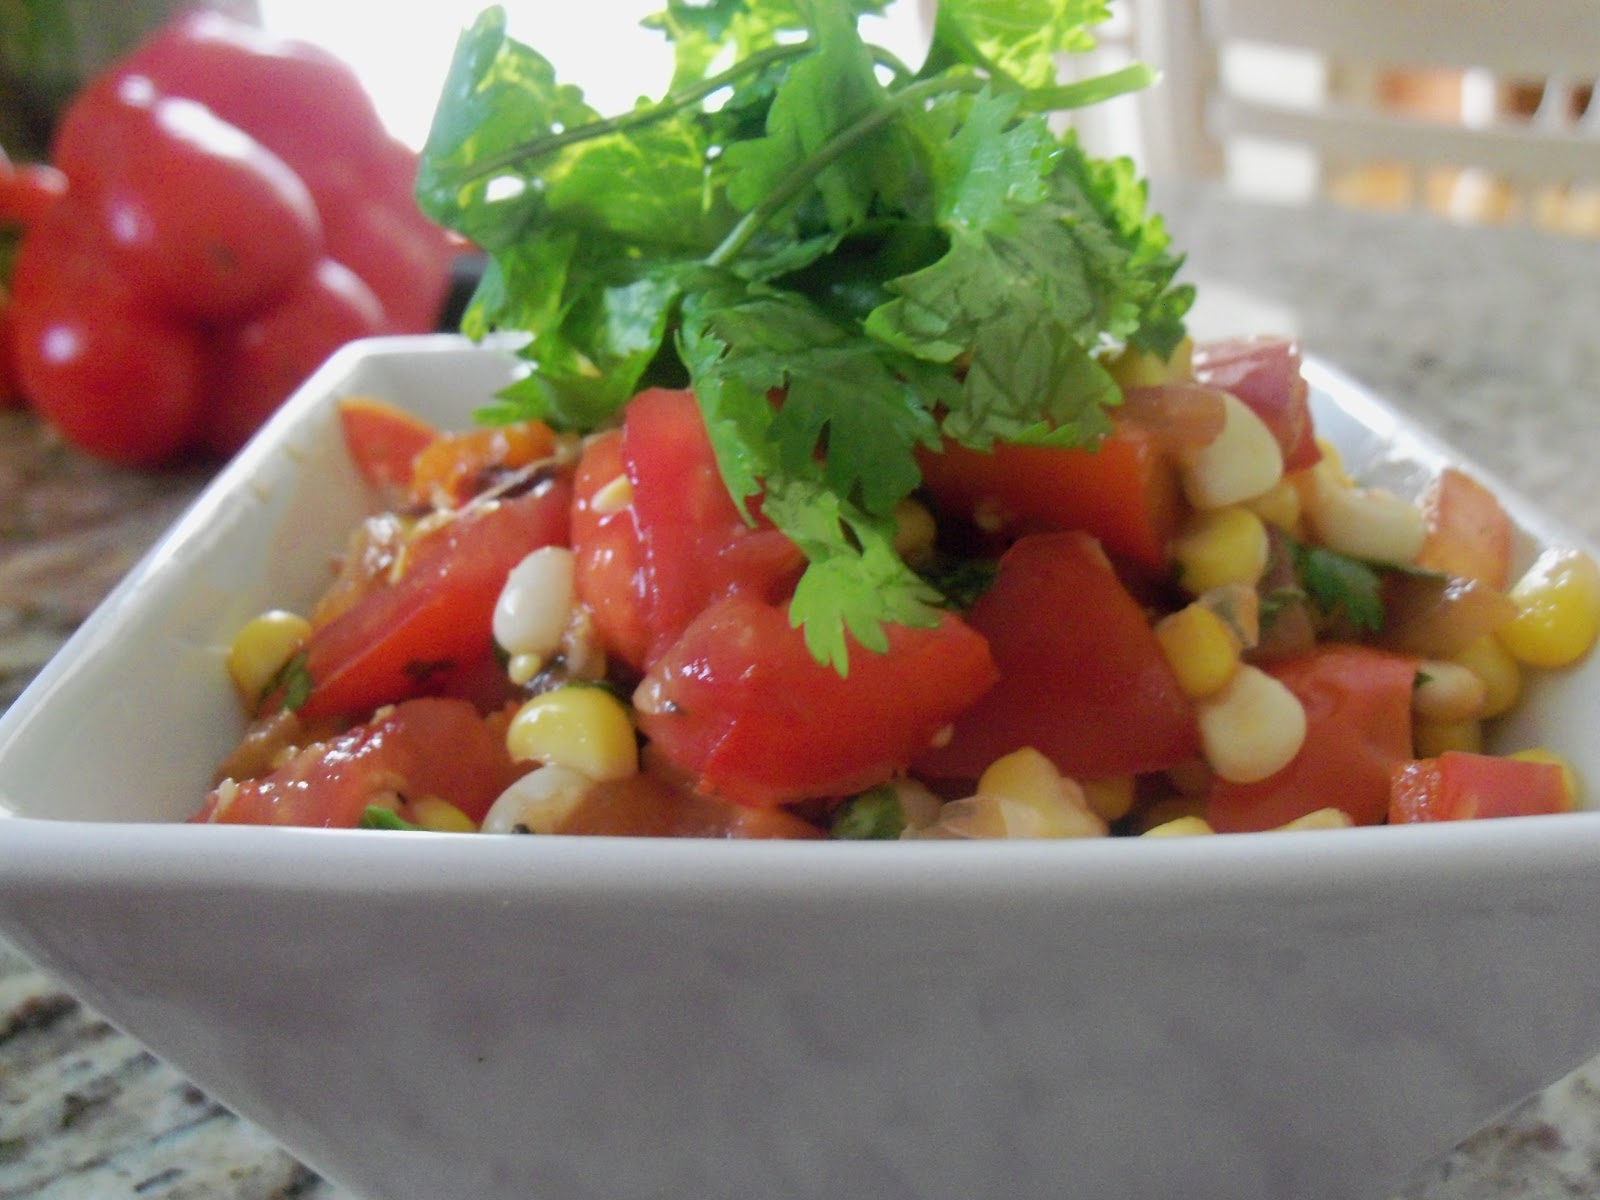
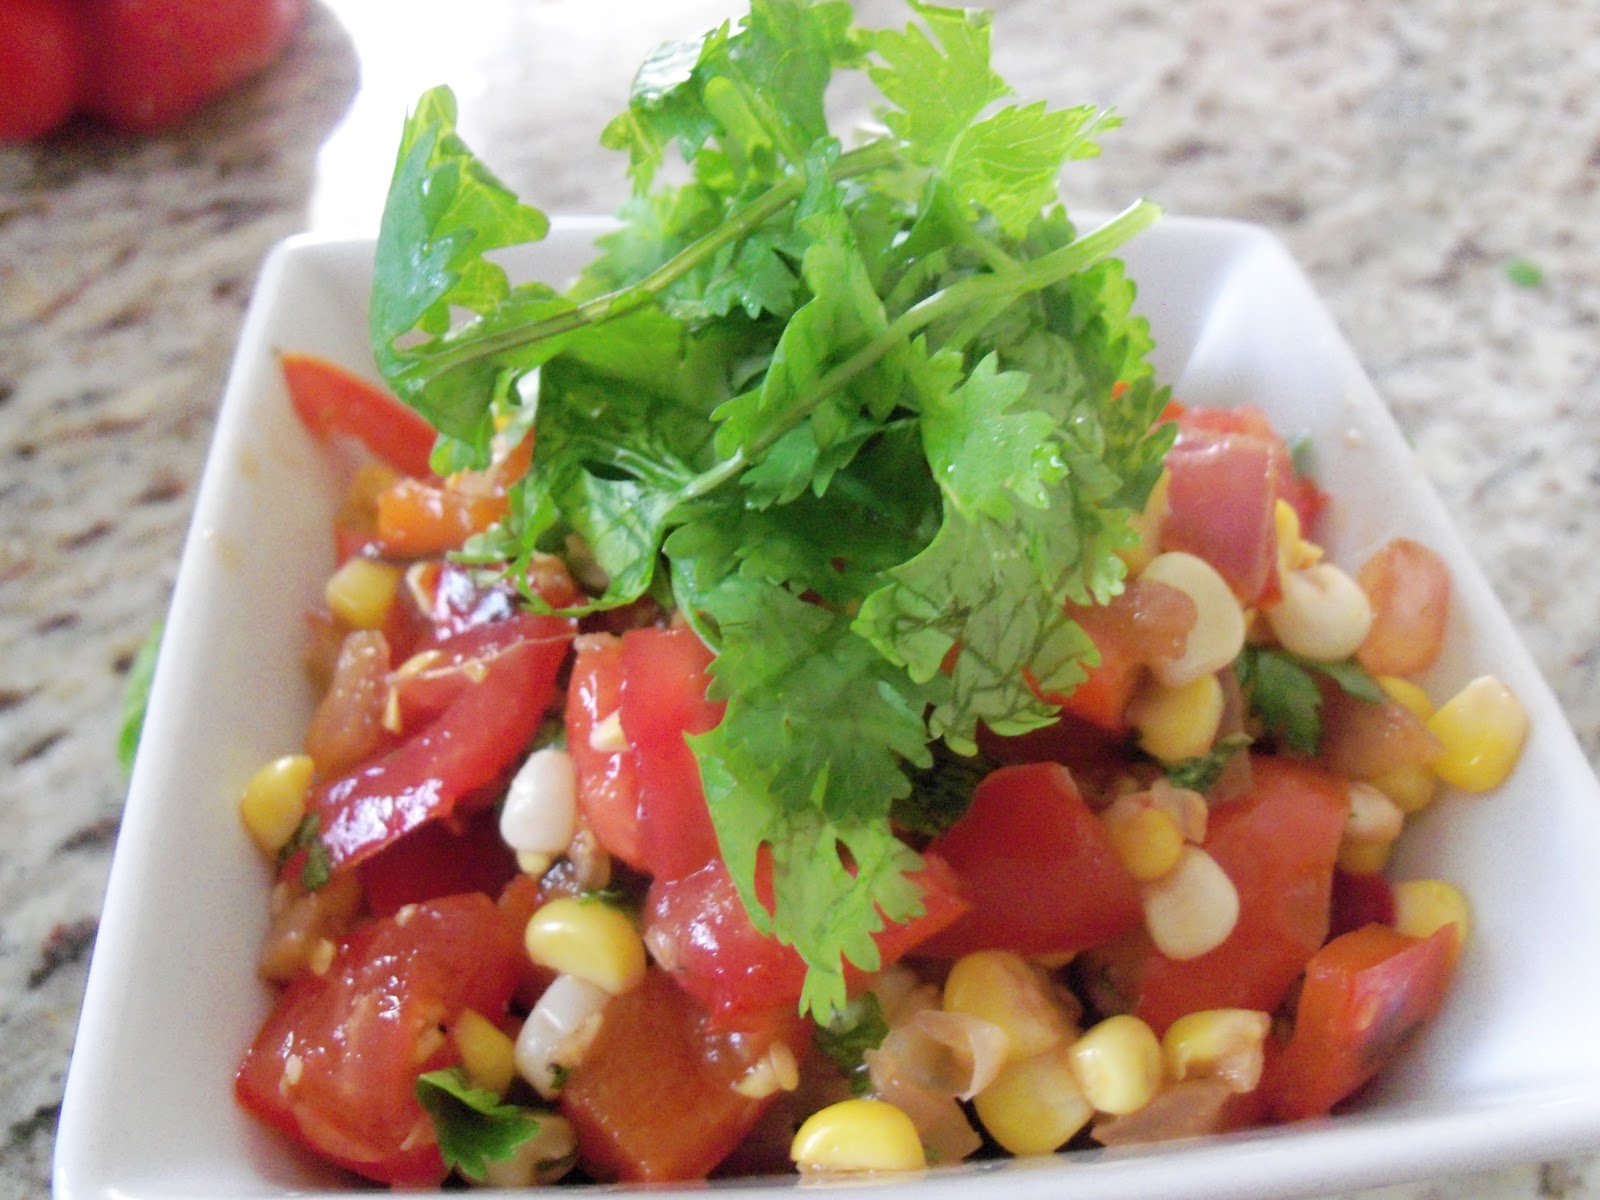
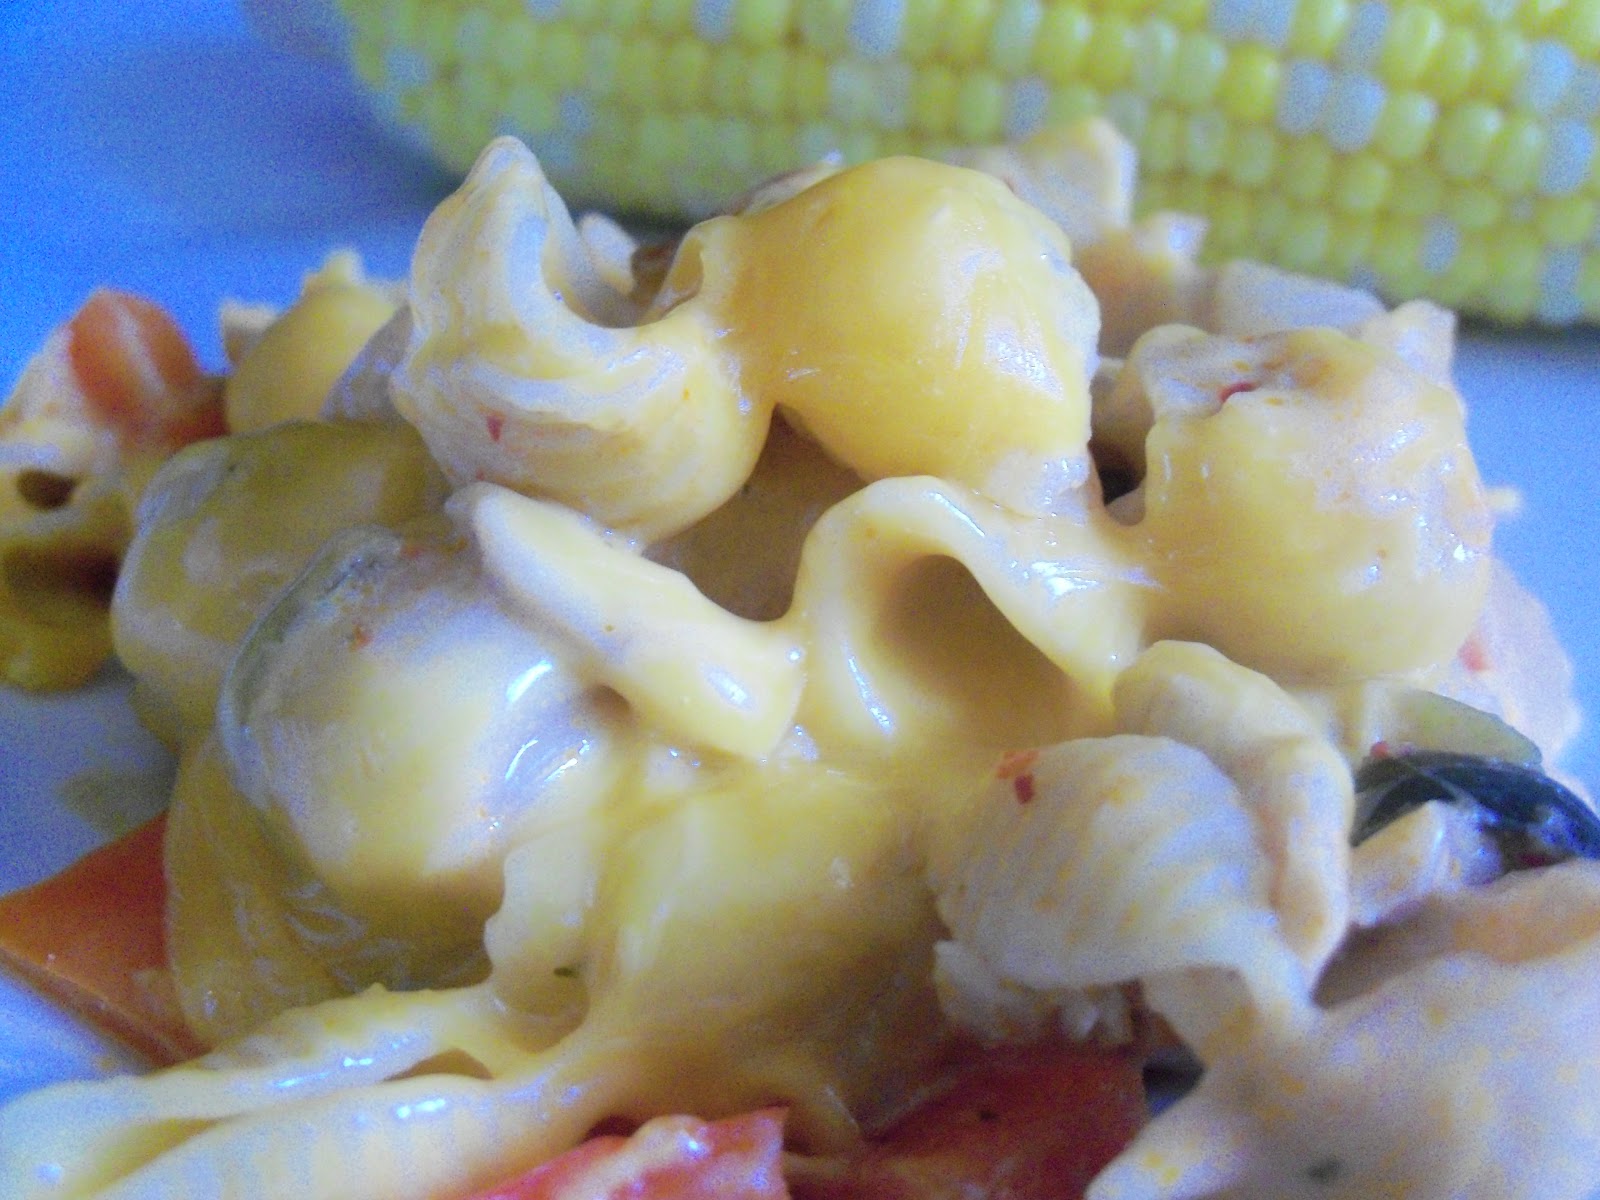
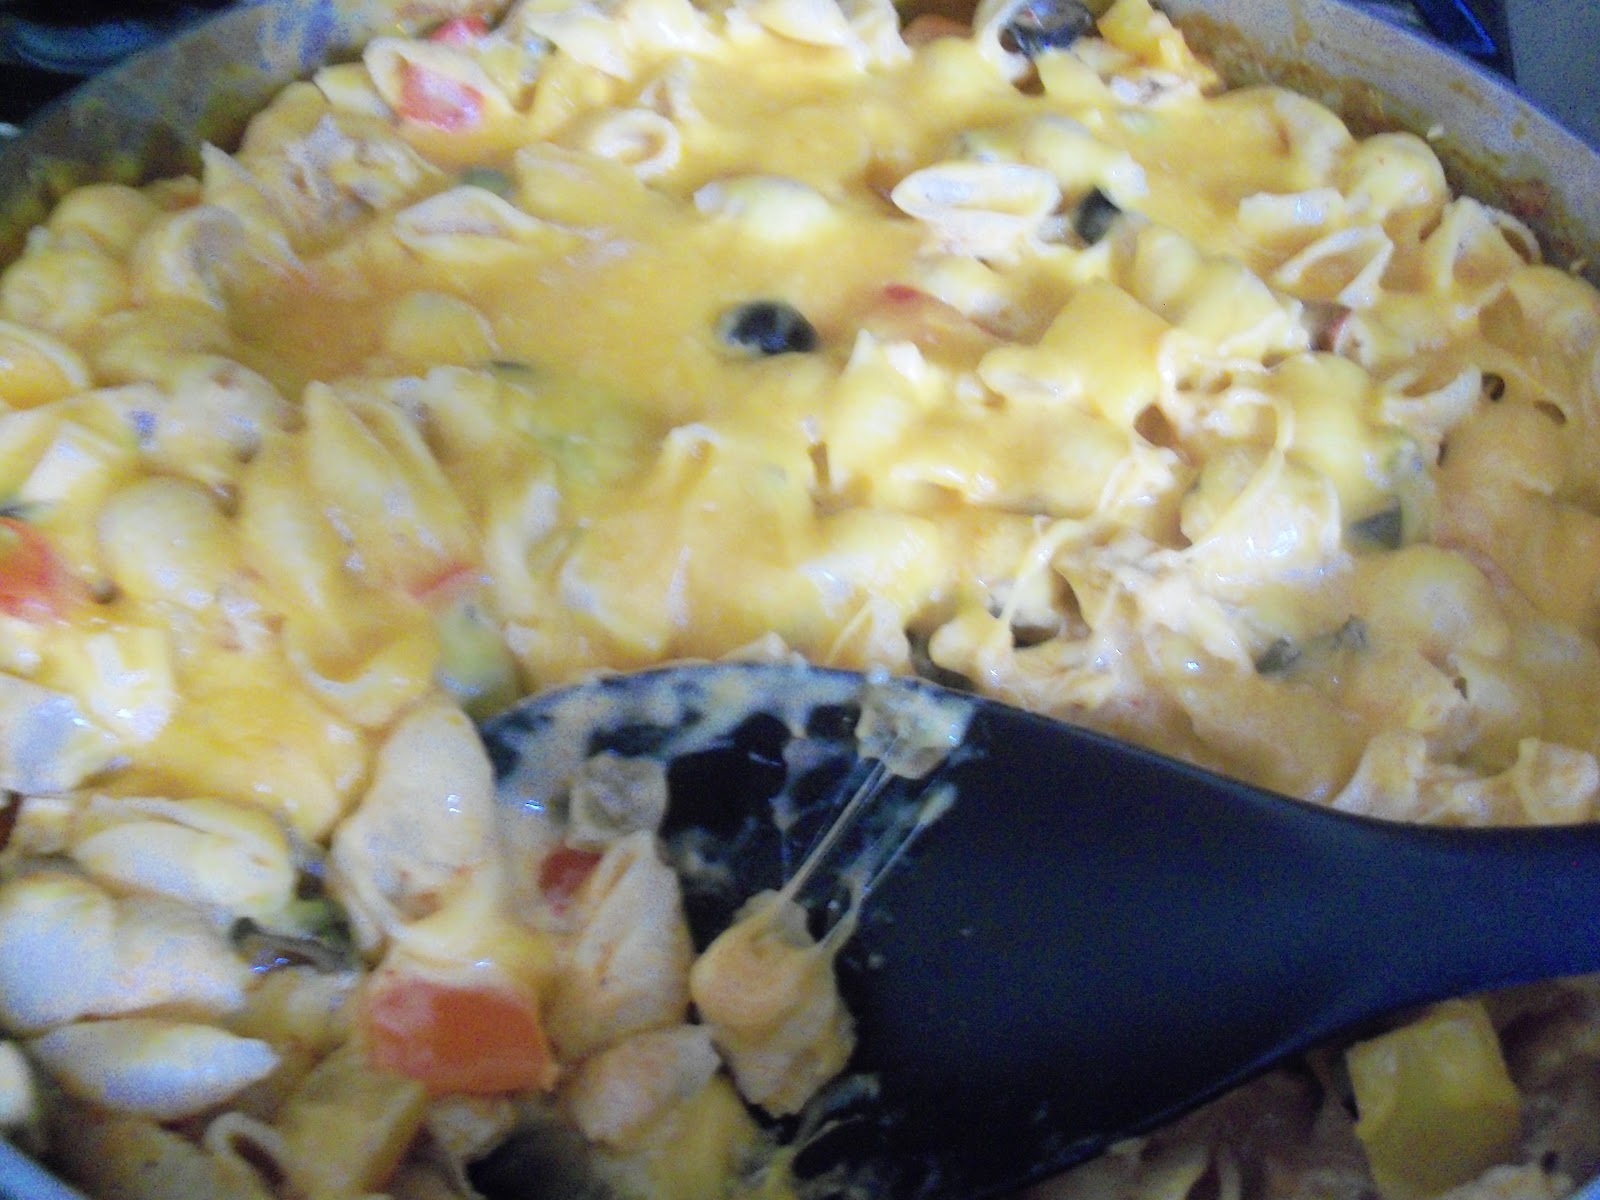
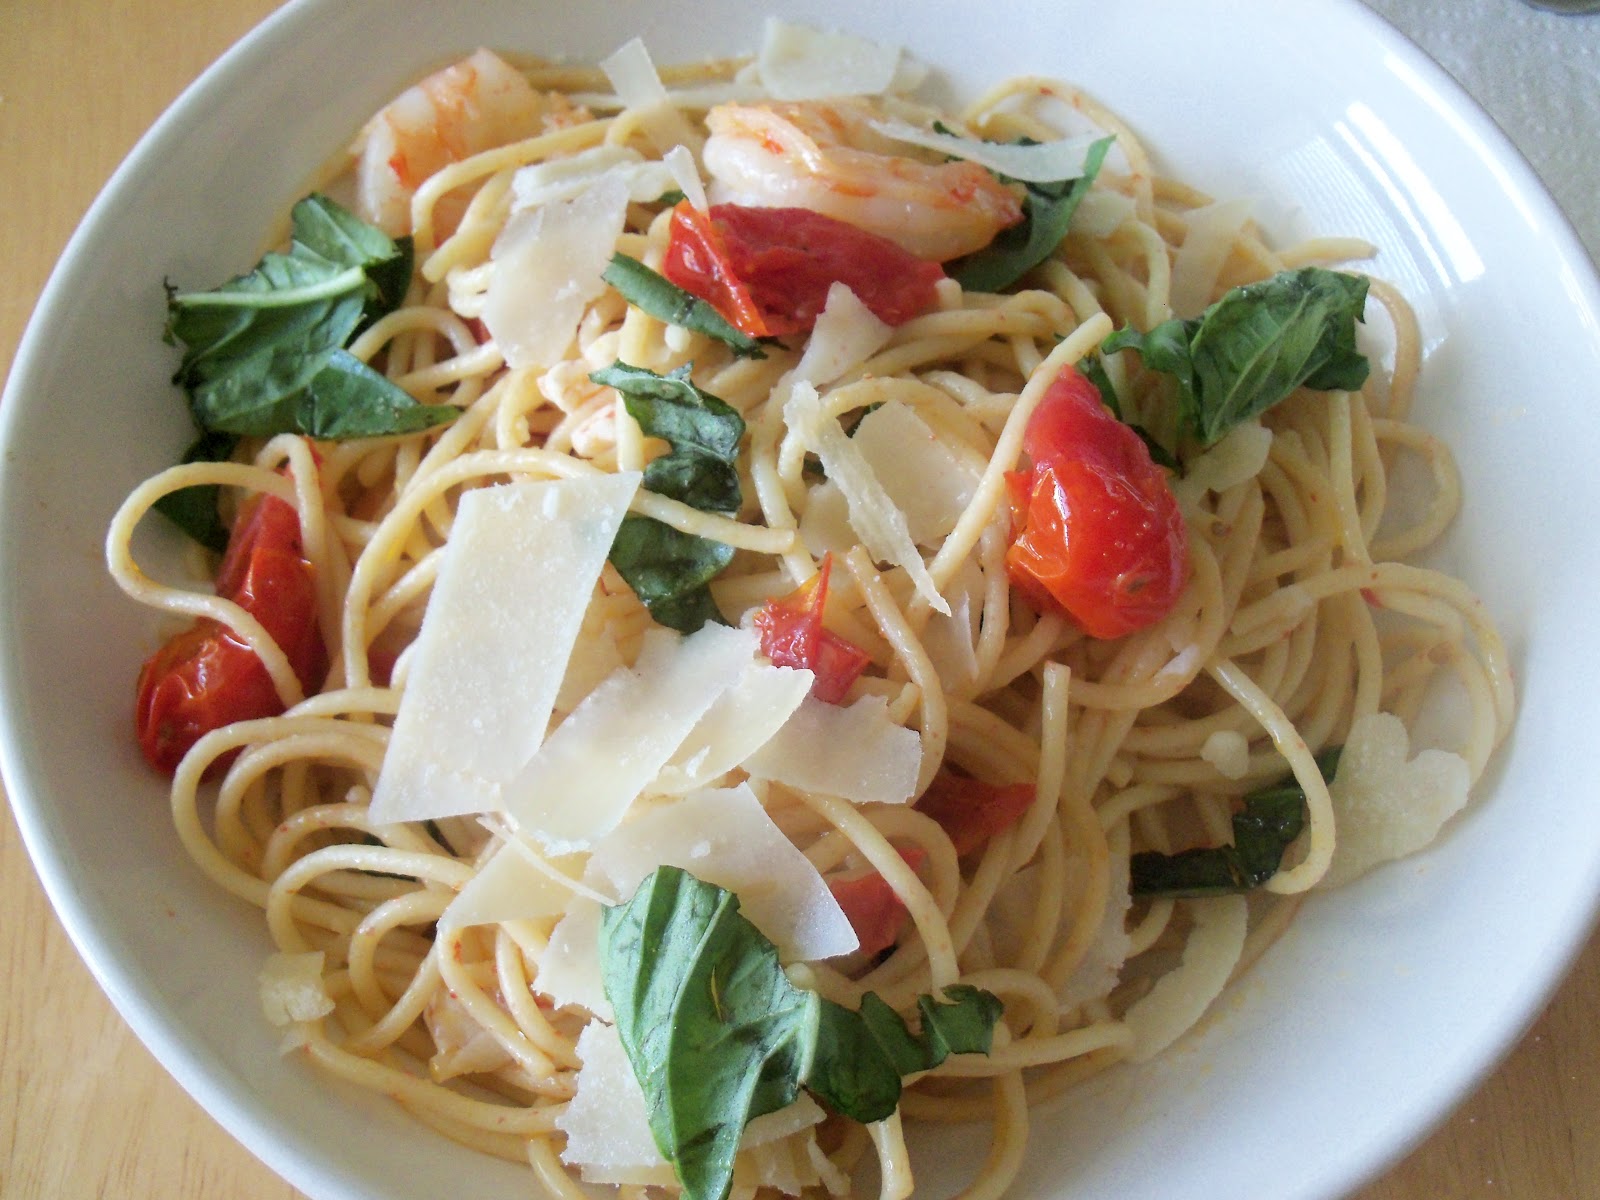
Well, summer cooking should be fresh and fun as well. This is one of my all time favorites for the summer. I think my favorite part is the smoky flavor of the red pepper and red onion sauteed in the olive oil. The sweetness of the balsamic vinegar tempers the spice of the cayenne pepper and the cilantro is the final, perfecting, finishing touch.This recipe was originally my mom’s, and it brings back a feeling of home every time I make it.
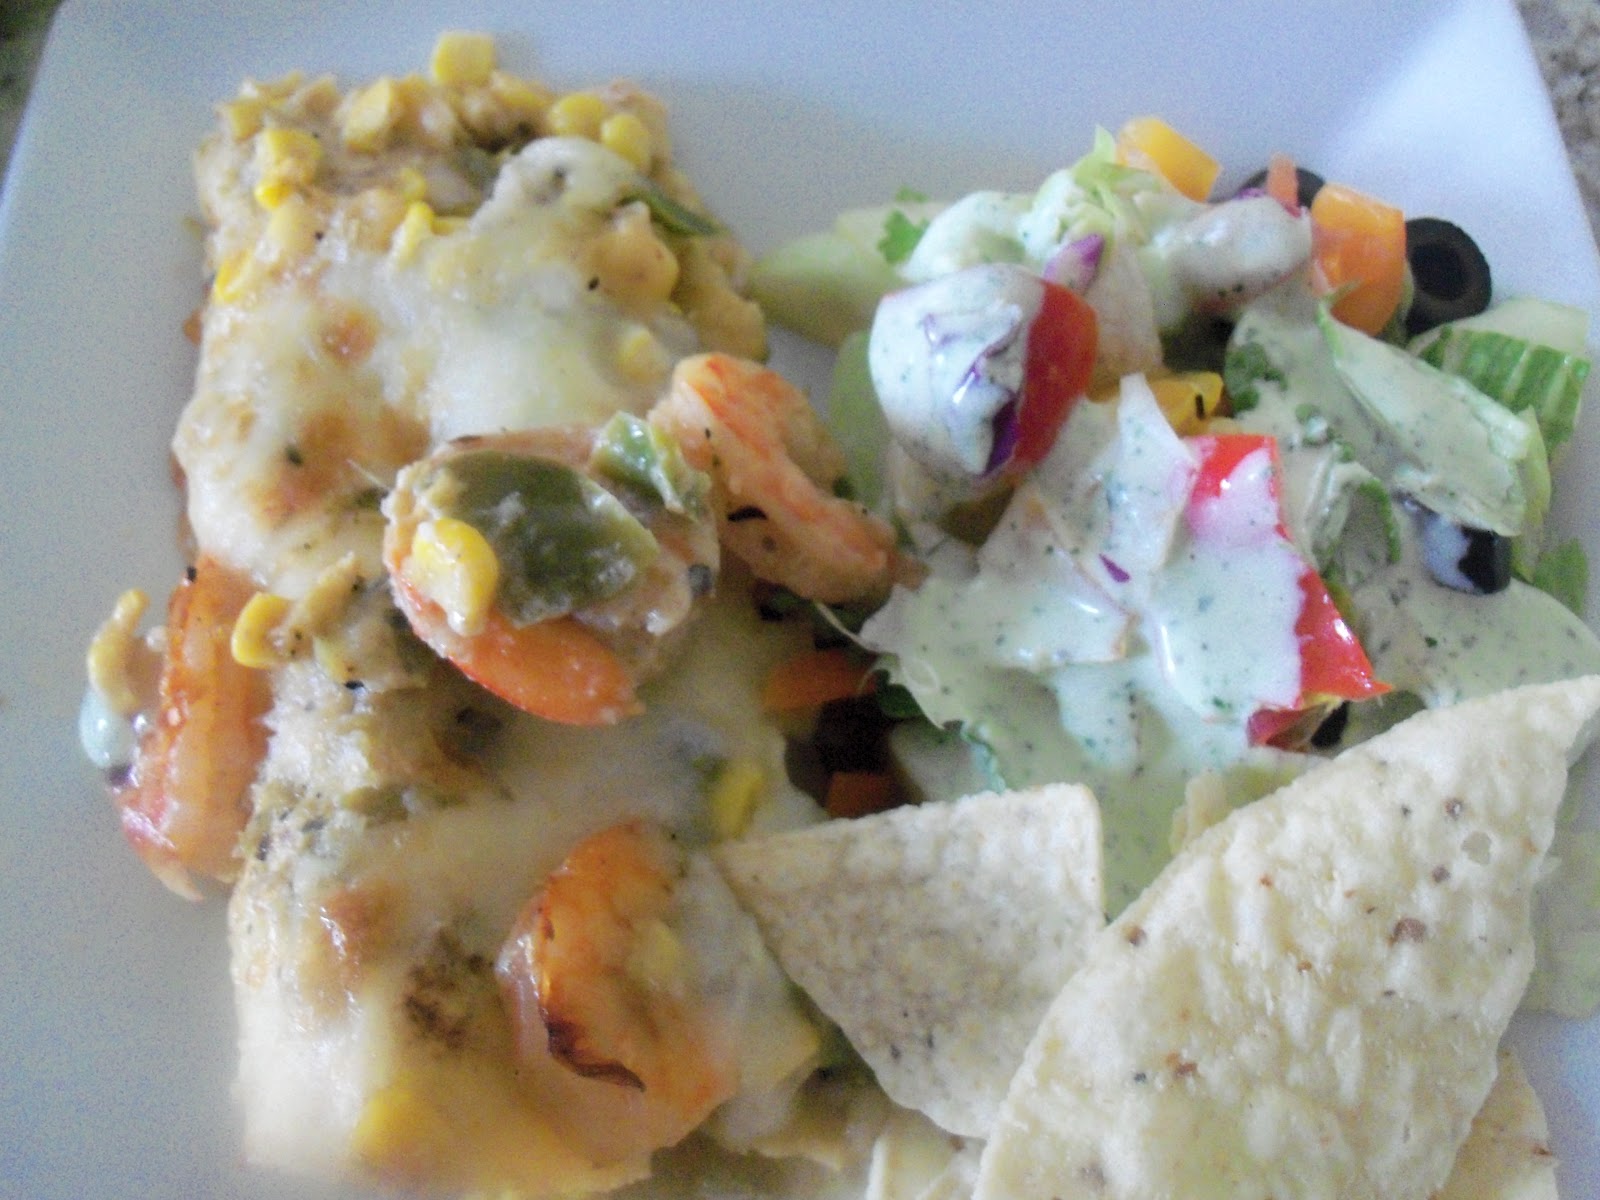
Whip up a big batch of this, serve it along grilled chicken, fish or a nice marinated flank steak for the week. Yum.

Summer Corn Salad

6 ears of fresh corn, cooked, corn scraped off OR 4 cups of frozen corn, thawed
1 tblsp olive oil
1 red pepper, diced
1 small red onion, diced
1 garlic clove, minced
1/2 tsp salt
5 tomatoes, seeded and diced
2 tblsp balsamic vinegar
1/4 tsp cayenne pepper
1/4-1/2 cup fresh cilantro, roughly chopped

Scrape cooked corn off of husk into a large bowl. Let cool. Meanwhile, in a small saute pan, heat olive oil. Add peppers, onion and garlic and cook until golden and slightly browned. Sprinkle with 1/2 tsp salt. Add pepper mixture to corn and stir gently. Add tomatoes, balsamic and cayenne pepper. Stir. Sprinkle with cilantro and chill for 1 hour before serving.

Heather

1 Comment

Uncategorized

Roasted Garlic Bread

This garlic bread is the best! My family likes to have this bread with a nice bowl of pasta, but I have found that it is very versatile as a nice accompaniment to soups, stews and pasta dishes, but also during the summer with grilled chicken or fish and veggies. I have even served it as an appetizer and it was gone very, very quickly. It is delicious, easy to make and is a nice alternative to the usual “bread spread with butter and sprinkled with garlic salt” garlic bread.
Beware though…it is very garlicky (delicious) so if say, you are cooking dinner for your boyfriend for the very first time, or having a dinner for work colleagues…this is probably not the bread to make! If you have been married for a long time and know to stay away from your spouse after they consume large amounts of this bread….you are good to go!

Roasted Garlic Bread

1 baguette, sliced in 1 ” thick slices
 6 garlic cloves, peeled
2 tblsp olive oil
2 tblsp butter, softened
1/4 cup parmesan cheese
salt and pepper to taste

Preheat oven to350 degrees. Wrap garlic cloves and olive oil in a foil packet making sure sides are closed tightly. Roast in oven for 45 minutes. During last 10 minutes of baking, slice baguette and place in one layer on a baking sheet.

 Bake bread until crispy and crunchy about ten minutes. Mix garlic with butter, parmesan cheese, salt and pepper, mashing with a fork.

 Spread evenly on baguette slices and serve. Heavenly.

Heather

Leave a Comment

Main Dishes Pasta

Creamy Enchilada Pasta

So I am sitting outside, (baby napping, that is why I am actually sitting) watching and listening to my girls and two friends in our (small) pool. They are having so much fun! Laughing, splashing, taking breaks to sit and sip their lemonade in their chairs and then running and jumping back into the pool to do it all over again. I was thinking about how this is what summer means. Fun, relaxation, hanging out with friends and just a general time to unwind.
That is why when dinnertime comes around, it is so nice to not really have a lot of work to do! We all love to throw stuff on the grill in the summer, but sometimes that can even be time consuming and a lot of early prep. I have recently been in search of good, wholesome meals, that require little prep time, not a lot of stove, oven or grill time and are easy clean-up. Do you think I am dreaming of the impossible? Maybe, but I made this the other night and it really was easy, my oven didn’t have to be turned on, and it was delicious! I served it with some corn on the cob and some crunchy red and yellow pepper slices and we had a balanced dinner. Watermelon for dessert and we were all full and happy!
The creaminess of the sauce is reminiscent of something that would pack on calories, but using low fat sour cream solves that problem. I used a rotisserie chicken to save even more time, but feel free to boil your own chicken breasts and chop them up too. I also like it because it is almost a one pot meal. You just need one more pot to boil the pasta in, but other than that, everything goes in the same pan=easy clean up!

Creamy Chicken Enchilada Pasta

1 cup red pepper, diced
1 cup yellow pepper, diced
1/2 cup onion, diced
1 tblsp canola oil
1 can of diced mild green chiles
1 can of sliced olives
1 can mild red enchilada sauce
1 can mild green enchilada sauce
1 tsp salt
2 cups chicken breast, cubed
1 cup sour cream
2 cups small pasta, cooked
1 1/2 cups cheddar cheese (I used low fat)

Heat canola oil in a large saute pan. Add peppers and onions and cook 3-5 minutes until tender. Add chilis, olives, enchilada sauces, and salt. Stir well. Add chicken and stir until coated. Cook 5 minutes. Add sour cream and stir until well blended and creamy. Cook over low heat 2-3 minutes until heated through-do not boil. Add pasta and combine well. Sprinkle cheddar cheese evenly over the top and cover pot. Turn off heat and leave covered for 5 minutes while cheese melts.
Serve with extra sour cream and olives and green onions if desired.

Heather

Leave a Comment

Beverages Fourth of July

Red White and Blue Layered Drinks for 4th of July

100_9792.jpg

So these are so fun and perfect to “wow” the kids! I made these today for my two girls and their friends and they loved them! Not only were they cool to look at, they tasted really good too. I have never done anything like this before and was definitely skeptical, but it really worked! These layered drinks are so easy to make, but will be the talk of your 4th of July party! Just remember to layer according to sugar content: the drink with the most sugar goes on the bottom, and upwards from there, with the drink with the least sugar on top. Also, don’t forget to fill the ENTIRE glass with crushed ice. Add a sparkly straw and you have a drink your kids will remember! Enjoy and Happy 4th of July! 🙂

Red, White and Blue Layered Drinks for the 4th of July

Crushed Ice
Red, White and Blue Beverages: I used Cranberry Juice Cocktail (high in sugar) for the red, Sierra Mist for the white and low calorie blue gatorade for the blue
Sparkly straw

Fill glass with crushed ice. Add a little bit of the beverage in a layer according to sugar content with highest sugar content on the bottom. Top with sparkly straw-ENJOY!

Heather

Leave a Comment

Pasta

Caprese Pasta with Shrimp

Ok, if you have been following my blog, you have probably come to accept the fact that I am obsessed with cheese and tomatoes. I could seriously eat it in some form or another every day. I wish I was joking, but sadly, I am not.
I always wished my obsession was something more reasonable…like…say apples and spinach. So then I could say, “I am obsessed with apples and spinach! I could eat them every day! Nothing else! Just apples and spinach!”
Just for the record, I do love both apples and spinach, but not as much as I love cheese and tomatoes.
This pasta has become one of my summer favorites! I just love the carmelization of the garlic and tomatoes and the fresh mozzarella and basil make this something you will remember and want to make over and over!
I use shrimp, but feel free to use diced chicken too, or even leave it as a vegetarian meal and leave out the chicken or shrimp all together. This will surely become one of your summer favorites too!

Caprese Pasta with Shrimp

2 tblsp olive oil
3 cloves of garlic
1 pint cherry tomatoes
2 cups cooked shrimp, tails off
1 tsp salt
2 cups cooked pasta, any variety
3/4 cup diced fresh mozzarella cheese
2 tbslp fresh basil, torn into bite size pieces
Shaved parmesan for topping, optional

Heat olive oil in saute pan. Add garlic and tomatoes. Cook over medium heat 10 minutes, or until tomatoes begin to burst and carmelize and starts to turn into a sauce. Stir in cooked shrimp. Cook about five minutes until shrimp is heated through.Sprinkle with salt. Pour sauce over cooked pasta. Toss with fresh mozzarella and basil. Serve warm.

Heather

1 Comment

Appetizers

Cheesy Stuffed Mushrooms

Summer means a lot of things to me. I look forward to it every year. Of course, there is something to be said about every season, but there is something about summer that just makes me want to get together with friends, hang out and relax.
Of course, with that, you always need some snacks.
And a drink wouldn’t hurt either. I will help you out with that one soon with an amazing sangria recipe I will share.
For now, let’s focus on a great appetizer you can bring to a party, get together, or just a night hanging out with the girls.
I can thank my friend Vickie for this one. Well, I can thank my friend Vickie for a lot of things, but her stuffed mushrooms are definitely on that list. It is a simple stuffed mushroom, but so delicious. They are easy to make, and so good! Vickie makes this fantastic pepper salad that I will definitely be sharing with you soon too!
I love appetizers and summer can bring a lot of occasions that you might need one to make. This one is a fantastic one to bring, but stay tuned, I will be sharing more appetizer recipes soon…
And then of course I am probably going ro be tempted to have to have a party myself to enjoy all of the appetizer recipes at once.
Why?
I love appetizers.
I love friends.
Now all I need would be that drink!
Thanks Vickie for a great recipe and for sharing it with me! 🙂

Cheesy Stuffed Mushrooms

1 clove garlic, minced
8 oz cream cheese, softened
1 cup cheddar cheese, shredded
1/4 cup mayo
12 medium whole mushroom caps, cleaned
1/2 cup parmesan cheese

Mix first four ingredients together until well blended. Divide evenly amongst mushroom caps. Dip cheese filled tops in parmesan cheese. Bake at 325 degrees for 15-20 minutes until mushrooms are cooked and cheese tops are browned and bubbly.

Heather

Leave a Comment

Uncategorized

Chunky Apple Oatmeal Cookies with Brown Butter Frosting

Summer! Yay! We have been having a blast since the kids have been out of school.
Now, don’t get me wrong.
I feel as if I have probably said these things more in the past week than during the entire past school year.
“Leave your sister alone.”
“Stop overreacting.”
“Be nice to each other.”
And maybe in a higher, maybe a little louder voice:
“Be nice to each other or every single fun activity I have planned for the summer will be CANCELLED!”
I am not proud.
It has been a lot of work since they have been home. Mostly though, because we have been having a lot of fun. The pool, the park, the sprinkler park, a few picnics, late afternoon walks, breakfast in our pajamas instead of the frantic, “we are going to be late!” breakfasts we usually have. Ahh….summer.
Recently, we baked these cookies too, which were definitely one of our highlights. My kids love baking, and one of my daughters said she was in the mood for something new. I had a few ripe green apples in my produce drawer (amongst all the other great summer produce that we have been devouring lately!), so I decided to find a cookie recipe that I could add a little fruit to.
Not that I am trying to claim these cookies are healthy by any stretch of the imagination, but I have to admit, adding fruit always makes me feel a little bit better.
Even if it is smothered in a buttery sweet frosting.
The cookie is absolutely amazing but the true star of this one is the brown butter frosting. I have never attempted the whole brown butter thing and I was positive I was going to mess it up, especially with two little girls watching my every move.
It was way easier than I thought and the result was well worth any time it took to get it right. These would be great for fall baking too, but we had no problem gobbling them up with a cold glass of milk on the back porch at the end of an active summer day!

Chunky Apple Oatmeal Cookies with Brown Butter Frosting

Cookie:
1/2 cup butter, softened
6 tablespoons packed brown sugar
1/4 cup sugar
1 egg
1 teaspoon vanilla
1/4 teaspoon baking soda
1/4 teaspoon salt
1 teaspoon cinnamon
1/2 cup flour + 1 tablespoon
1 cup oats
1 cup peeled, diced apple -(I used a granny smith)
Frosting:
1/4 cup butter
1 cup powdered sugar
1/2-1 tablespoon milk
cinnamon or nutmeg for sprinkling, if desired

Preheat oven to 350 degrees. Line baking sheet with parchment paper. In a large bowl, cream butter and sugars together until light and fluffy. Gently stir in egg and vanilla. Slowly pour in dry ingredients. Stir in oats and chopped apples. Scoop about a tablespoon sized ball onto cookie sheet and bake 8-10 minutes or until the edges are golden. Let cool one minute on the cookie sheet, then transfer to a cooling rack. While cookies are baking, place 1/4 cup butter into small saucepan. With medium heat, melt and brown the butter. Once the butter is a medium brown/amber color and becomes very fragrant, remove from heat and pour into a small bowl. DO NOT LET IT GET TO WHERE IT IS ABOUT TO BURN. Watch it closely. Stir in powdered sugar and enough milk to get a spreadable consistency.
Frost warm cookies and sprinkle with more cinnamon or nutmeg, if desired. Serve.

Heather

1 Comment

Uncategorized

Whole Wheat BBQ Chicken Calzones

Ok, so I sooooo want to live on the ranch.
Do you watch Pioneer Woman on the Food Network Channel?
If you did, you would want to live on the ranch too.
Seriously. It looks so fun. Ree Drummond is awesome. She seems like the world’s greatest mom. You know the one who cooks, has a beautiful house AND never seems to get mad at her kids and has TONS of patience for every silly, and not so silly thing they do. Oh and she takes great pictures of them too. All the time. It is like she always has her camera just hanging around her neck, ready to capture the cutest things her kids do. (Unlike me, who usually says, “Oh. I wish I had my camera.”)
She actually has a “lodge” and a “house”. As in, “I am going to head up to the lodge to get dinner ready and we will eat there and then hang at the house later.” Two houses you can live in. On the same piece of  property.
This is all on the ranch.
She is always feeding “cowboys” and “hungry kids” and her kids always seem like they honestly love whatever she decides to make for breakfast, lunch or dinner. Even if it contains things like jalapenos (which a lot of her cooking does) or cilantro (both things none of my kids would ever eat).
 She homeschools them and they do all sorts of really fun activities and she seems so patient with them, all the time. Even while homeschooling  four different age kids.
They have horses…tons of horses and a dog that just follows them around all day because life on the ranch is so….well, just simple..and happy.
I really want to live on the ranch with Ree Drummond.
But then, I come back to earth and I realize… wow, she lives on a ranch.
Like, a place that is far away from…well, everything. 
And there are animals there that need to be taken care of… all day long. I mean, I don’t have anything against animals, but let’s just say, I am not exactly an animal person. As in, I really don’t like to be anywhere near them. You know, that kind of animal person.
And then there is that whole “homeschooling” thing. I mean, I bet she gets to snuggle her kids all day long which sounds really wonderful, but then I think…what happens when they start fighting with each other? What happens when they are having a really cranky day? You mean to tell me, you can’t send them off to school so you can catch your breath?
Okay, I can deal….but.…..Then I think about how they get up at the crack of dawn,  to take care of those darn animals again. They are literally starving and so tired when they are done that when she tries to feed them spicy pork with jalapenos (okay I never saw that recipe, but I am just sayin’), they can’t even muster enough energy up to complain. That is why they seem like they love everything she cooks!
Okay…
Forget living on the ranch.
I think I will just stay here and just cook like I live on the ranch, because she makes some really good stuff. And she is always entertaining people at her house (lodge)  which I love to do. I love having people over for dinner and being able to cook for them. Seriously. Some people probably feel like it is their worst nightmare, but I really enjoy it! I get inspired by new recipes and just want to share them with the people I love. So, although I don’t have a lodge, I still love to cook like I do.
So, maybe the ranch isn’t for me, but she sure makes it look like fun.
This recipe just reminded me of something she would make. It isn’t hers, but I think it would be “cowboy and hungry kid approved.”
(Seriously, you really have to tune in to get all my play on words here…or you probably really find this post not funny at all and probably a little annoying!)
This calzone is the perfect grab and go food, but it was great for our family sit down dinner too. The crust was flaky and slightly sweet and the chicken was deliciously tender and perfectly seasoned. The melty cheddar inside was perfect and paired with some fresh crisp veggies dipped in my Carmelized Onion Yogurt Dip , it was the perfect dinner.
Enjoy your dinner with your family! (And check out The Pioneer Woman  on Food Network . You will be inspired too!)

Whole Wheat BBQ Chicken Calzones

Calzone Dough:
1 1/8 cups warm water
3 tsp active dry yeast
1 1/2 tblsp honey
1 1/2 tblsp olive oil
1 tsp salt
2 cups whole wheat flour
1 cup all purpose flour
Olive oil to coat bowl

Filling:
3 boneless, skinless chicken breasts, cooked and shredded
1 tsp onion powder
1 tsp smoked paprika
2 cups of your favorite barbecue sauce
1 1/2 cups shredded cheddar cheese

In a large bowl combine water, yeast, honey and olive oil. Stir gently and then let sit until yeast becomes alive and mixture looks creamy and slightly bubbly, about ten minutes. Add the salt to the mixture and then add the flours a little at a time and knead the dough until dough becomes smooth and stretchy, not sticky (about 10 minutes).  Remove the dough from the bowl and set aside. Pour a little olive oil in bowl to coat. Return dough to bowl and turn over to coat in the olive oil. Cover the bowl with a clean towel and place in a warm place to rise for about 2 hours.
Once dough has risen, take dough out and place on a floured surface. Punch dough down and add flour if it is a little sticky. Separate dough into six round pieces, flatten, and place on a baking sheet and let rise, covered for about 15 minutes more.
While letting the dough rise the last fifteen minutes, place shredded chicken in a bowl. Add 1 cup of the barbecue sauce, paprika and onion powder. Mix until chicken is well coated. Uncover dough circles. Divide chicken evenly, placing a mound in the middle of each dough circle. Sprinkle with 1/4 cup of shredded cheese and another dollop of barbecue sauce.

Bring the sides up around and tightly seal with your fingers.

 Repeat for each calzone. Poke some holes in the top of each one. Bake at 375 degrees for 20-25 minutes or until calzones are lightly browned. Serve with extra barbecue sauce or buttermilk ranch dressing for dipping. 

Heather

Leave a Comment

Appetizers

Carmelized Onion Yogurt Dip

My kids love to dip things.
Let’s be honest. I love to dip things too.
My kids definitely take it to the next level though. Especially my son.
“Ranch!” he will call out randomly.
“What do you need ranch for?” I ask, looking at his plate of peas, crackers and a cheese stick.
“Ranch!!” he will demand again. I give in, well, frankly because he is so darn cute.
My oldest daughter was never a dipper…until the second daughter came along. She wanted to dip everything. In her mind, everything tastes better dipped in ranch dressing.
Well, I am definitely not a ranch dressing lover, but I do love making more grown up dips. I really love vegetables, but raw vegetables always seem better dipped in a creamy dip. I am always looking for a healthier alternative, although I love the creamy, sour cream based dips, I wanted something I could use with a little less guilt.
This dip is yogurt based, and full of flavor. The onions are carmelized and give the dip a sweet flavor. This dip is great for raw veggies, but can also be used to dip pretzels, chips or crackers. And, if the yogurt is just too healthy for you, you can substitute sour cream as well. I will tell you though if you are wary of the yogurt, it gives the dip a tangy, delicious flavor and makes the dip just as rich and creamy as any sour cream would. And, you can feel a little less guilt…well unless you eat almost the whole container of dip…but that would be just…um…crazy.

Carmelized Onion Yogurt Dip

1 cup chopped red onion
1 cup chopped sweet onion
1 tblsp olive oil
1 tblsp butter
2 tblsp brown sugar
12 oz plain, Greek yogurt
1 1/2 tsp salt
1 tsp garlic powder
1 tsp black pepper

In a small saucepan, heat olive oil on medium heat. Add butter. When butter melts, stir onions and 1/2 tsp salt and stir onions until coated with butter mixture. Cover, turn heat to low and let onions carmelize, cooking for 45 minutes. Add brown sugar, stir onions well and re-cover and cook for 10 more minutes. Pour into yogurt. Mix well. Add the rest of the salt, garlic, and black pepper. Mix and chill for 1 hour. Serve with veggies, chips or crackers.

Heather

1 Comment

Uncategorized

Tomatillo Shrimp Enchiladas

I love Mexican food, especially enchiladas. I usually make the original ones, stuffed with chicken or beef and then smothered in red enchilada sauce and melted cheddar cheese.
Yum.
Recently, I have become a little more experimental with my enchiladas, actually trading in the originals for some new variations. Have you tried the Honey Lime Enchiladas on my blog? You have to check them out.
Delicious.
The other day, I had some friends over and I prepared these Tomatillo Shrimp Enchiladas. They were something different, and really, really good. Tender shrimp, crisp green peppers and sweet corn all tucked into a corn tortilla, covered with a creamy sauce and melted monterey jack cheese. I actually made the filling the night before , which is always a plus when you are entertaining. When it was time to assemble the dish, I just took the filling out of the fridge, and I was able to easily assemble them while enjoying a glass of sangria and conversation with a great friend. They baked up in under a half hour and we had a delicious meal that was easy to make and really good.
I love entertaining, but I love easy entertaining even more!
I think they were a hit with my friends, and they definitely will be added to our list of family favorites!

Tomatillo Shrimp Enchiladas

1 tblsp olive oil
1 green pepper, seeded and chopped
1/2 cup red onion, chopped
1 1/2 lb raw shrimp, peeled, deveined and tails removed
1 cup frozen corn, thawed
1 tsp chili powder
1/2 tsp cumin
1/4 cup water
2 cups shredded monterey jack cheese, divided
8 corn tortillas
1 1/2 cups green tomatillo salsa
1 cup half and half  (I have used fat free or regular, your choice)

Heat oil in large skillet over medium heat. Add onion and green pepper to hot skilled and cook about 2 minutes. Add shrimp, cooking until shrimp is pink and cooked through. Add corn and stir well. In a small bowl, mix cumin and chili powder with water. Pour over shrimp mixture and heat, stirring until shrimp mixture is coated, about two minutes.
At this point, you can refrigerate the shrimp mixture to be used within the next day or you can begin to assemble enchiladas.
Preheat oven to 375 degrees. Spray an 8×8 inch baking dish with cooking spray. Heat corn tortillas in the microwave for 30 seconds so they become more flexible and easier to work with. Brush each tortilla with abou a teaspoon of green tomatillo salsa, about a 1/4 cup of the shrimp mixture and a tablespoon of shredded cheese. Fold and place in baking dish, seam side down. Repeat process with the remaining tortillas, placing them side by side in the baking dish. If you have any extra filling, just pour it over the top of the prepared enchiladas in the pan. In a medium bowl, combine remaining green tomatillo salsa with half and half and pour over folded enchiladas. Sprinkle remaining cheese evenly over the top. Bake at 375 degrees for about 20-30 minutes or until lightly browned and bubbly on top.

Heather

Leave a Comment

  • « Previous Page
  • 1
  • …
  • 29
  • 30
  • 31
  • 32
  • 33
  • …
  • 38
  • Next Page »

Heather

I am a midwestern girl who grew up in the big city, but now enjoys her days as a stay at home mom in the suburbs. Who says spending time in the kitchen has to be boring? I hope to inspire your family kitchen with some new ideas, fun recipes and great tips.

Stay Up to Date

Get all the latest tasty goodness straight to your inbox!

Girl and her Kitchen

Join us!

Hey! I am the GIRL in the kitchen and I am so glad you decided to visit. Love to cook and eat? You will find some great recipes on this site, whether you are looking to eat healthy, splurge on a dessert, make dinner or host a party-I have it all! Sometimes I’ll give you a story along with my recipe, other times, I want to take you straight to the food!  Whatever the reason that you decided to visit, I am so glad you joined me in the kitchen! Feel free to take a look around the site, and please…stay awhile!

Archives

Popular Categories

  • Appetizers
  • Breakfast
  • Crafts
  • Salads and Dressings
  • Side Dishes
  • Vegetables and Fruit

Most Popular Posts

Corner Bakery Cafe Giveaway!

Corner Bakery Cafe Giveaway!

Filed Under: Reviews

Bacon Cheddar Skillet Cornbread

Bacon Cheddar Skillet Cornbread

Filed Under: Breads, Quick Breads and Rolls, Side Dishes

Puffy Pancakes {Perfect for Valentine’s Day!}

Puffy Pancakes {Perfect for Valentine’s Day!}

Filed Under: Breakfast, Valentine's Day

100 Days of Real Food Cookbook Review {and Giveaway!}

100 Days of Real Food Cookbook Review {and Giveaway!}

Filed Under: Vegetarian

Copyright © 2026 · Divine theme by Restored 316