I am not a frosting person. I never have been. I am the one that leaves the frosting off when I bake and everyone awkwardly eats the cake I made wondering when I will realize that I forgot the frosting. I didn’t forget. I did it on purpose. If I have cake somewhere else, I usually scrape the frosting off. I am not sure if it is that I don’t like frosting or if it is just that I like cake and don’t want to ruin the cake with the overly sweet stuff on top. I am just not a fan. Well…until I tried this one. I made this to top a carrot cake (an amazing, wonderful, delicious carrot cake that I will post sometime this week!) and I was amazed at how good it was. Especially creamy, not too sweet, fluffy and buttery, I could have eaten this with a spoon…without the cake. But I didn’t. Because that would be wrong and weird and…okay, I did. Just one spoonful. But it was really, really worth it. Now beware, this is not diet food (not that I thought you would think that with the title of this post) but it is a decadently delicious splurge for a holiday or special occasion. This recipe made a lot of frosting so I of course slathered it on the carrot cake and then whipped up a batch of homemade cinnamon rolls for the kids. Both recipes will be posted this week for your eating pleasure. 🙂 This frosting can be stored for up to a week in the fridge….if it lasts that long. It is just—that—good!
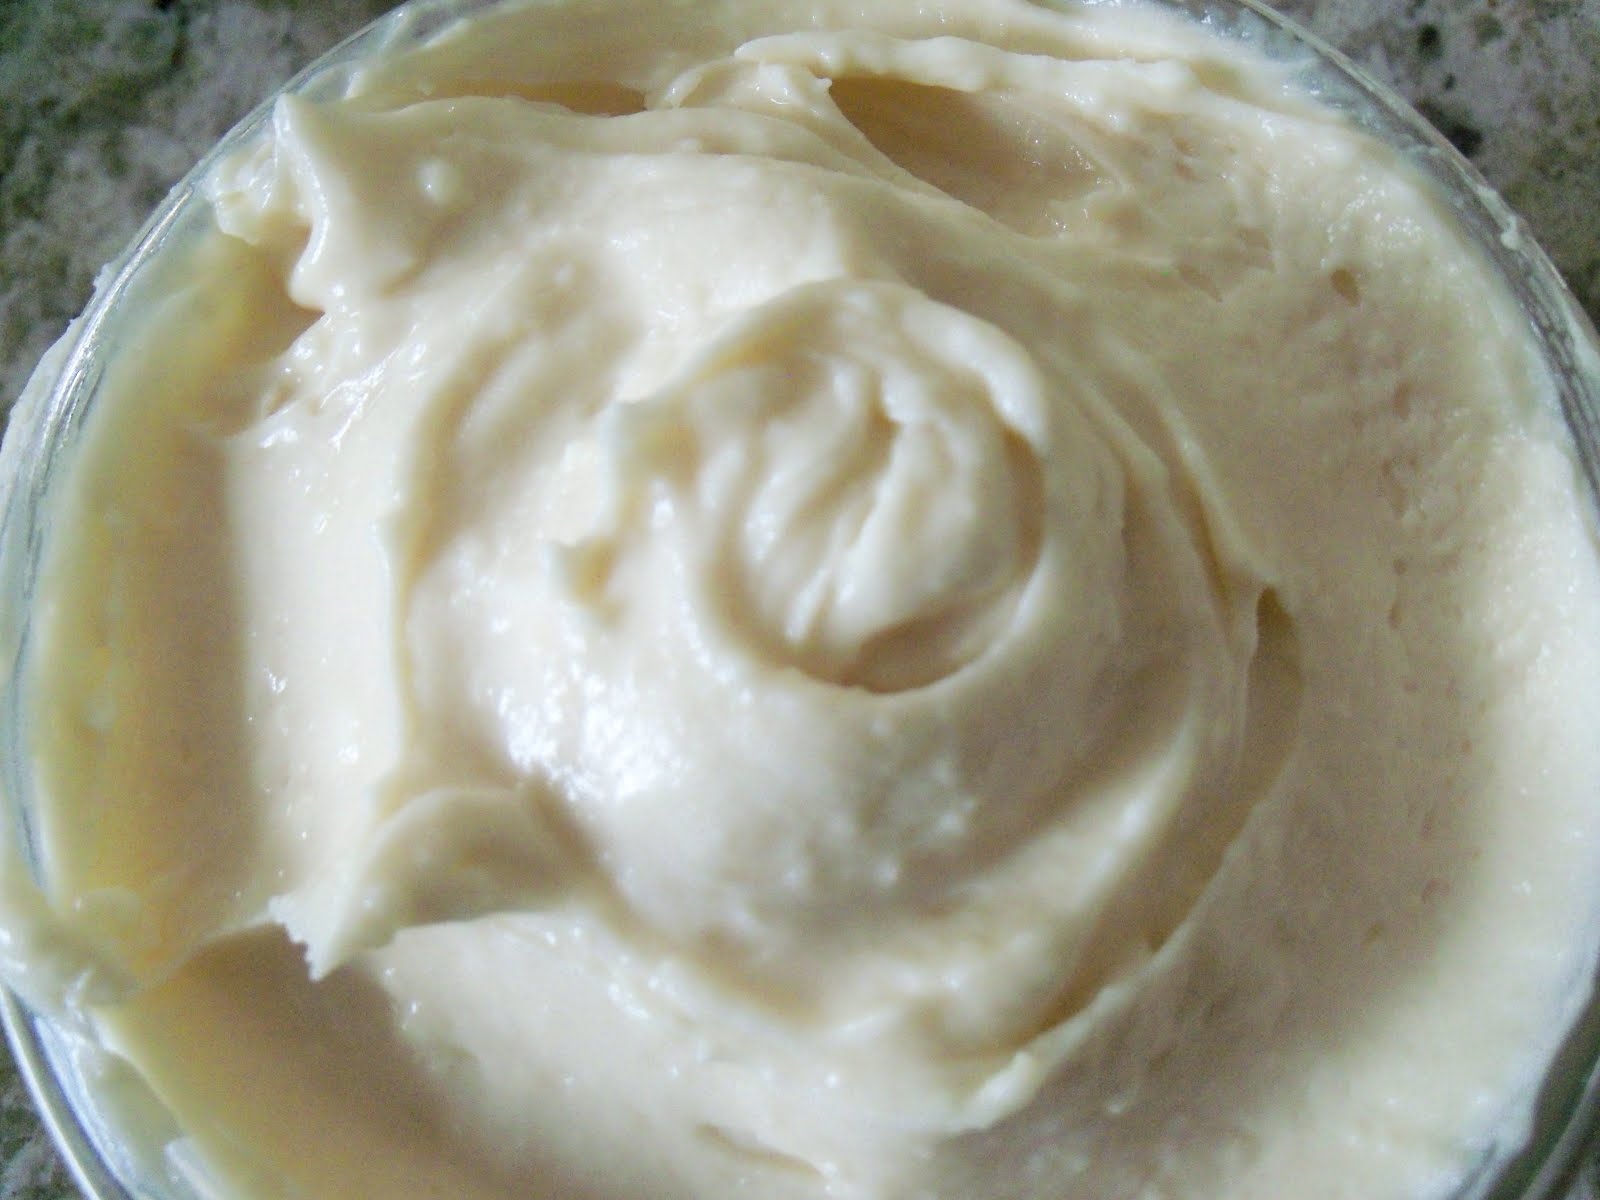
Perfectly Creamy Cream Cheese Frosting
16 oz of cream cheese, softened to room temperature
10 tblsp butter, softened to room temperature
3 tblsp sour cream
1 1/2 tsp vanilla extract
2 1/4 cups powdered sugar, sifted
Cream together cream cheese and butter with mixer. Add in sour cream and beat well. Add in vanilla extract and powdered sugar. Beat well, scraping down sides with a spatula until light and fluffy. Try not to eat all out of mixing bowl. Refrigerate. Enjoy! Spread on anything!