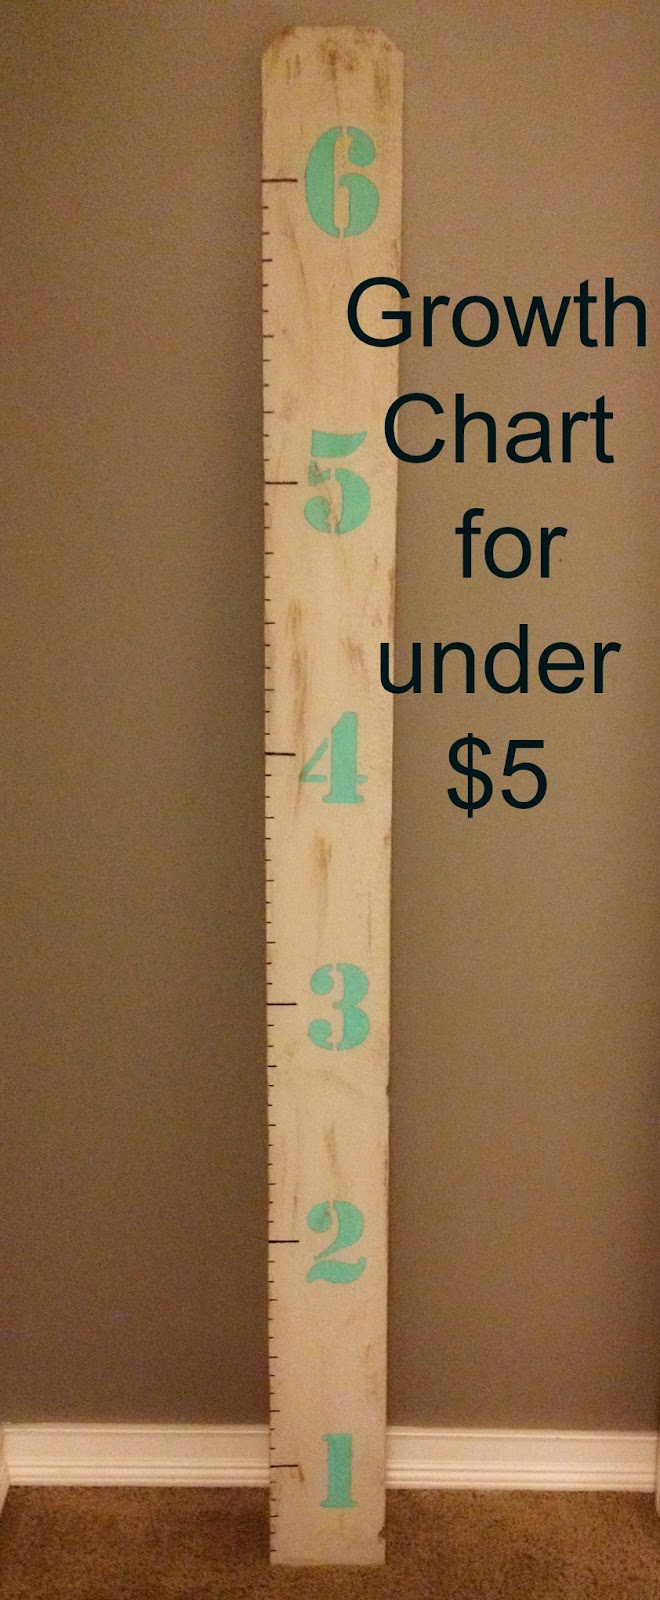
I saw this awhile back and thought that it looked so fun to make! Since we have moved four times in the last five years, I haven’t been marking my children’s heights on the walls because I didn’t want to have leave the marks. Well, now, thanks to this craft, I can mark away and just take it to our next destination. And the best part is, it cost me under $5 to make! About a month ago, I made about 20 of them with a bunch of friends who were giving them as gifts for Christmas. So, even though the holidays are a distant memory at this time, this makes a great gift for any occasion, especially for a new mom!
Supplies
dog-eared fence post. (I got mine at home depot)
base paint (I just used the light gray we used in out kitchen)
acrylic paint (I used a tiffany blue I got at Joanns with a coupon $.48)
sand paper
stecnil of some sort for numbers
tape measure
sharpie marker
ruler

Directions- Begin by painting the board. Again, I used some leftover paint from our kitchen. If you don’t have any you can always go to Home Depot or Lowes and buy a sample of whatever color you like. They are around $3.
Let the paint dry. Next, using your measuring tape and a pencil make small marks for each inch and slightly bigger for each ft. As you can see from the picture below I started my number one 6 inches from the bottom of the board. This allows me to mount in on the wall six inches from the ground. That way it ends up a couple inches above my baseboards making it easier to mount. Feel free to do what you like. I had one friend start her number one at the bottom because her son was already 6ft and he wasn’t finished growing.
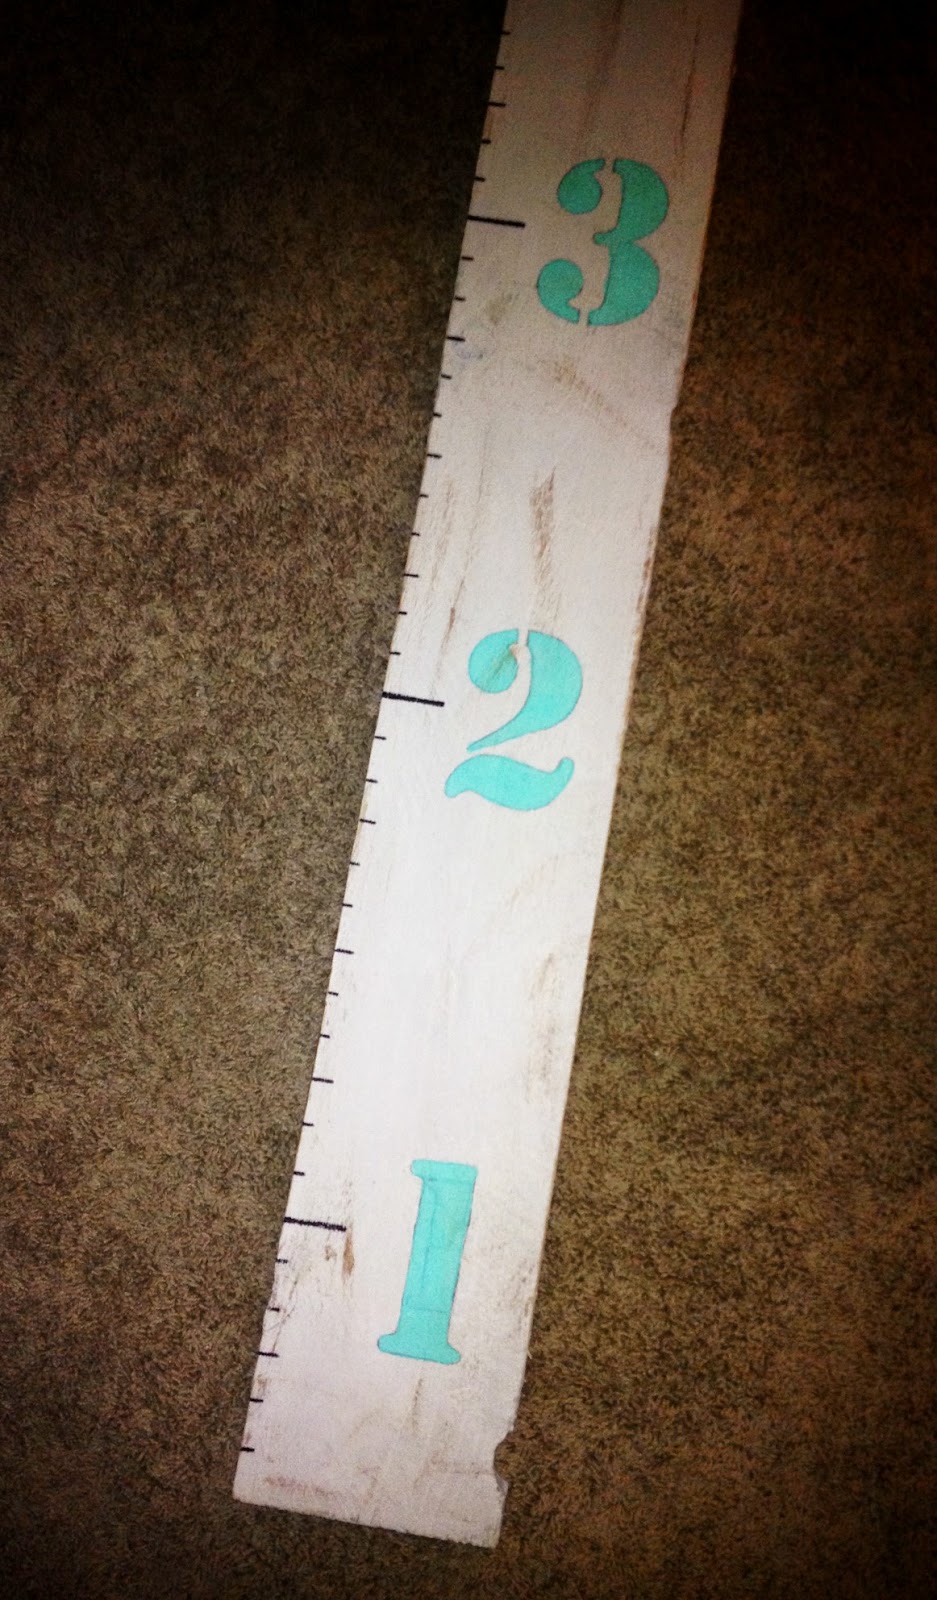
After you have finished marking you can then go back over with a sharpie marker and a ruler if you choose. I made my ft. marks about an inch and a half long and then every third inch a little bigger than the other inch marks.
If you have a fun stencil making machine use that, if not here is the way I did my numbers; I went on to microsoft word and using the “stencil” font I printed out numbers that were about 3 to 4 inches tall. I then got a piece of carbon paper (office max) and put the black side down, touching the wood. Then I took my stencil number paper and placed it on top of the carbon paper. Using a pen I outlined the number, pulled the papers off, and ta da, a perfect number outline. Pretty cool, huh?! (You can use this technique on all sorts of projects)
Next grab your acrylic paint of choice and paint your numbers. Once everything is finished to give an aged look you can use gel stain or a dark brown acrylic paint. Put some paint on a plate and then using a scrunched up paper towel or cloth dab some paint on and then blot some off on a scrap paper and then blot it onto your wood. Make sure to get edges and go over the numbers a little if you want to. Every couple of blots wipe with the clean side of the paper towel or cloth. This will help if you feel it went on too dark. When you have finished that do a light sanding job along the sides and very slightly on the front.
Then just mount that and enjoy. Here is another one Becca (fellow blogger) did. The possibilities are endless. HAPPY CRAFTING!



Leave a Reply