 Every couple of months a group of girlfriends and I get together at my house for a crafting afternoon (this turns into every couple of weeks during the holiday season). I usually get all the supplies and prep work done beforehand and my girlfriends happily bring their money, goodies to share, and sometimes kiddos for a play date while the mommies play.
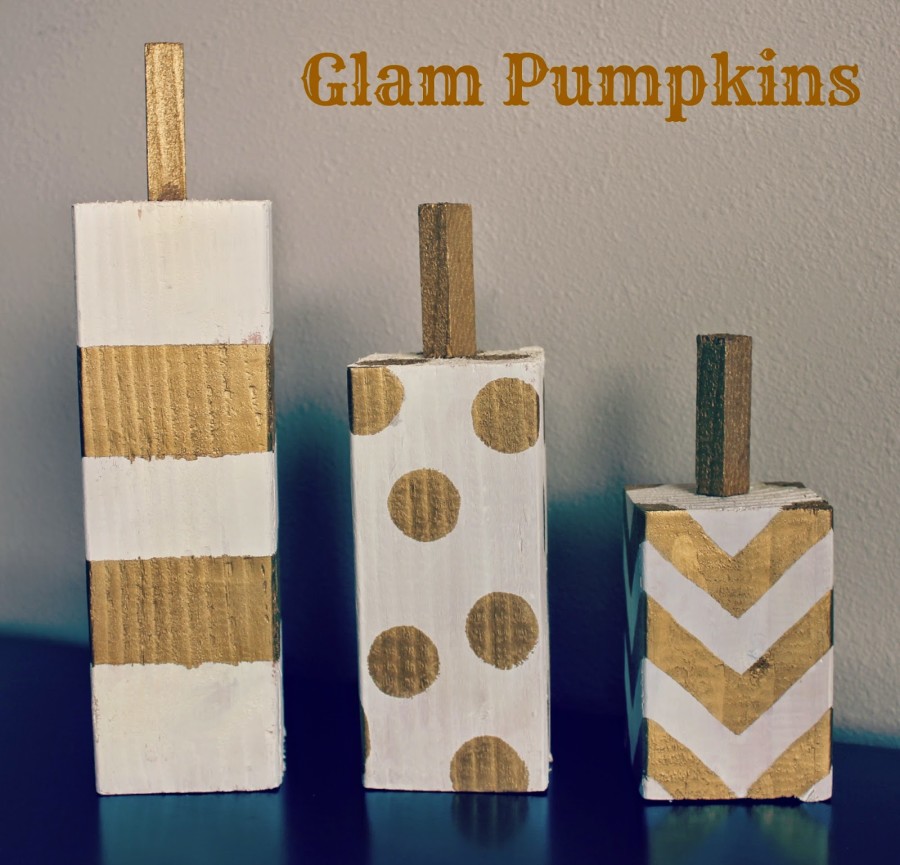
Last Halloween, this was the craft I chose, and rightfully named them Glam Pumpkins. Orange and black are great for Halloween, but sometimes a girl needs a little GOLD. These pumpkins are a cinch to do and come together quickly. This is a great project to do with friends because you can get a couple of sets of pumpkins with just one long 4×4 board. The heights and colors of the pumpkins are completely up to you. Some of the ladies wanted their pumpkins taller with orange and cream, some wanted brown and orange. They are great as center pieces, placed on mantles, or floors. They are also a great addition to the front porch.
Supplies:
Wood: 4×4 board for the blocks (the length of the board I used was 9 ft, allowing me to cut multiple sets) and 1×1 board for the stems.
Sand Paper: I used a light/medium grit. You’re just lightly smoothing.
Paint: acrylic craft paint. I chose antique white and gold.
Paint Brushes and Sponges: I used a large paint brush and a circular sponge for the dots
Painters Tape: Choose the width of the tape to coordinate with the width you want for your stripes etcs.
Glue Gun and Glue
Polyacrylic/polyurethane: I used a spray poly. This is especially important if your pumpkins are going to be on the front porch and in the elements. I find that polyurethanes will yellow over time, so be careful in selecting your spray. Use a polyacrylic if you can find it!
Let’s do this!
1. Cut blocks and stems. I cut the 4×4 into an 11in, 8in, and 5in lengths. Cut three stems from the 1×1 at 3in. This can be done at your hardware store or at home if you have a chop-saw.
2. Sand blocks to desired texture. I lightly sanded the blocks where the cuts were made and that was about it.
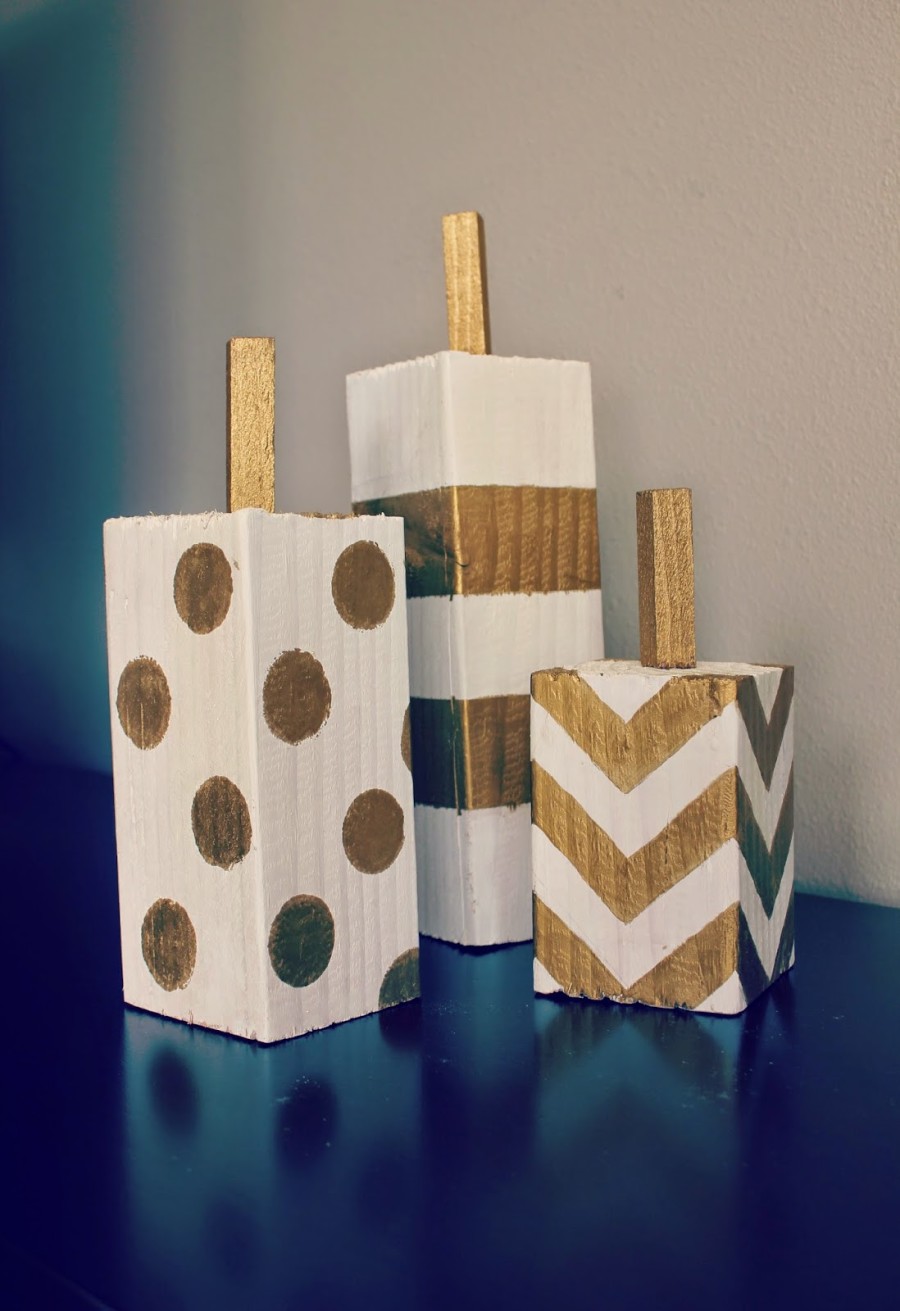
3. Paint all blocks the background color you want them. I used antique white. Let this dry before you try and tape off for your stripes or chevron. If you’re in a hurry, use your hair dryer! While you’re waiting for your blocks to dry, paint your stems.
4. Tape off your wood. You can employ a ruler and pencil if you want it just right. I used a round sponge to make the circles. I love how it left the edges a little uneven. Let this dry. If you are super careful you can remove the tape before it dries, if your worried you’ll smudge, just leave it till its dry and then take it off. Feel free to bedazzle with glitter or gems with a little modpodge.
5. Plug in your lava maker(glue gun), yes when I was twelve my older sister Hannah shot hot glue across our dining room table and onto my hand. I have the scar to prove it. Glue your stems to the top of your blocks, I angled my stems so the sides and corners were opposite of the blocks corners and sides.
6. Now if you want a little more worn/antique look you can sand the edges prior to spraying with your polyacrylic or add a dark gel stain to the edges. I did this with a set I made for my mom’s country house. The pumpkins were orange and cream with brown steams and were cut to longer lengths so the tallest was 18in instead of 11in. Perfect height if they are on the floor or a front porch. If you’re satisfied with your work, take it outside (I set it on an old sheet or tarp) and spray two coats of polyacrylic/polyurethane allowing it dry between coats.
7. Add a little glam to your porch or mantle with your completed pumpkins.

Super simple and turned out great
Thank you and yes they were so simple. I had a chevron template that I made with a previous project out of chipboard that I wanted to use but the size was wrong. So the chevron block was the only one that took a little more time to measure. Other than that they all came together quickly!
I need to make some of these for the floor they are so cute Becs!!