• Email
    • Facebook
    • Instagram
    • Pinterest
    • Twitter

Girl and Her Kitchen

Plan. Make. Eat. Design. Craft. Create. Celebrate. Life.

  • Home
  • About the Girl
  • Recipe Index
  • We LOVE
  • Weekly Menu

Crafts Valentine's Day

Show Me Some Love {Part One of the Fun!}

BE MY VALENTINE
When Pottery Barn came out with their cute Valentine envelopes that hung on chairs I said, “I need those!”. Then I looked at the price, and… yikes!! So, a sister of mine took on the task of making the envelopes while I fell in love with the heart idea.  So fun, right? Creating this craft using either method results in you getting something super easy and cute. I made one for each member of our family so during the month of February they can expect to find a card or sweet treat each day reminding them of how much they are loved! It’s also an added bonus for people like Heather and I who just don’t have enough Valentine’s Day decor…this adds to the holiday making it more festive!

You will see that I sewed mine,I know how to sew, however, it is not necessary! Glue works great and looks just as good!
Here’s what you need:
*Felt, both soft and the sturdier sheet.  The sturdier felt is about 12X16 inches. Both are found at the craft store right next to each other. 
*Glue gun or sewing machine
*White writing pen, paint, or embossing thread (for names)
*Ribbon for tying, and ric rac for trim

 Step 1: Make a heart or envelope shaped template.  I used card stock and the good old trick I learned in grade school, fold the paper in half, draw an “ice cream cone” shape along the crease and cut away.  This worked great and this way you can choose the size you want based on the size of your chairs.

Step 2: Use your heart template to make another template, only this time cut the top half of the heart off.  This is going to be used to make the pouch for all the goodies.

Step 3: Use your heart template to cut 2 hearts, 1 of the soft felt and one of the sturdier.

Step 4:  Use your half heart template to cut 2 half hearts, 1 of the soft and one of the sturdy.

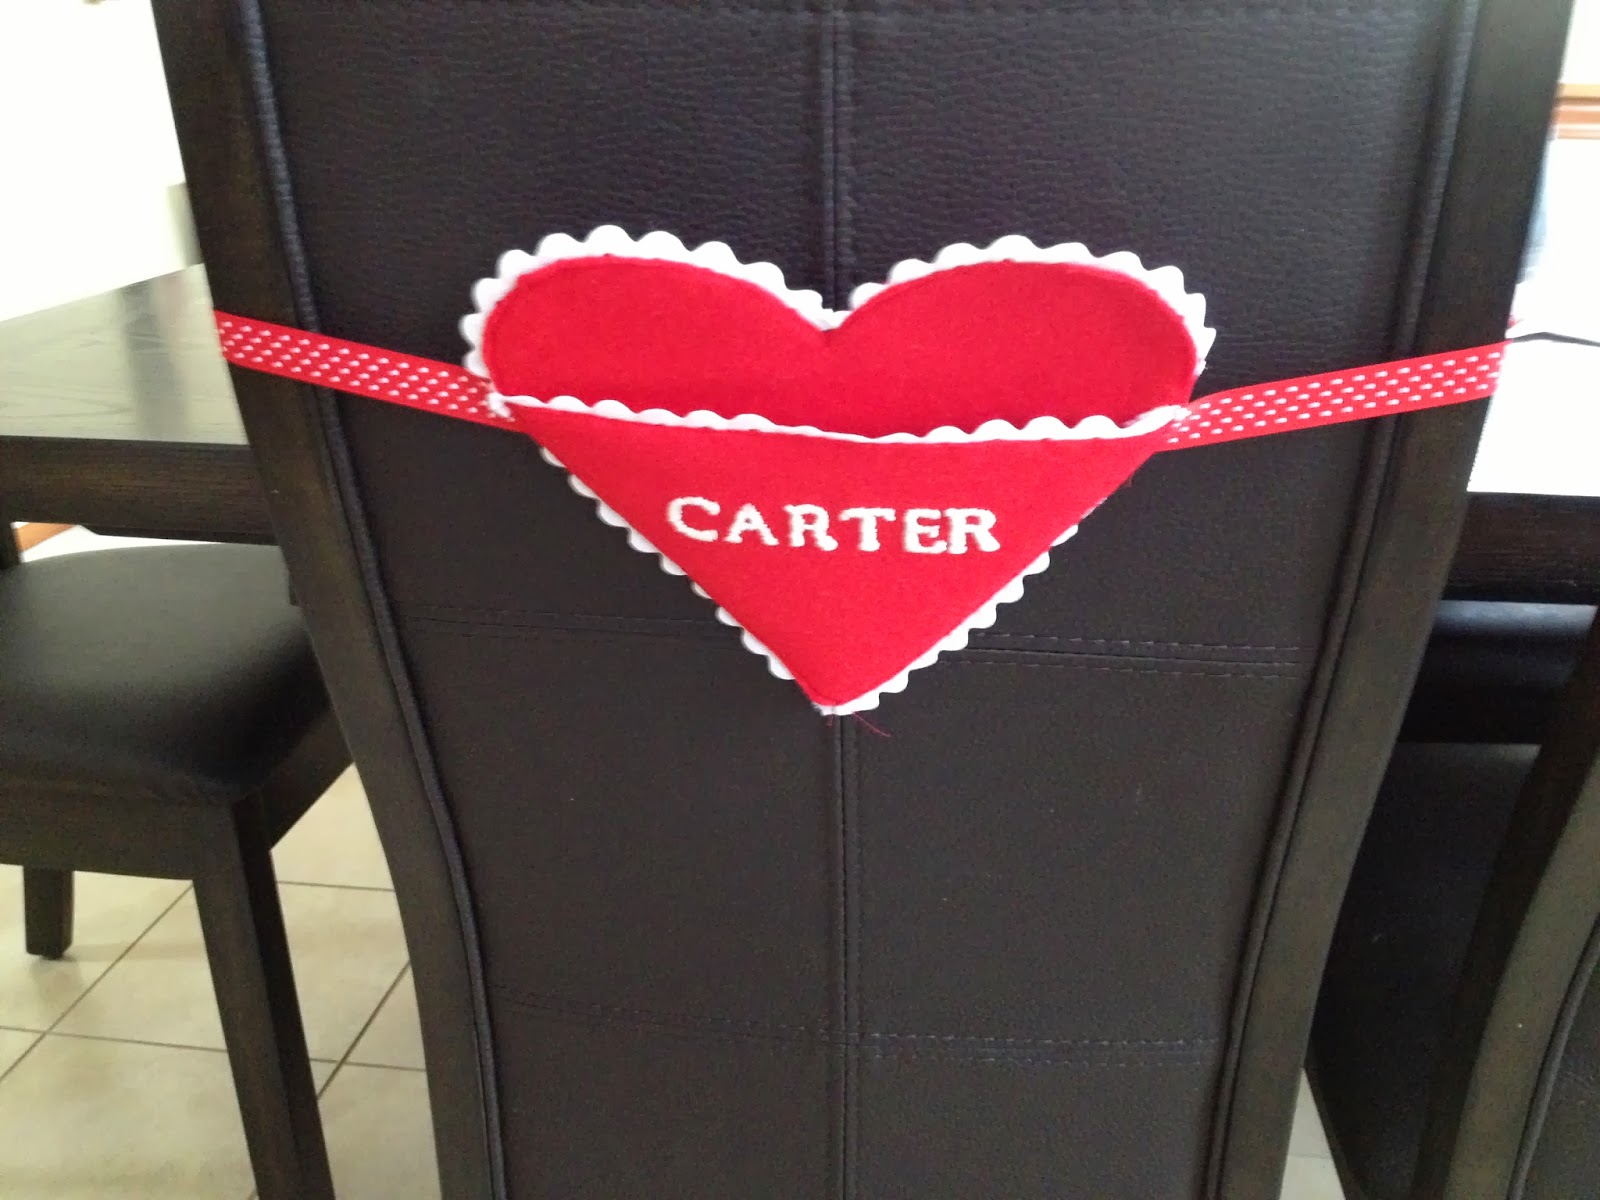
Step 5: Write, paint or embroider names on your soft felt half hearts.  An easy way to do this is to go to your computer, choose a font and size  you like and type all the names out on paper first. Then, place the paper with the typed name behind the piece of  soft felt and hold it up against a window.  The name will show through and you can trace it on the felt using a marker to better help you paint, write, or embroider. (They have these great disappearing markers at the craft store that I use for quilting. The ink just disappears after so many hours.  Its awesome)

Step 6: Start assembling, Glue or sew the two half heart together with a piece of ric rac between the two. Then determine where you are going to place your ribbon.
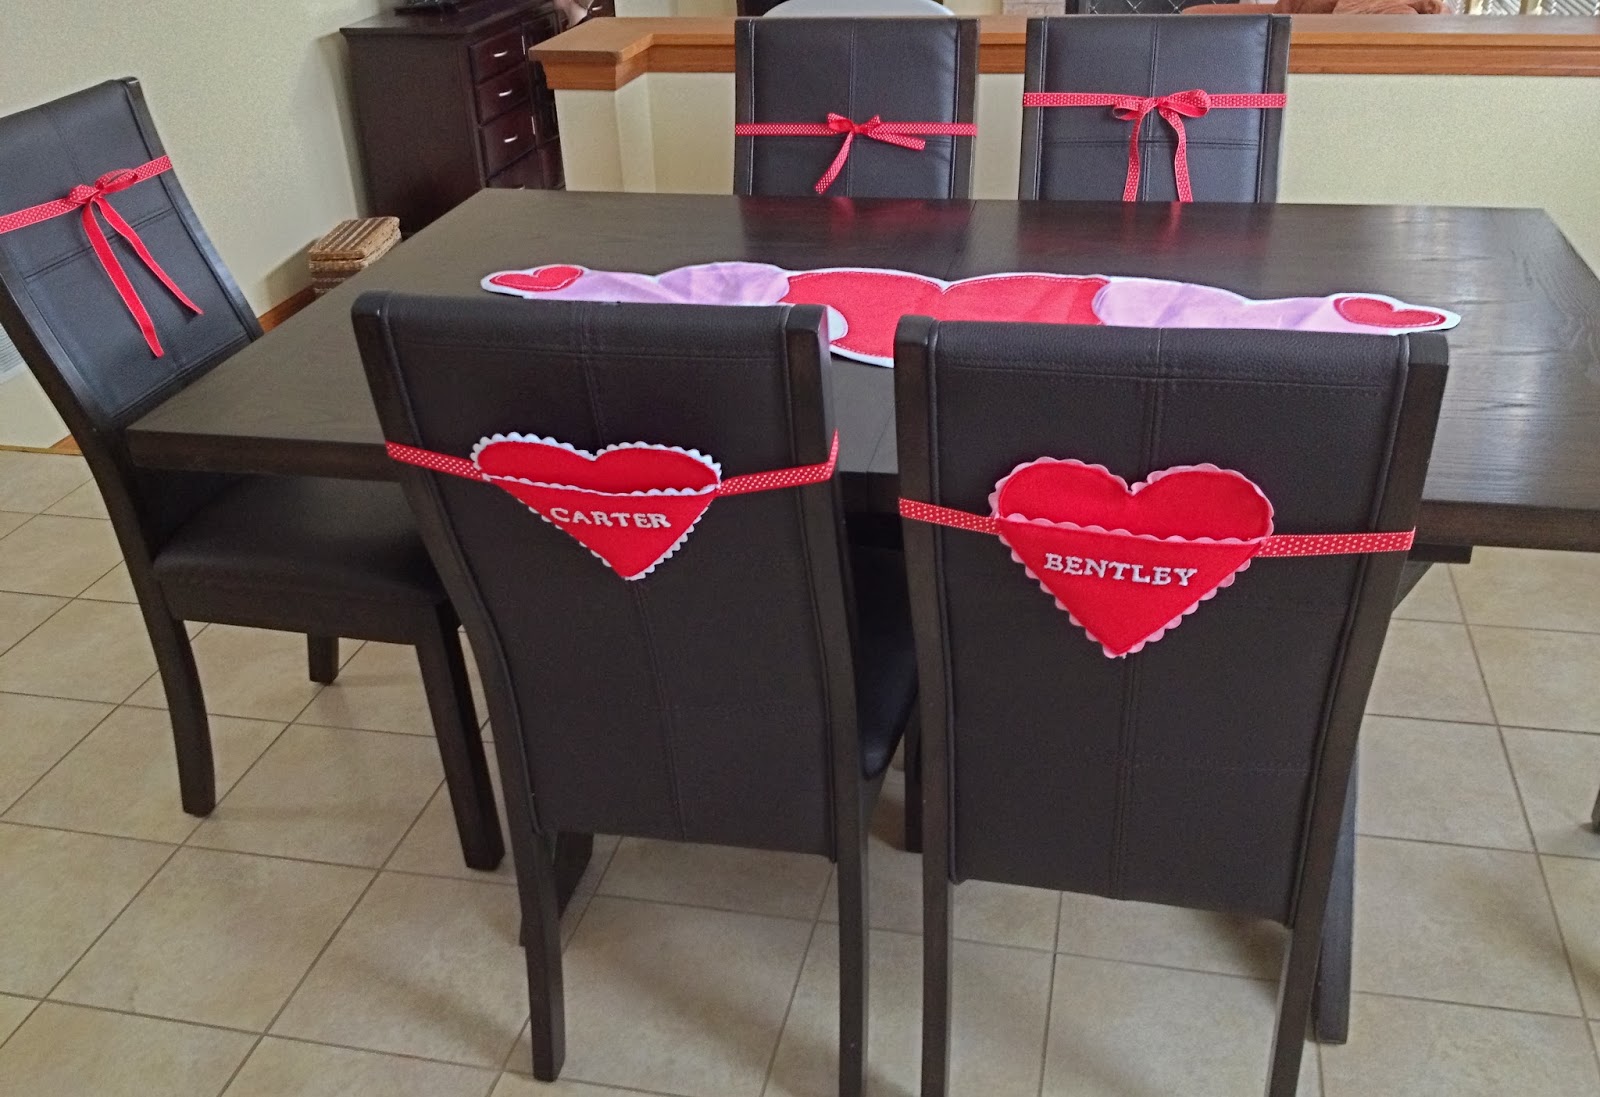
(My chairs have no wooden bars going across the back. If yours do, feel free to insert your ribbon at the top and bottom or just at the top if you like.) Using a straight pin, secure the ribbon just until you are ready to glue or sew it.  Then begin to glue or stitch the ric rac between the full hearts and then glue and secure the ribbon.  (The pictures are better at explaining this than I am!!!) 

Step 7: Glue your half heart sandwich onto the full heart, leaving the top open for the pouch. 

Extra: I use a lighter on stray threads, ric rac, and ribbon to keep them from fraying.  To do this simply bring the flame close enough to only melt the strays away.  The flame will not touch the fabric but the heat from the flame will do the work.  If you are nervous about this you can always use the fun stuff they sell at the craft store to accomplish this same goal. 

Now all that’s left is to tie them to your chairs and fill them with love.

Happy crafting!!!
Abby
Print Friendly, PDF & Email

Heather

Leave a Comment

« Homemade Valentines
Show Me Some Love {Part Two of the Fun!} »

Leave a Reply Cancel reply

Your email address will not be published. Required fields are marked *

Heather

I am a midwestern girl who grew up in the big city, but now enjoys her days as a stay at home mom in the suburbs. Who says spending time in the kitchen has to be boring? I hope to inspire your family kitchen with some new ideas, fun recipes and great tips.

Stay Up to Date

Get all the latest tasty goodness straight to your inbox!

Girl and her Kitchen

Join us!

Hey! I am the GIRL in the kitchen and I am so glad you decided to visit. Love to cook and eat? You will find some great recipes on this site, whether you are looking to eat healthy, splurge on a dessert, make dinner or host a party-I have it all! Sometimes I’ll give you a story along with my recipe, other times, I want to take you straight to the food!  Whatever the reason that you decided to visit, I am so glad you joined me in the kitchen! Feel free to take a look around the site, and please…stay awhile!

Archives

Popular Categories

  • Appetizers
  • Breakfast
  • Crafts
  • Salads and Dressings
  • Side Dishes
  • Vegetables and Fruit

Most Popular Posts

Corner Bakery Cafe Giveaway!

Corner Bakery Cafe Giveaway!

Filed Under: Reviews

Bacon Cheddar Skillet Cornbread

Bacon Cheddar Skillet Cornbread

Filed Under: Breads, Quick Breads and Rolls, Side Dishes

100 Days of Real Food Cookbook Review {and Giveaway!}

100 Days of Real Food Cookbook Review {and Giveaway!}

Filed Under: Vegetarian

Puffy Pancakes {Perfect for Valentine’s Day!}

Puffy Pancakes {Perfect for Valentine’s Day!}

Filed Under: Breakfast, Valentine's Day

Copyright © 2021 · Divine theme by Restored 316