When I was little I used to love staying over at my grandparents’ house for many reasons, but the one main reason was breakfast. My grandfather was a professional at making breakfast. He would make the fluffiest scrambled eggs, the crispiest bacon, the most tender-crisp potatoes you have ever tried. Although everything was completely top-notch, his true specialty lay in his biscuits. Light, flaky, buttery, perfect discs of goodness. 🙂 We would smother them with butter and strawberry jam and pop them in our mouth like candy. I probably ate 7 or 8 of them at breakfast, not even realizing it. They were just that good. I tried to perfect that biscuit over the years, but it never came close. I have the best memories of those times, watching him cook, hoping he would ask me to help, and being thrilled when he did. Sitting and having breakfast and talking to him and my grandma was the best of times. It is funny how you never realize how special that time is until it is too late to do it again.
Obviously, life is busy and we don’t take so much time to sit and have breakfast (or conversation for that matter) as we run from place to place.
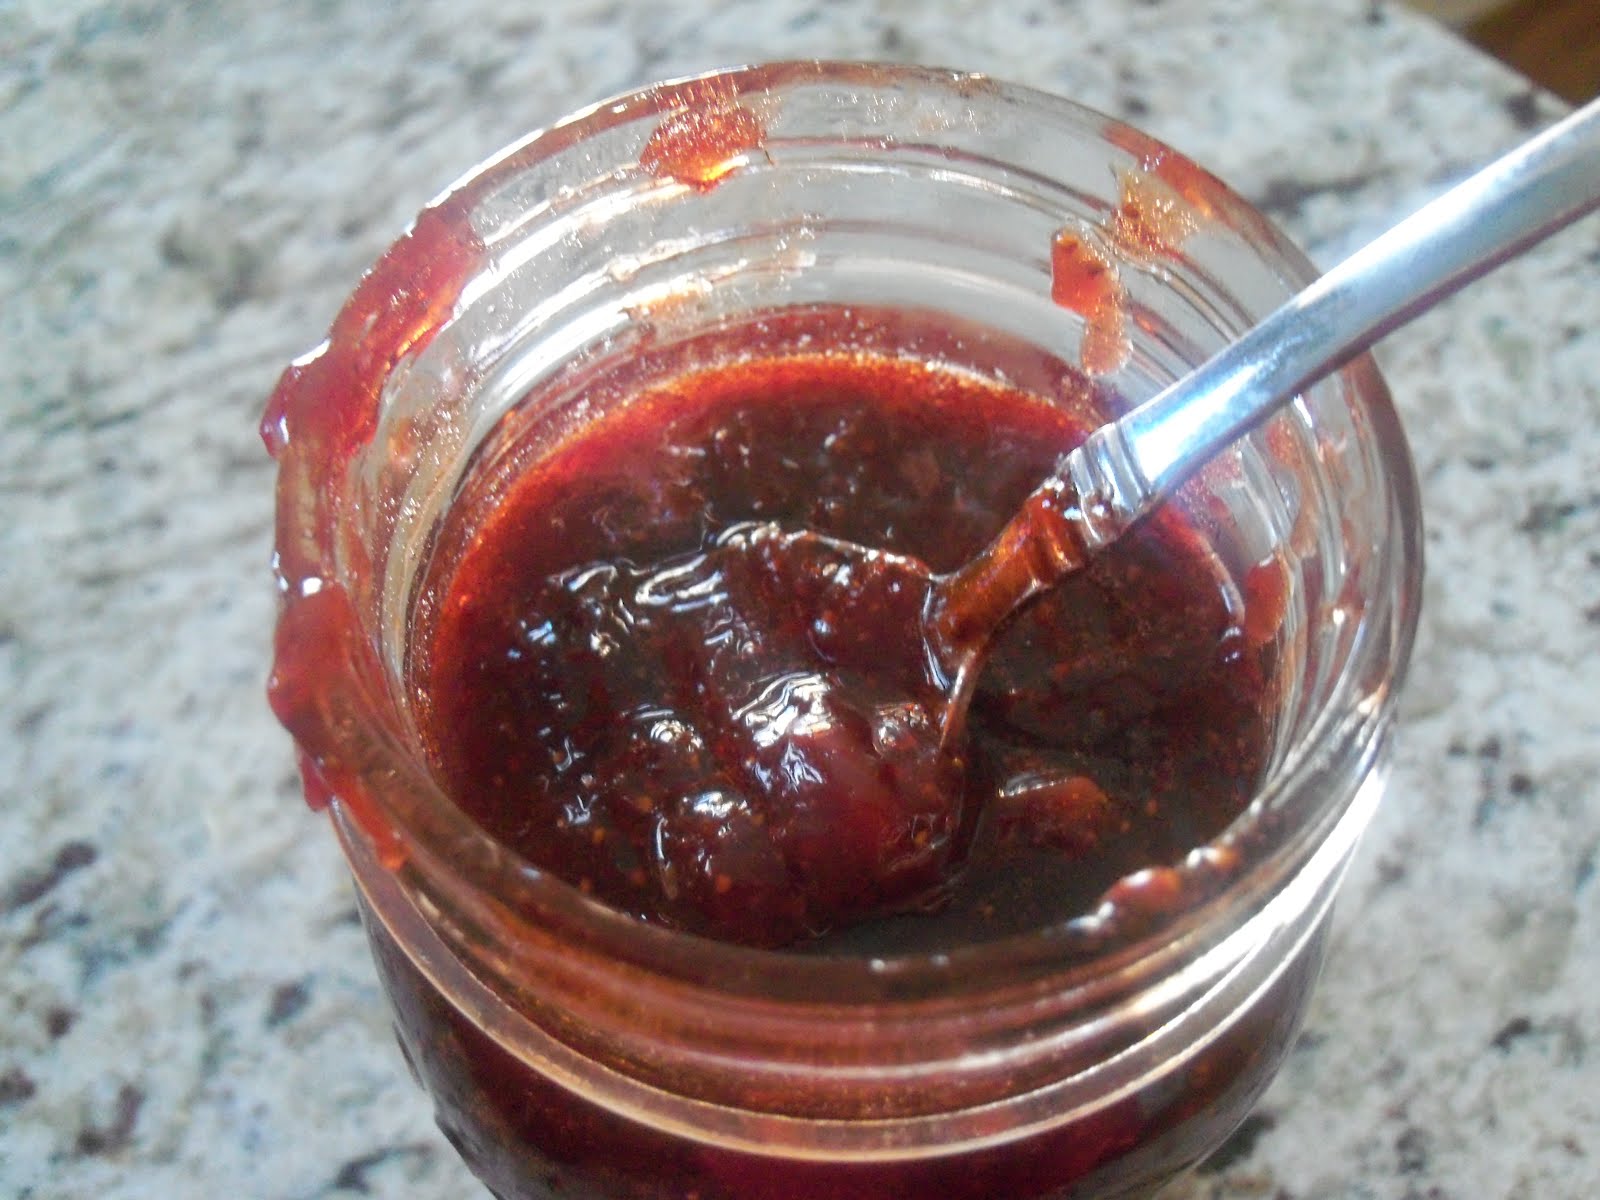
That is why I love making breakfast (or having my husband do it!) on the weekends and just sitting, relaxing and hanging out with my kids. Although I cannot seem to perfect those homemade biscuits, I made a jam that comes close to how that jam tasted on those biscuits. I am sure that the jelly we used was just from a jar, but good memories sometimes change our perception, and that jam was darn good.
I have always wanted to make jam from scratch, but I always thought it was so much harder than it actually turned out to be. It was incredibly easy and the result was worth it. Whatever you decide to spread this jam on, enjoy it with your family or friends and make some good meal memories with the ones you love!
Homemade Strawberry Jam
2 cups of sugar
Juice from one large lemon
4 cups of strawberries, hulled and halved
Combine sugar and lemon juice in a saucepan and cook over low heat for 10 minutes. Add strawberries and continue cooking on low for 20-25 minutes, stirring frequently so nothing sticks to the bottom of the pan. Turn off heat, let cool, and store in a mason jar or an airtight container in the refrigerator. If interested in canning the jam-see instructions below. Spread on toast, scones, muffins, or use in your peanut butter and jelly sandwich! Enjoy!
Recipe Adapted from Ina Garten
Canning Directions-Taken from a post from Ina Garten
Jars should be made from glass and free of any chips or cracks. Preserving or canning jars are topped with a glass, plastic, or metal lid, which has a rubber seal. Two piece lids are best for canning, as they vacuum seal when processed.
To sterilize jars, before filling with jams, pickles, or preserves, wash jars and lids with hot, soapy water. Rinse well and arrange jars and lids open sides up, without touching, on a tray. Leave in a preheated 175 degree F oven for 25 minutes. Or, boil the jars and lids in a large saucepan, covered with water, for 15 minutes.
Use tongs when handling the hot sterilized jars, to move them from either boiling water or the oven. Be sure the tongs are sterilized too, by dipping the ends in boiling water for a few minutes.
As a rule, hot preserves go into hot jars and cold preserves go into cold jars. All items used in the process of making jams, jellies, and preserves must be clean. This includes any towels used, and especially your hands.
After the jars are sterilized, you can preserve the food. It is important to follow any canning and processing instructions included in the recipe and refer to USDA guidelines about the sterilization of canned products.
*Sterilizing Jars*
Properly handled sterilized equipment will keep canned foods in good condition for years. Sterilizing jars is the first step of preserving foods.
Sterilizing Tips:
Jars should be made from glass and free of any chips or cracks. Preserving or canning jars are topped with a glass, plastic or metal lid, which has a rubber seal. Two piece lids are best for canning, as they vacuum seal when processed.
Before filling with jams, pickles or preserves, wash jars and lids with hot, soapy water. Rinse well and arrange jars and lids open sides up, without touching, on a tray. Leave in a preheated 175 degree F oven for 25 minutes. Or boil the jars and lids in a large saucepan, covered with water, for 15 minutes.
Use tongs when handling hot sterilized jars, to move them from either boiling water or the oven. Be sure tongs are sterilized too, by dipping the ends in boiling water for a few minutes.
As a rule, hot preserves go into hot jars and cold preserves go into cold jars. All items used in the process of making jams, jellies and preserves must be clean. This includes any towels used, and especially your hands.
After the jars are sterilized, you can preserve the food. It is important to follow any canning and processing instructions included in the recipe and refer to USDA guidelines about the sterilization of canned products.

Leave a Reply