• Email
    • Facebook
    • Instagram
    • Pinterest
    • Twitter

Girl and Her Kitchen

Plan. Make. Eat. Design. Craft. Create. Celebrate. Life.

  • Home
  • About the Girl
  • Recipe Index
  • We LOVE
  • Weekly Menu

Crafts

Stacked Frame Wall Display

Aren’t these so fun?! And isn’t my little guy adorable?! Ha, sorry had to brag on my little guy. Anyway, in addition to looking great they only cost me about $30. Yes you heard me correctly. Who wouldn’t want to make these?!! And there are so many different ways to make these suit your specific needs.  So read the list of supplies, head to the store, and lets get crafting.

Supplies:
*MDF board (I got mine at Home Depot. It is long so I just had them cut it there into 3 equal pieces, around 24X16 (they will do it for free) $8

* 3 picture frames (I got mine at Hobby Lobby for about $4 each. Mine are 11X14 so if you want something smaller cut the big boards down a bit.
* Spray paint, I used Krylon paint for the blue and white. Super inexpensive at Walmart and a great brand.  Rustoleum is good paint too if you want to get that at the Depot as well. I did two coats of each. (Do not go cheap on spray paint, you will regret it.)
* Acrylic paint for the strips. I also purchased this at hobby lobby. Its called Tangerine, if you like the color. $.50
* Americana gel stain, also at hobby lobby in the acrylic paint section. $.50
*painters tape
*industrial velcro, (hardware store)
*Sand paper med grade
*Wall hanging claws
*Pictures- a friend took ours and I printed them at costco. They were under $2 a piece. Pretty sweet deal!!
And that’s it!! Lets get going. I didn’t take too many pictures of the above set so I have shown you with one I made for my daughter. 

Step 1: Paint your boards, two of one color and one of the other. Same with the frames.
Step 2: Sand down the edges and lightly all over the boards if you want to give them a more rustic feel like I did with my son’s. Wipe them down with a rag when you are finished. 

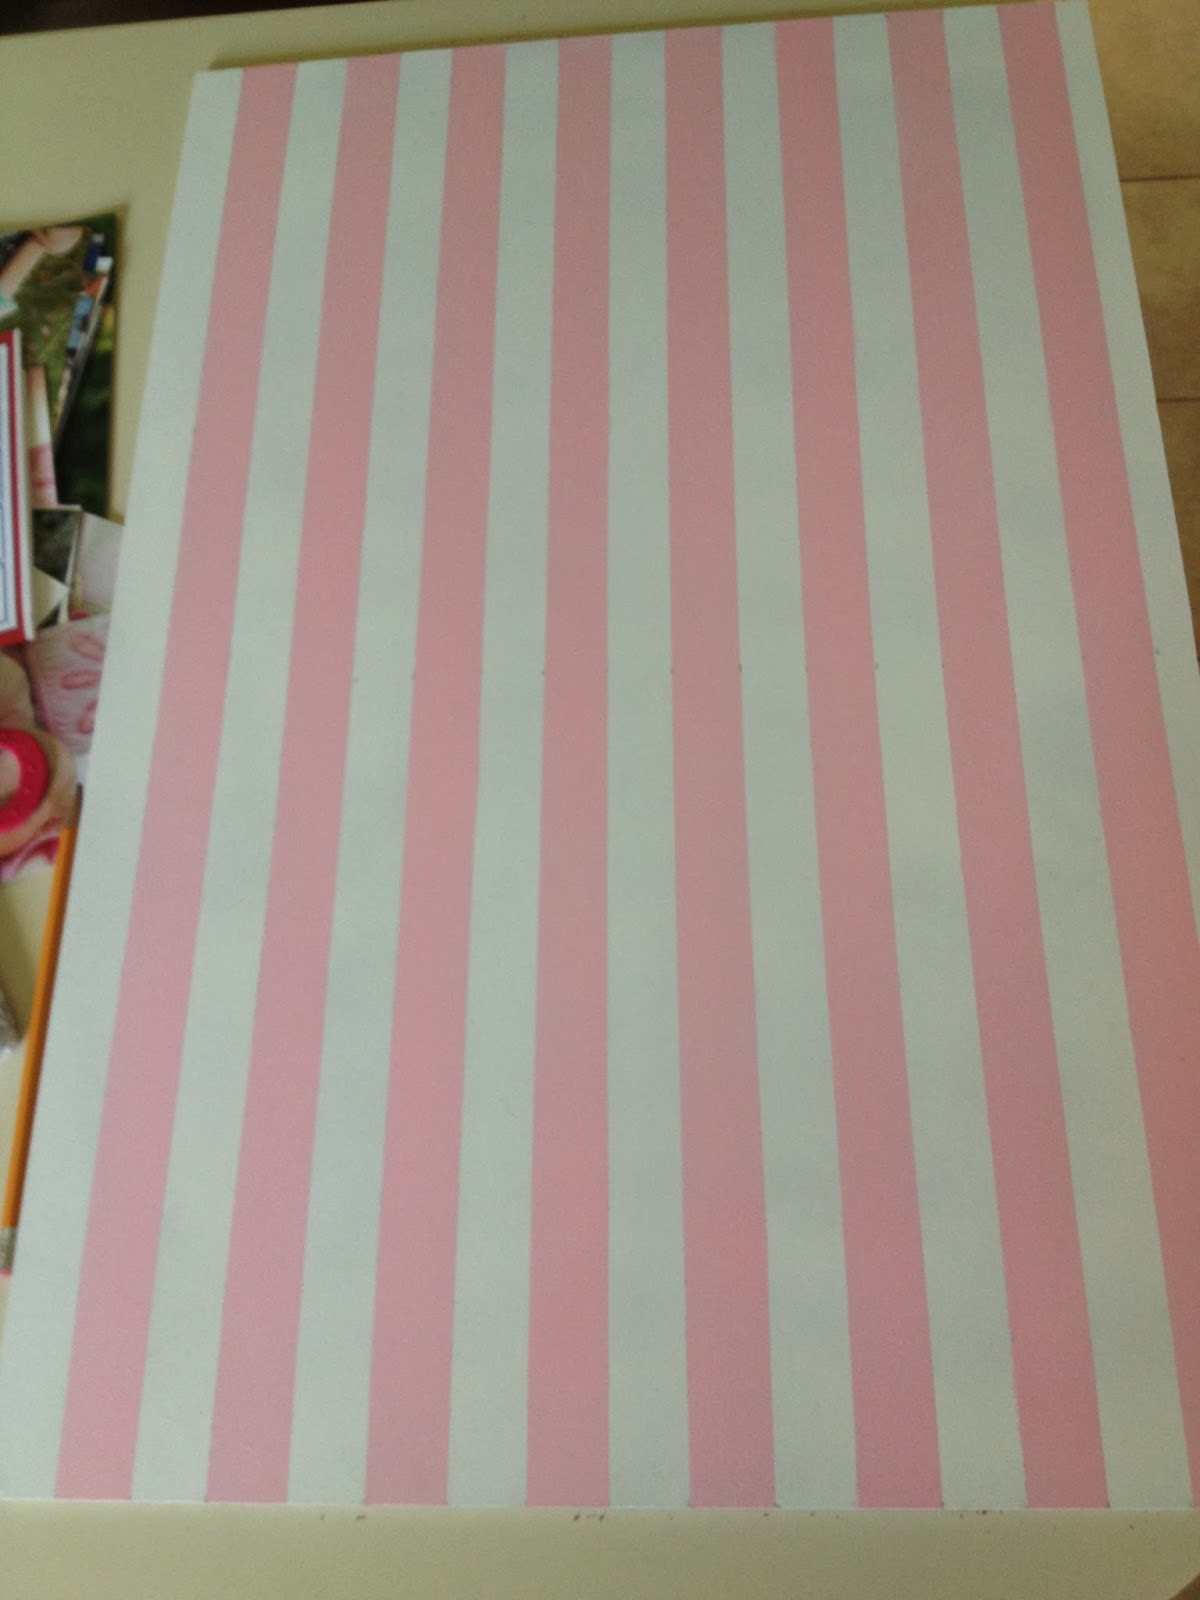
 Step 3: After the boards have dried, tape off your spacing. For my son’s I did about every 3 inches, for my daughter’s it was the width of the tape.  You can make these however wide you want, in whatever direction, in whatever pattern (chevron, diamond shaped). 

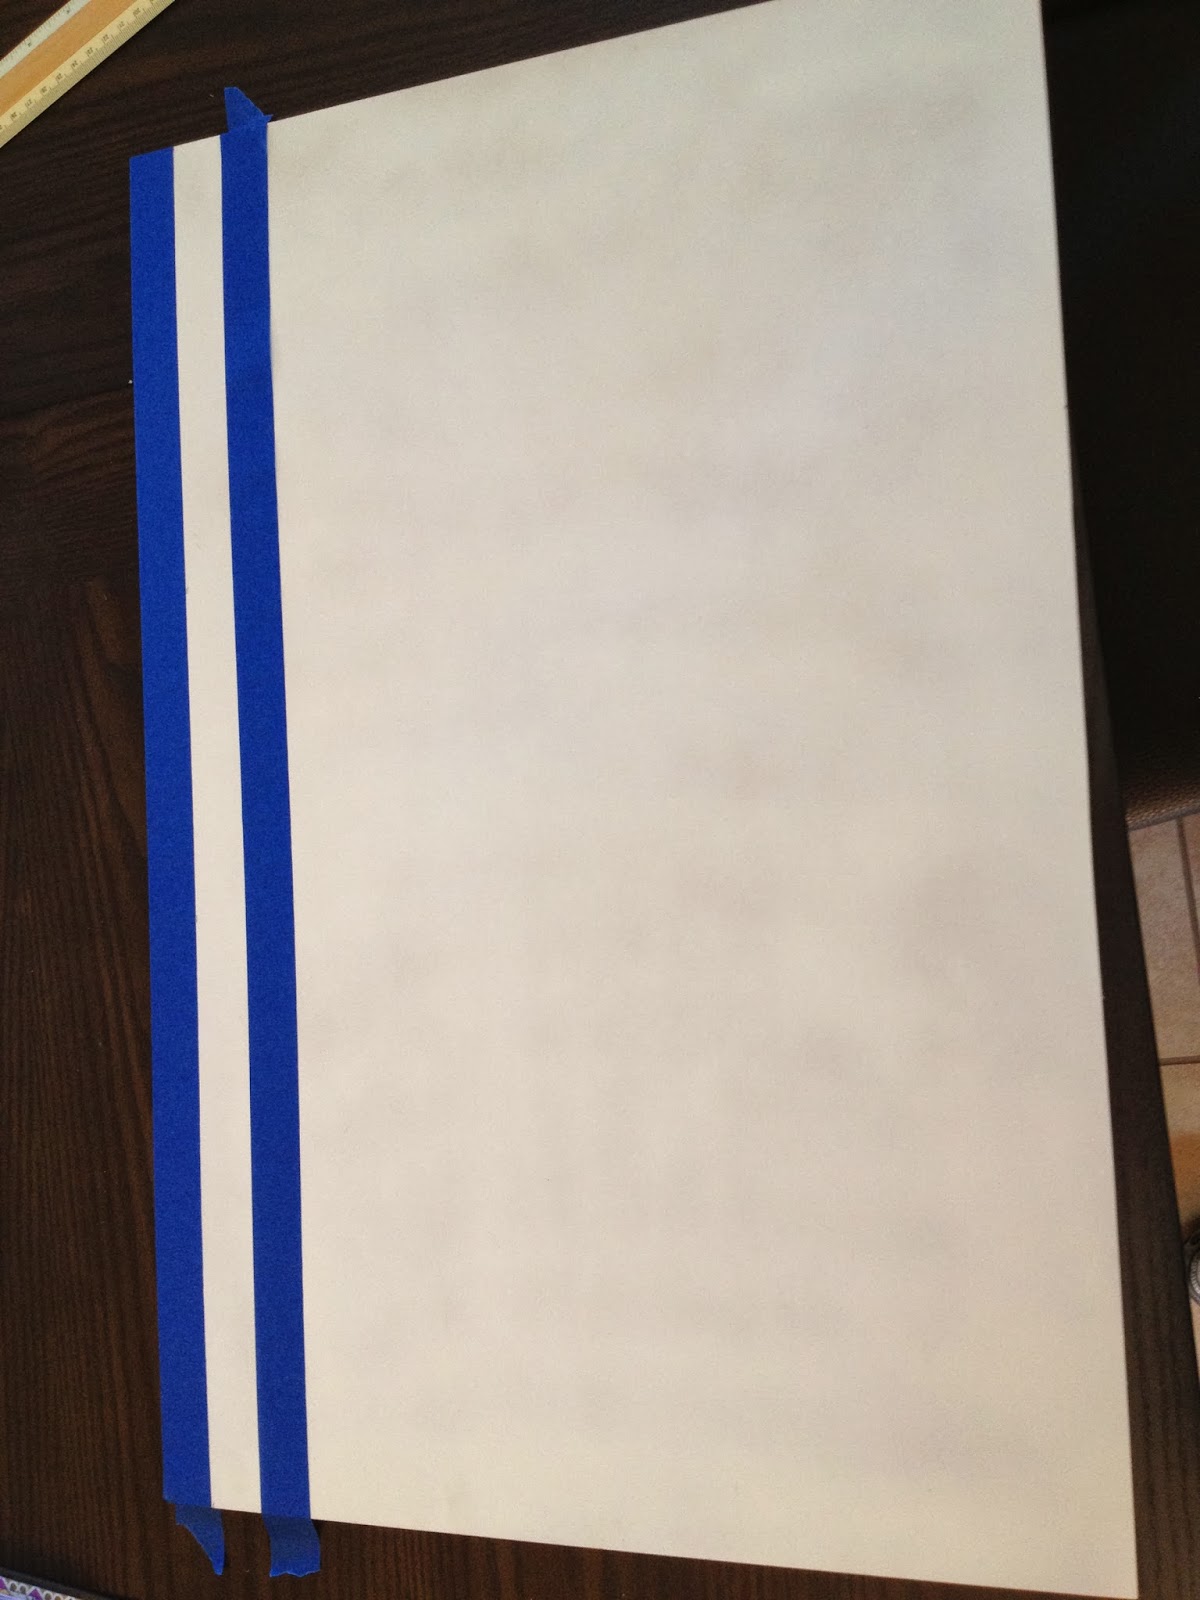
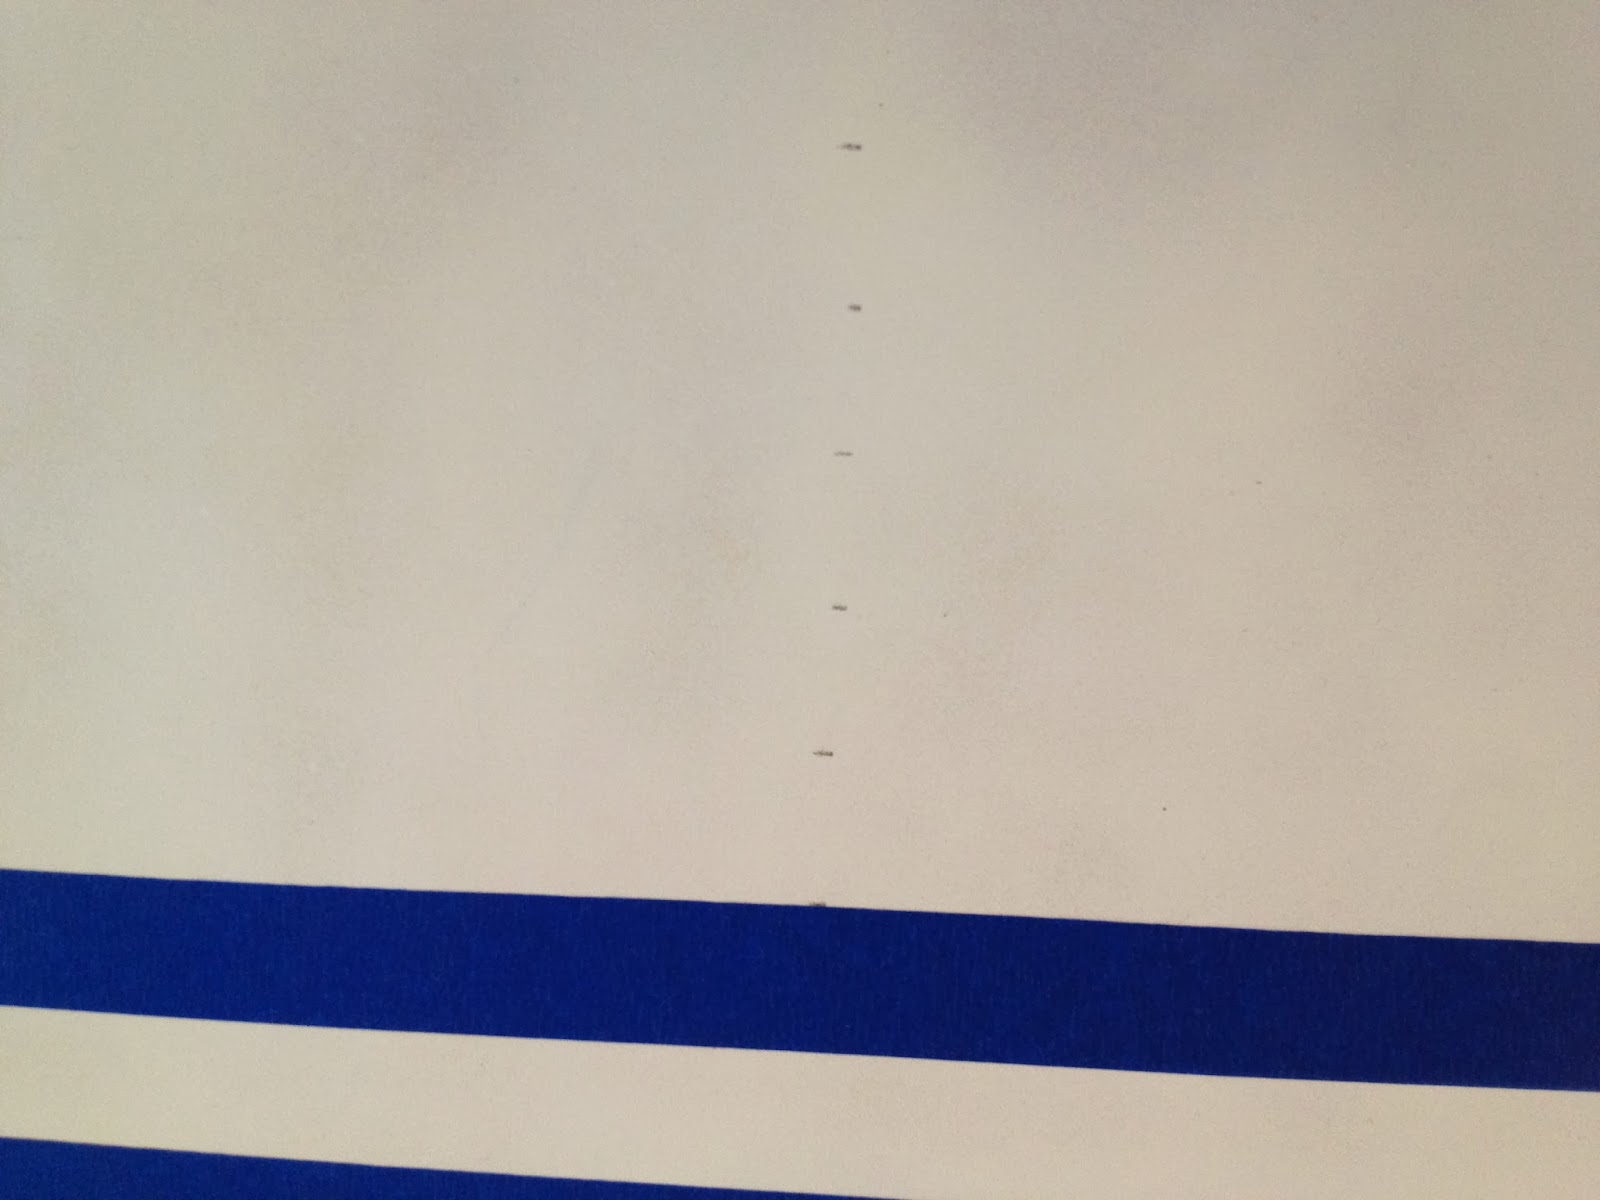
 You can see in the picture below that I made small marks along the center to make sure my tape stayed straight. 

 Step 4: Paint your stripes. On my son’s frame I used the tangerine acrylic paint and my daughter’s I used some pink spray paint I had left over from a lamp I did for her room. After you paint the stripes pull the tape off carefully and let dry. 

 Step 5: To use the gel stain you will need a sponge brush and a clean rag. Swipe your brush across the board and then immediately wipe it. Don’t be afraid because this will look a little dark, you will do some sanding to soften the color later. I did this on every board in my son’s room as well as the frames. Swipe and wipe, Swipe and wipe.:) 

Step 6: Sand wherever you feel you want to soften the swipes.  I mostly wanted to make sure no swipe marks were visible. I liked leaving a more rustic look on his.  My daughters frame I completely omitted the stain step.  So if that’s your preference do that.  

Step 7: Attach the wall claws to the back of the board. Its easier to attach these before you attach the frames. (not like I know from personal experience or anything)

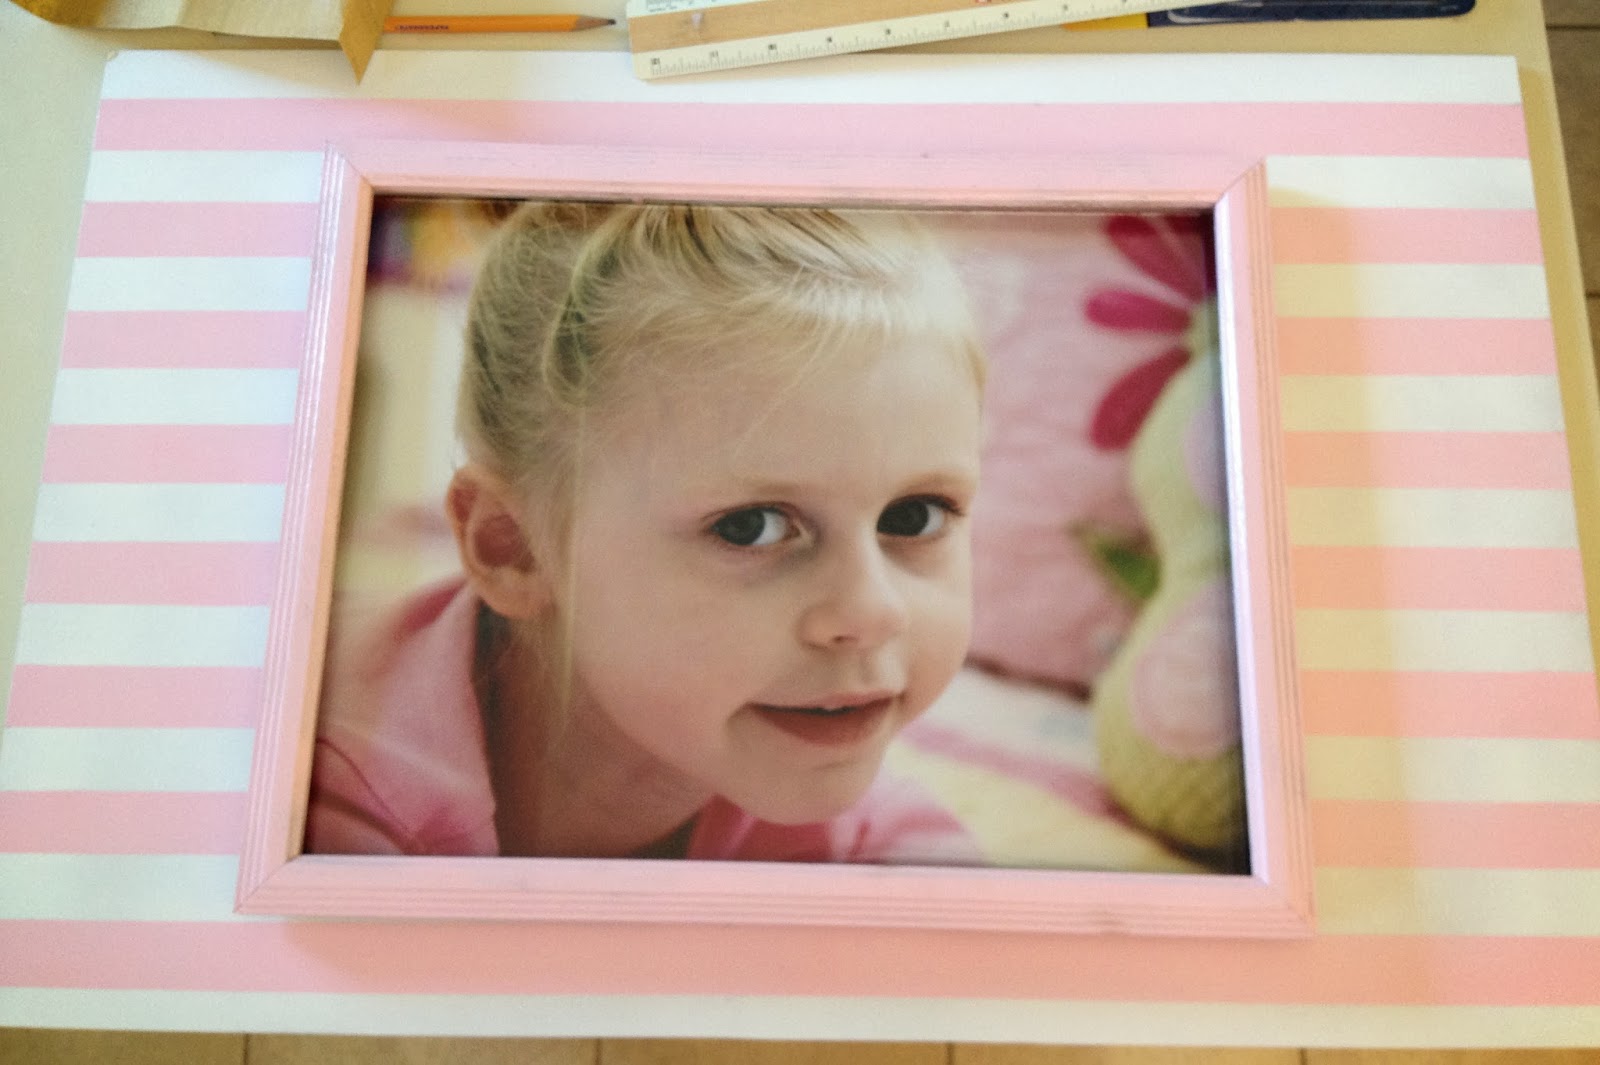
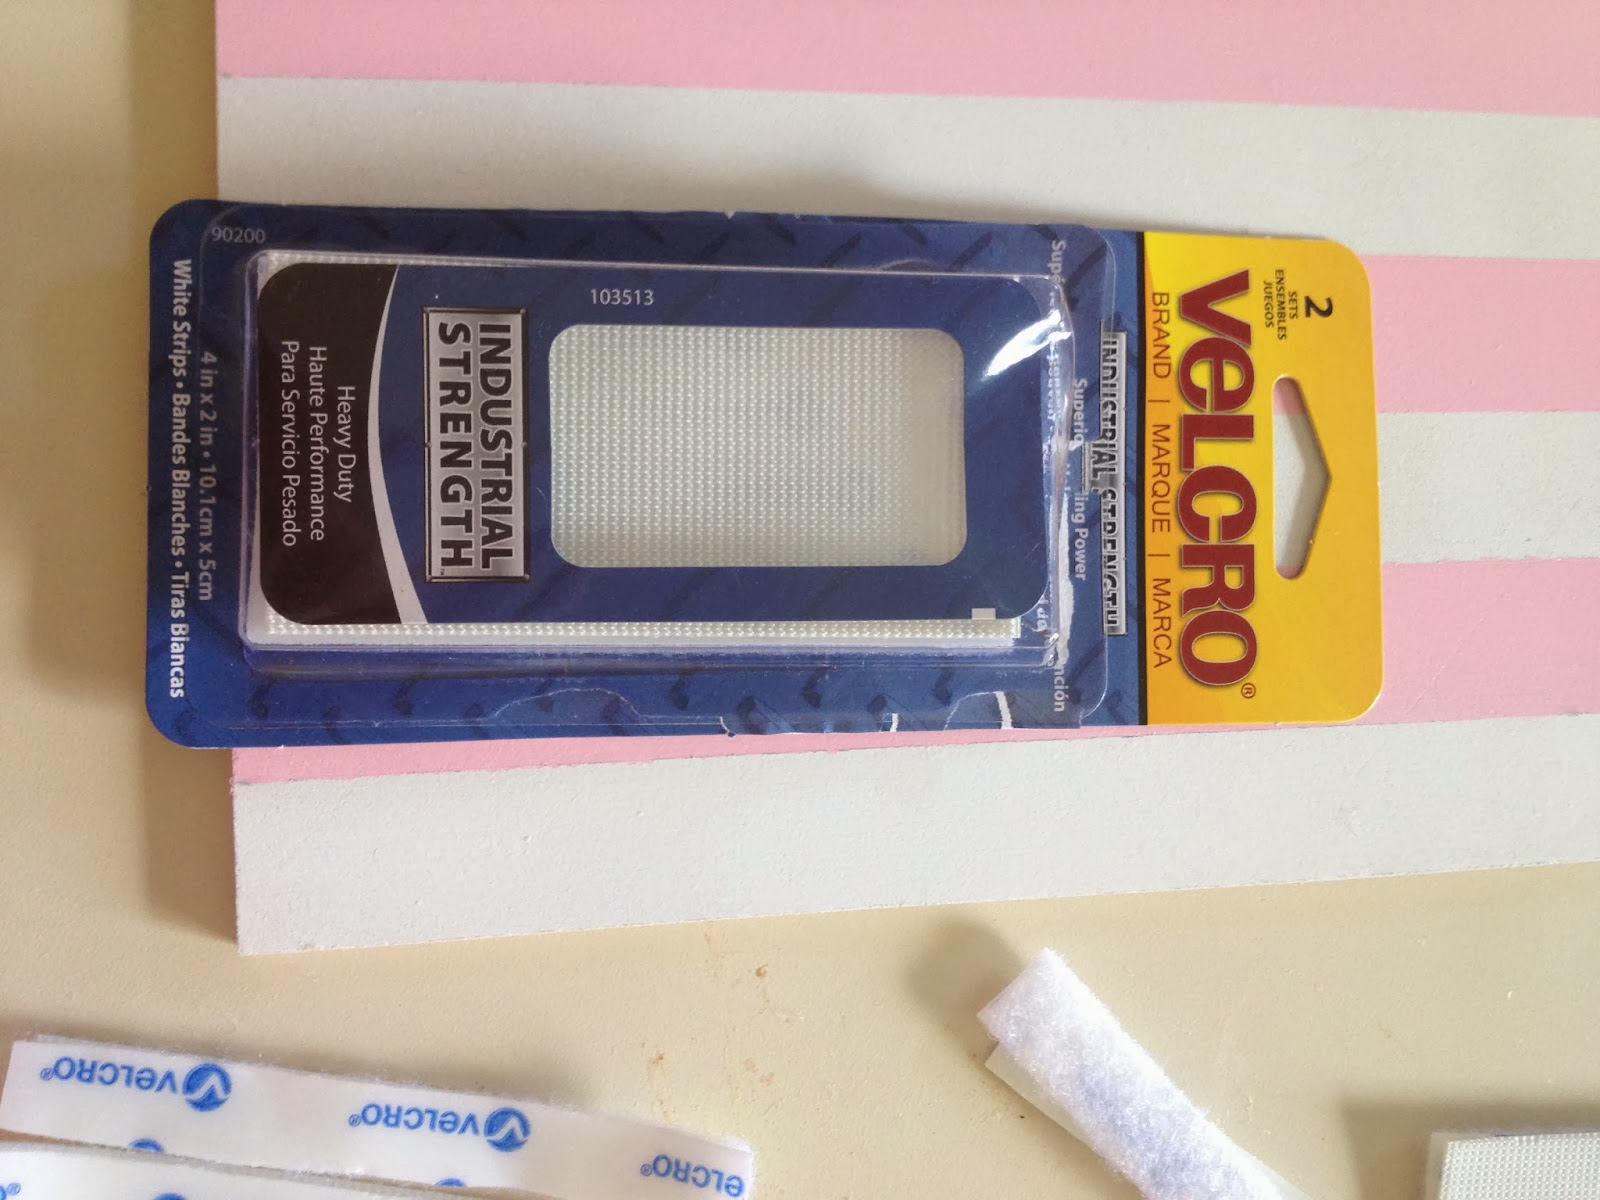
Step 8: Velcro time!! I cut mine in half  lengthwise and then attached them to the middle of my frame, top, bottom, and sides. Then I did some measuring to determine where the other part of the velcro needed to end up on the board.  The best thing to do is measure your board and measure your frame and then do some centering according to those measurements.  After that stick your velcro on the board, put your pictures in the frames, and attach the frame to the board.  

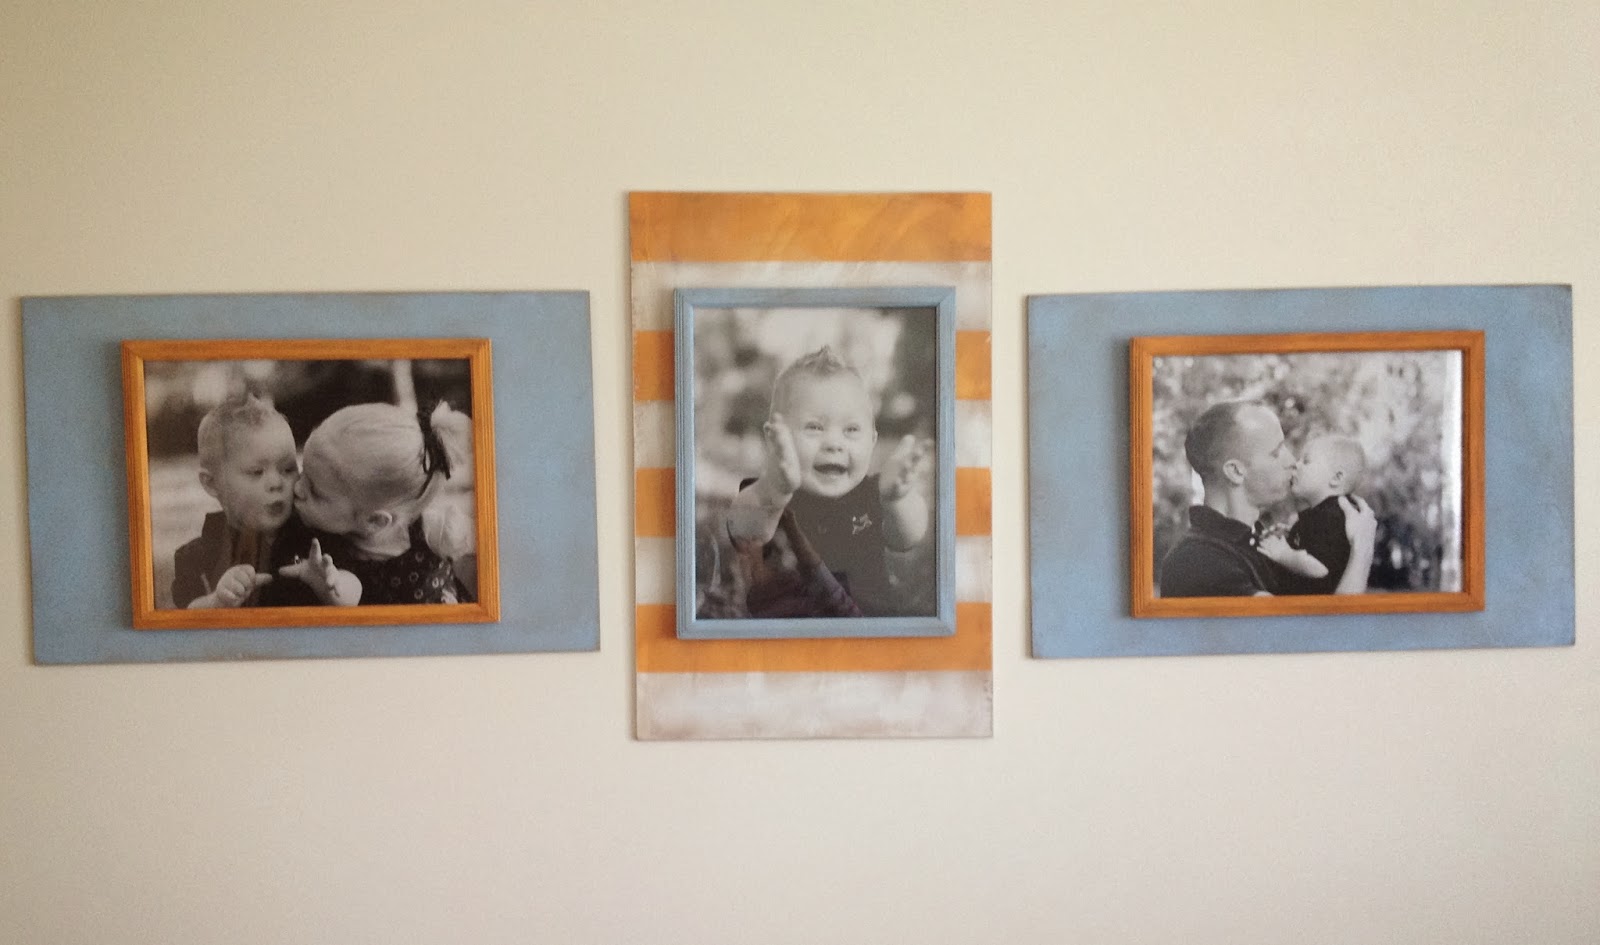
 Step 9: Give yourself a big pat on the back for your amazing work!! 

Abby

idea from Sixsisterstuff

Print Friendly, PDF & Email

Heather

Leave a Comment

« Festive + Fun: Appetizer Round Up
Puffy Pancakes {Perfect for Valentine’s Day!} »

Leave a Reply Cancel reply

Your email address will not be published. Required fields are marked *

Recipe Rating


Heather

I am a midwestern girl who grew up in the big city, but now enjoys her days as a stay at home mom in the suburbs. Who says spending time in the kitchen has to be boring? I hope to inspire your family kitchen with some new ideas, fun recipes and great tips.

Stay Up to Date

Get all the latest tasty goodness straight to your inbox!

Girl and her Kitchen

Join us!

Hey! I am the GIRL in the kitchen and I am so glad you decided to visit. Love to cook and eat? You will find some great recipes on this site, whether you are looking to eat healthy, splurge on a dessert, make dinner or host a party-I have it all! Sometimes I’ll give you a story along with my recipe, other times, I want to take you straight to the food!  Whatever the reason that you decided to visit, I am so glad you joined me in the kitchen! Feel free to take a look around the site, and please…stay awhile!

Archives

Popular Categories

  • Appetizers
  • Breakfast
  • Crafts
  • Salads and Dressings
  • Side Dishes
  • Vegetables and Fruit

Most Popular Posts

Corner Bakery Cafe Giveaway!

Corner Bakery Cafe Giveaway!

Filed Under: Reviews

Bacon Cheddar Skillet Cornbread

Bacon Cheddar Skillet Cornbread

Filed Under: Breads, Quick Breads and Rolls, Side Dishes

Puffy Pancakes {Perfect for Valentine’s Day!}

Puffy Pancakes {Perfect for Valentine’s Day!}

Filed Under: Breakfast, Valentine's Day

100 Days of Real Food Cookbook Review {and Giveaway!}

100 Days of Real Food Cookbook Review {and Giveaway!}

Filed Under: Vegetarian

Copyright © 2026 · Divine theme by Restored 316