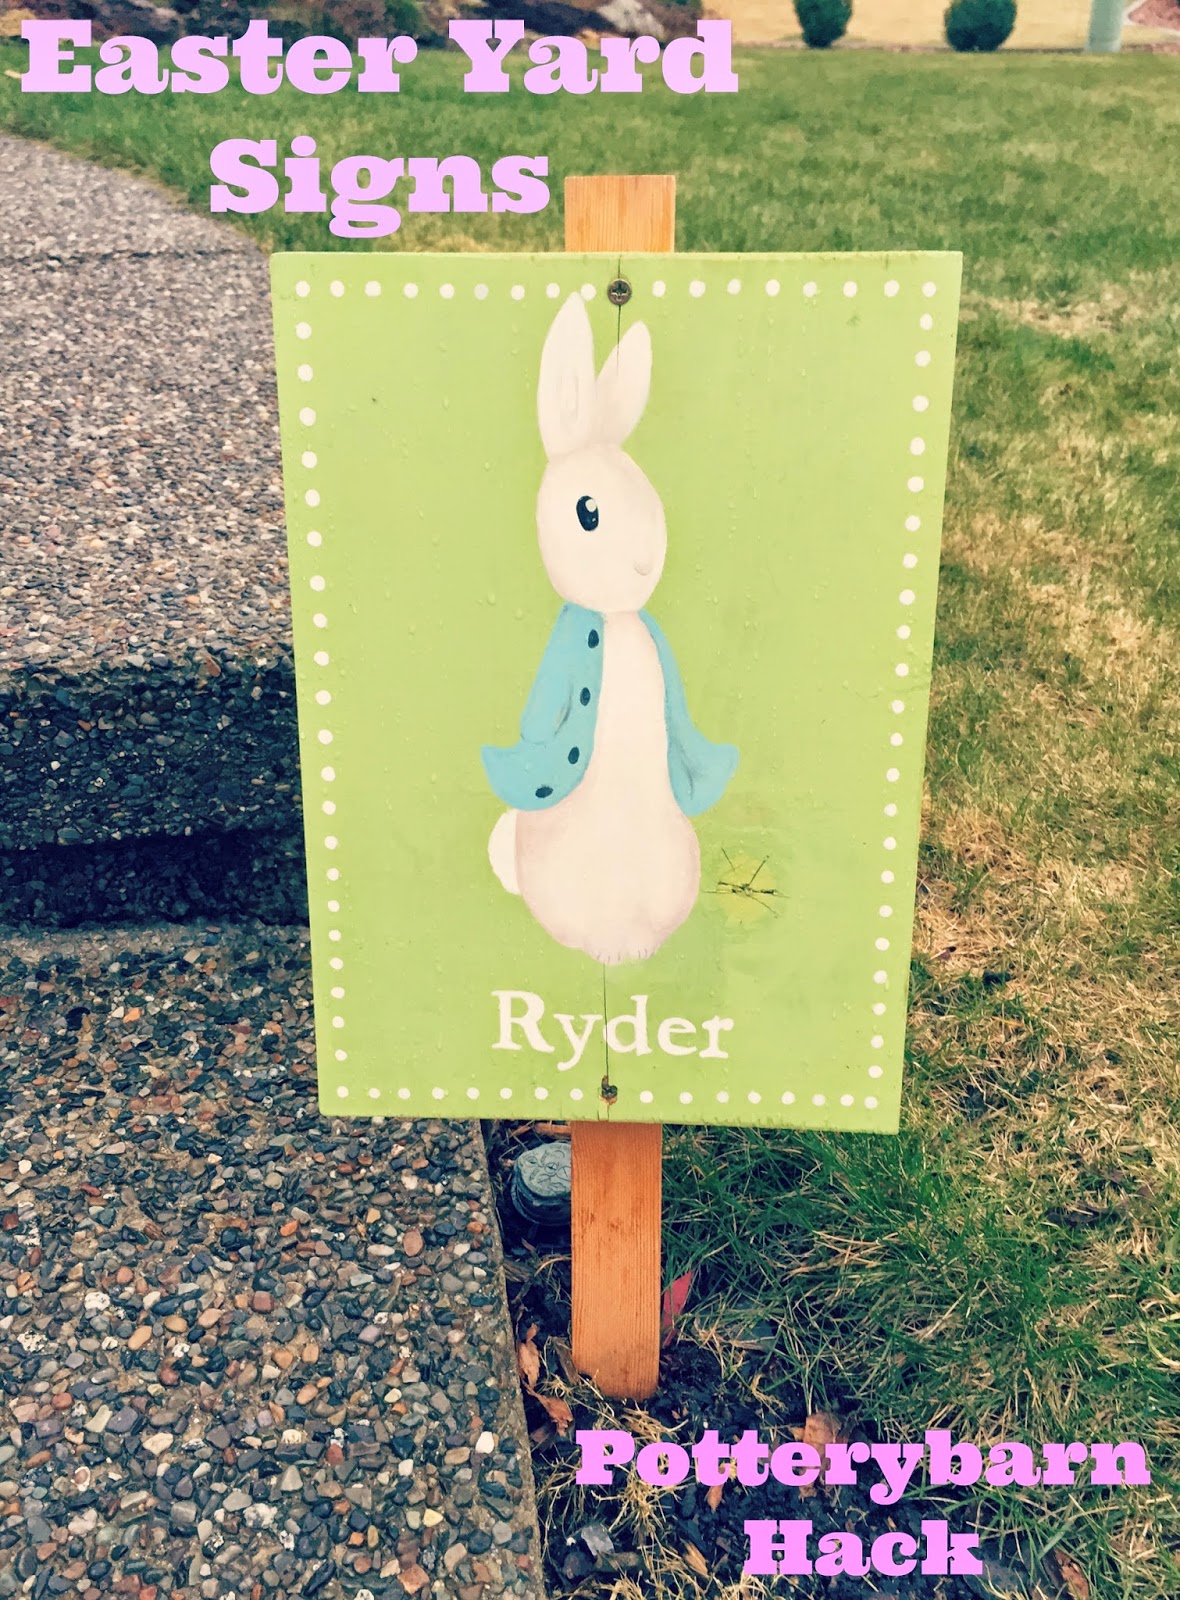
I am a lover of Pottery Barn and Pottery Barn Kids, but a lot of the time, not a lover of their prices. A couple years back my sister-in-law saw these adorable Easter signs (sorry the originals are no longer on the Pottery Barn kids website)…and then she saw the price! If my memory serves right, they were around $40 per sign.
Eeekkk!
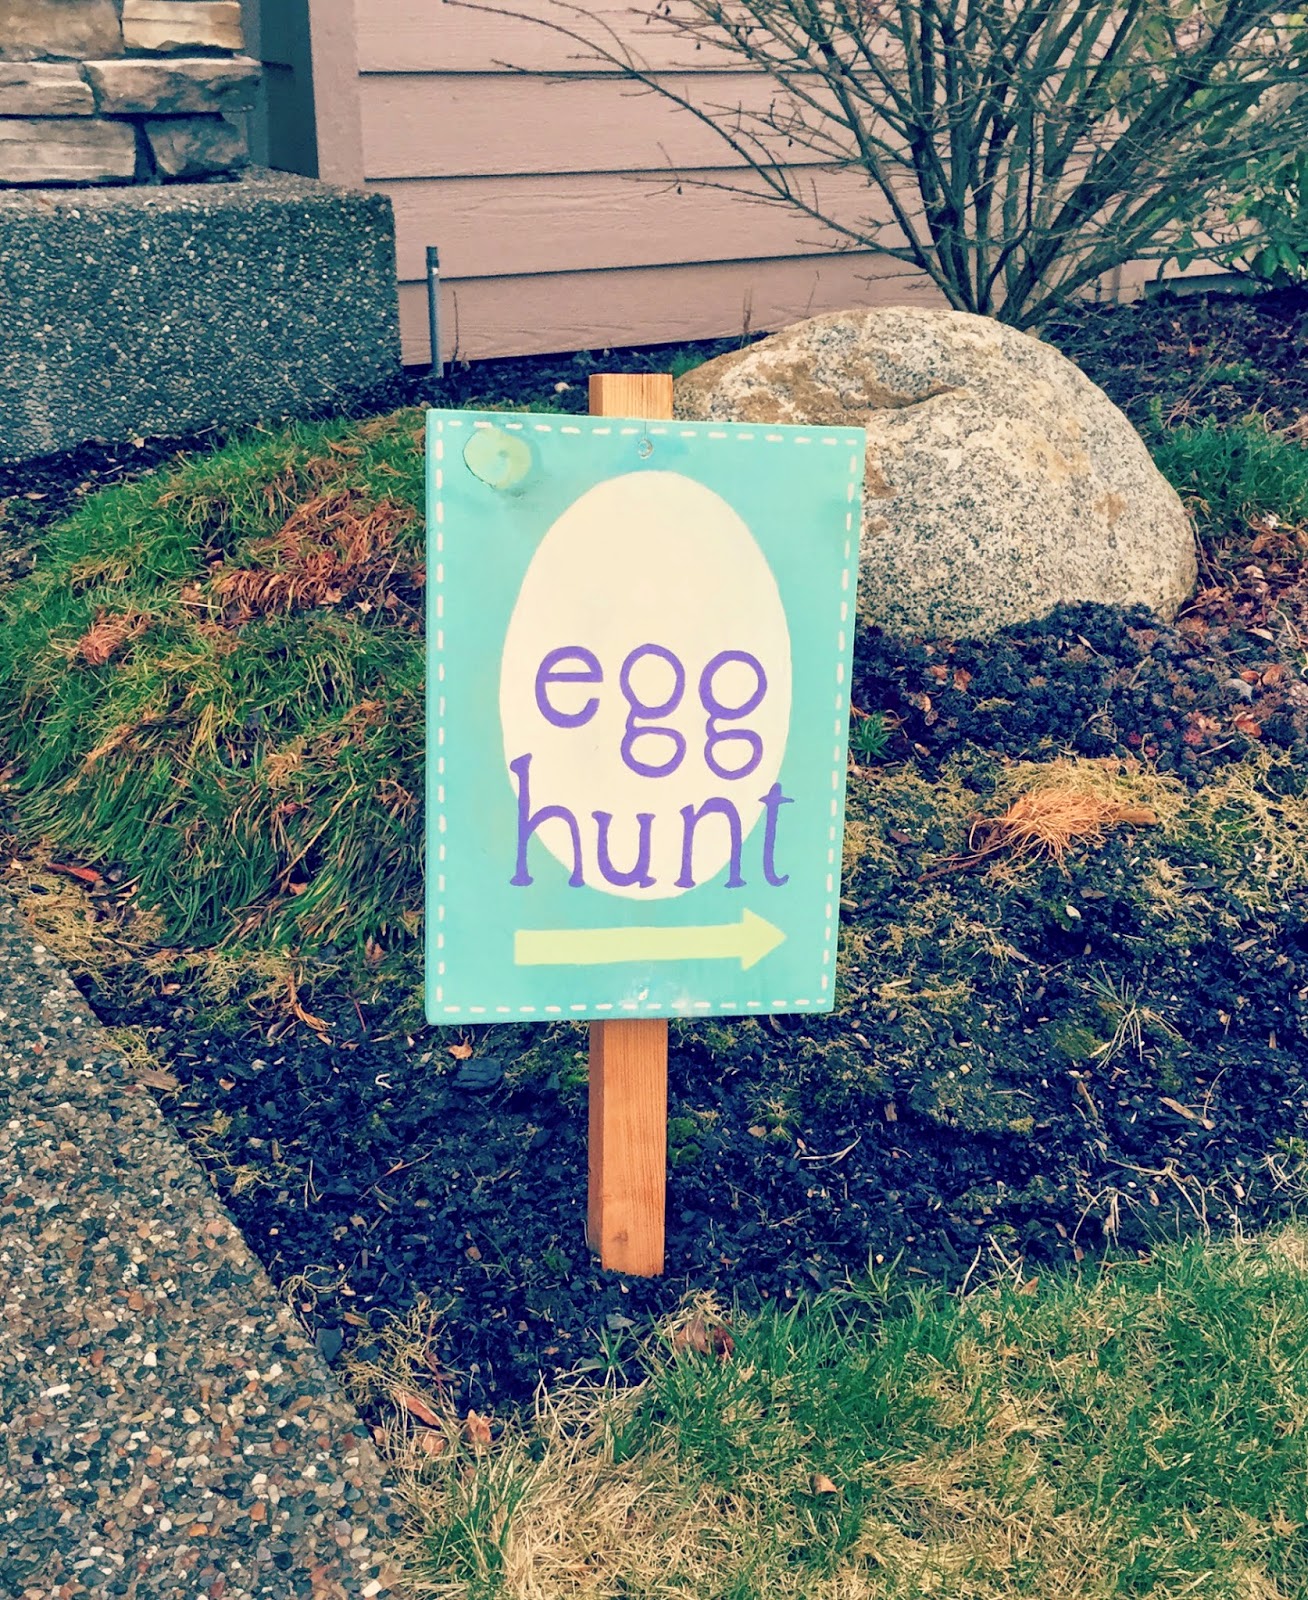
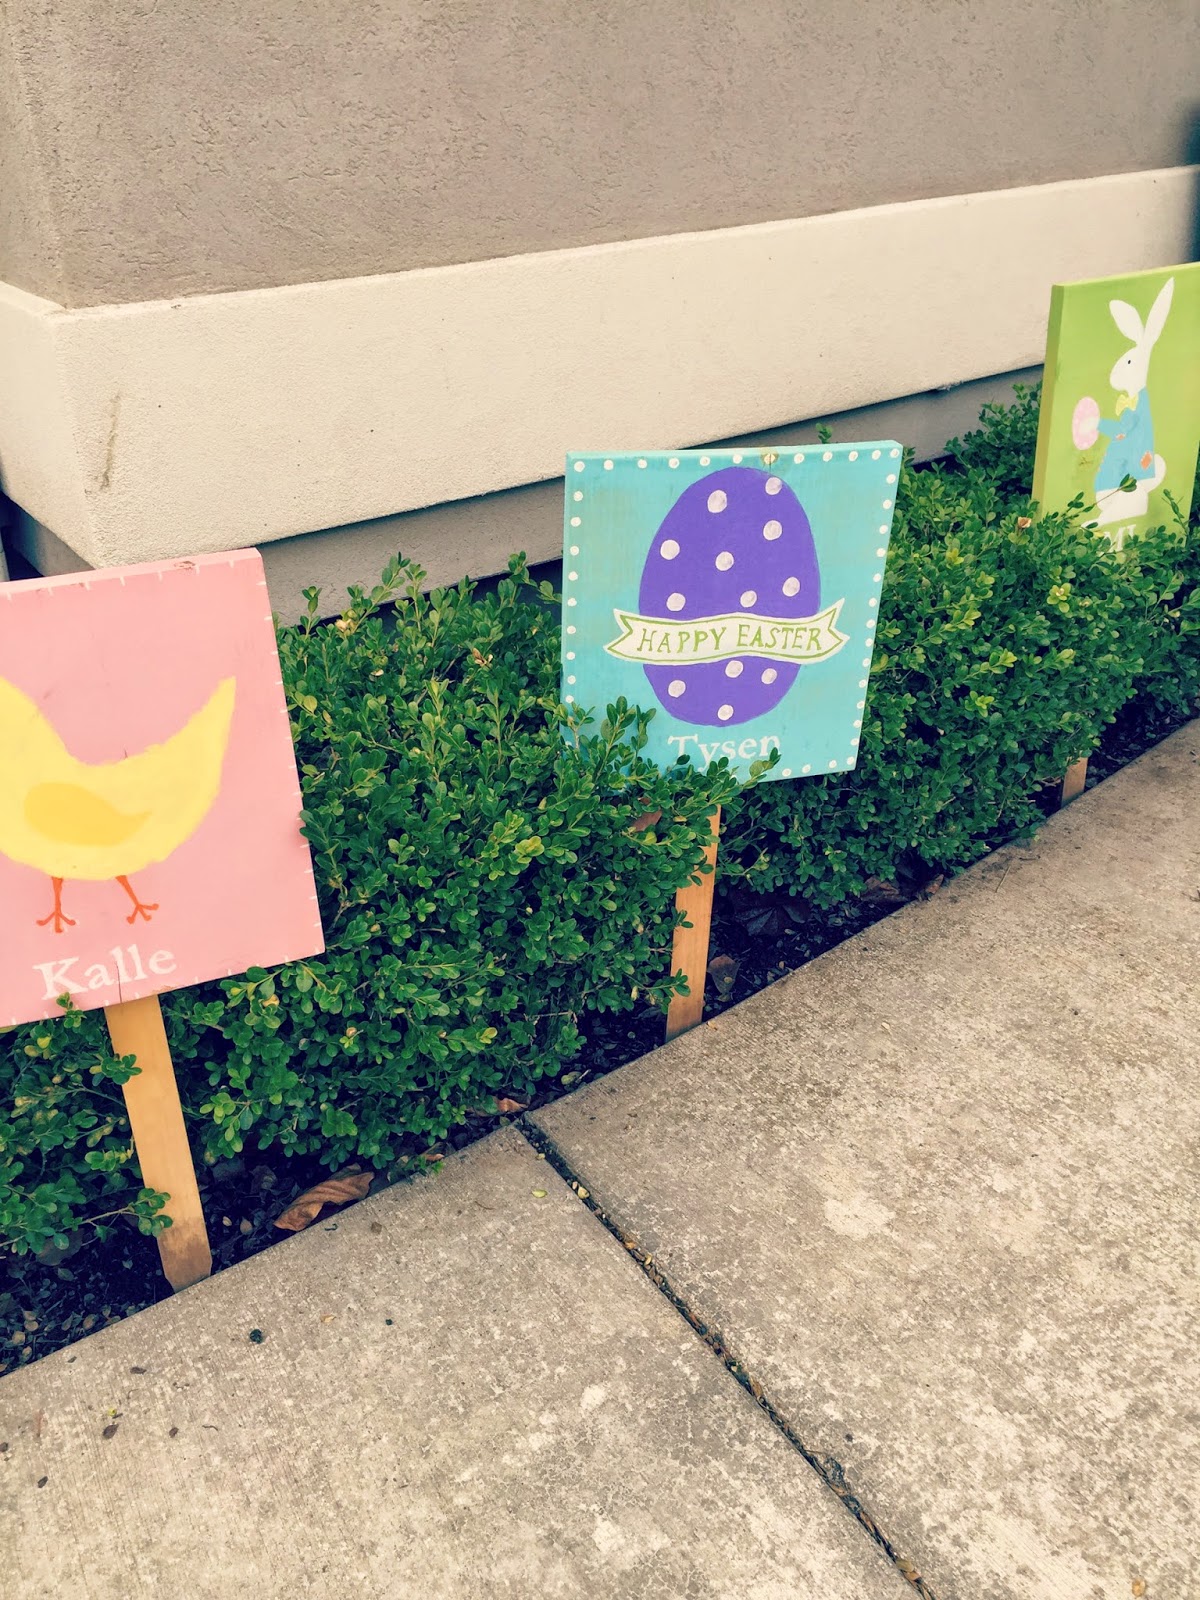
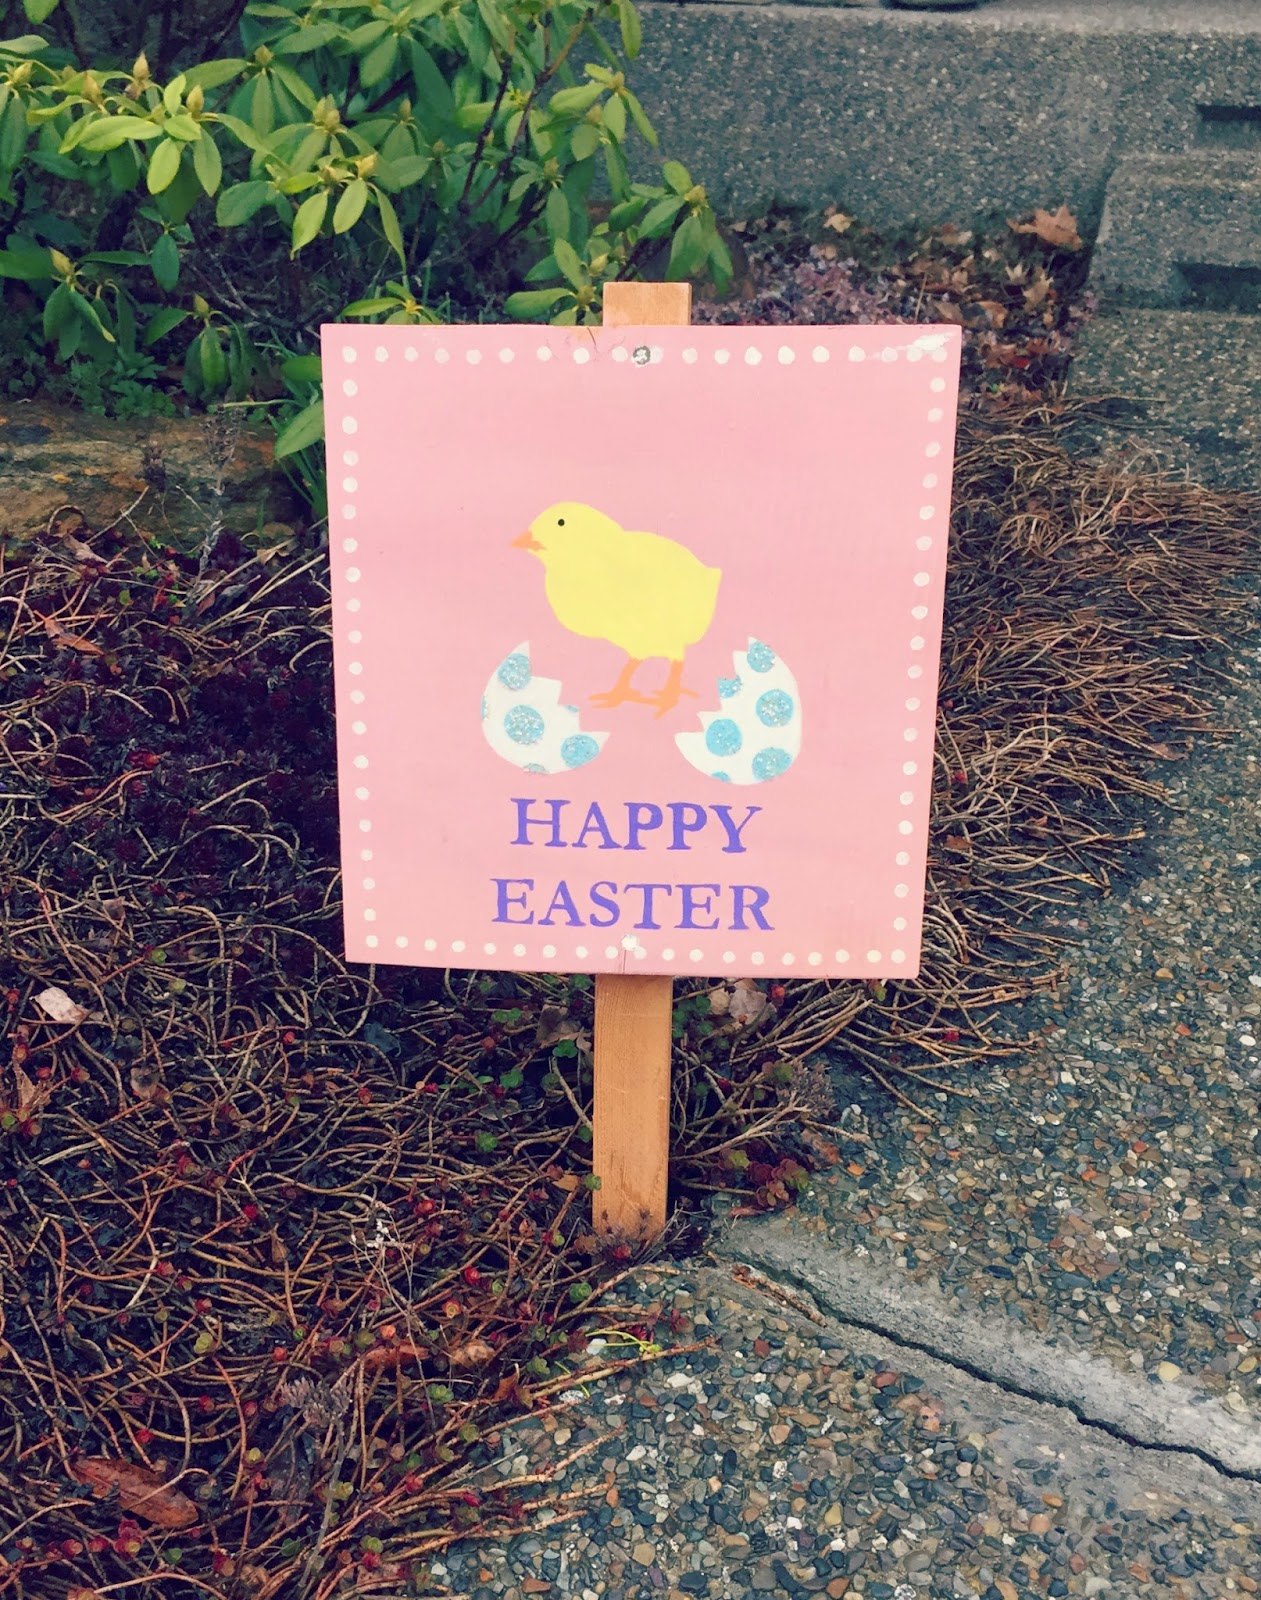
But have no fear! We can make them and for about $5 per yard sign, less if you already have the paint. They are an adorable way to get your yard ready for Easter and can be personalized easily for you and your family.
Here is what you’ll need:
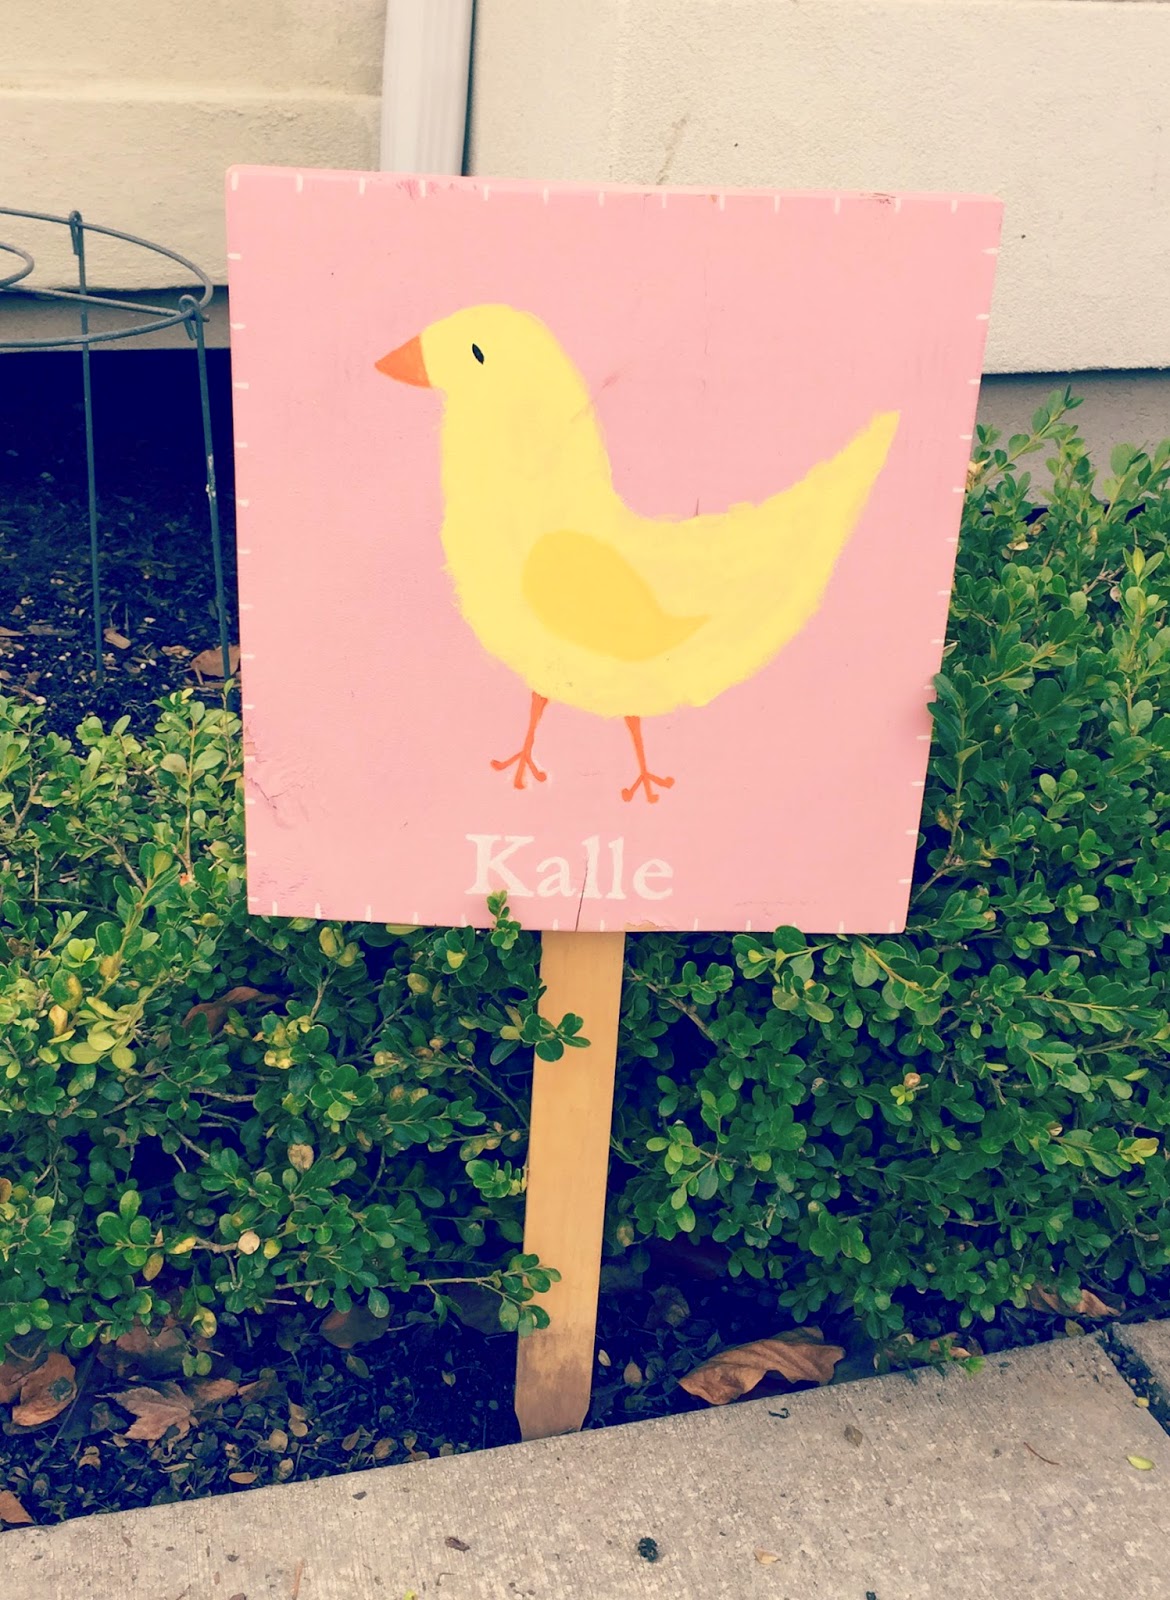
-Wood: I bought one 3/4″x9″x8′ board (you’ll need more or less depending on how many signs you are making) For the taller signs I cut the boards to 13″ so the signs ended up being 9″x13″. The wider pink chick sign was made from a piece of scrap wood I had lying around and is 12″x13″
-Paint and paint brushes: I used both spray paint (Rust-oleum American Accents) and acrylic/craft paint for the actual design
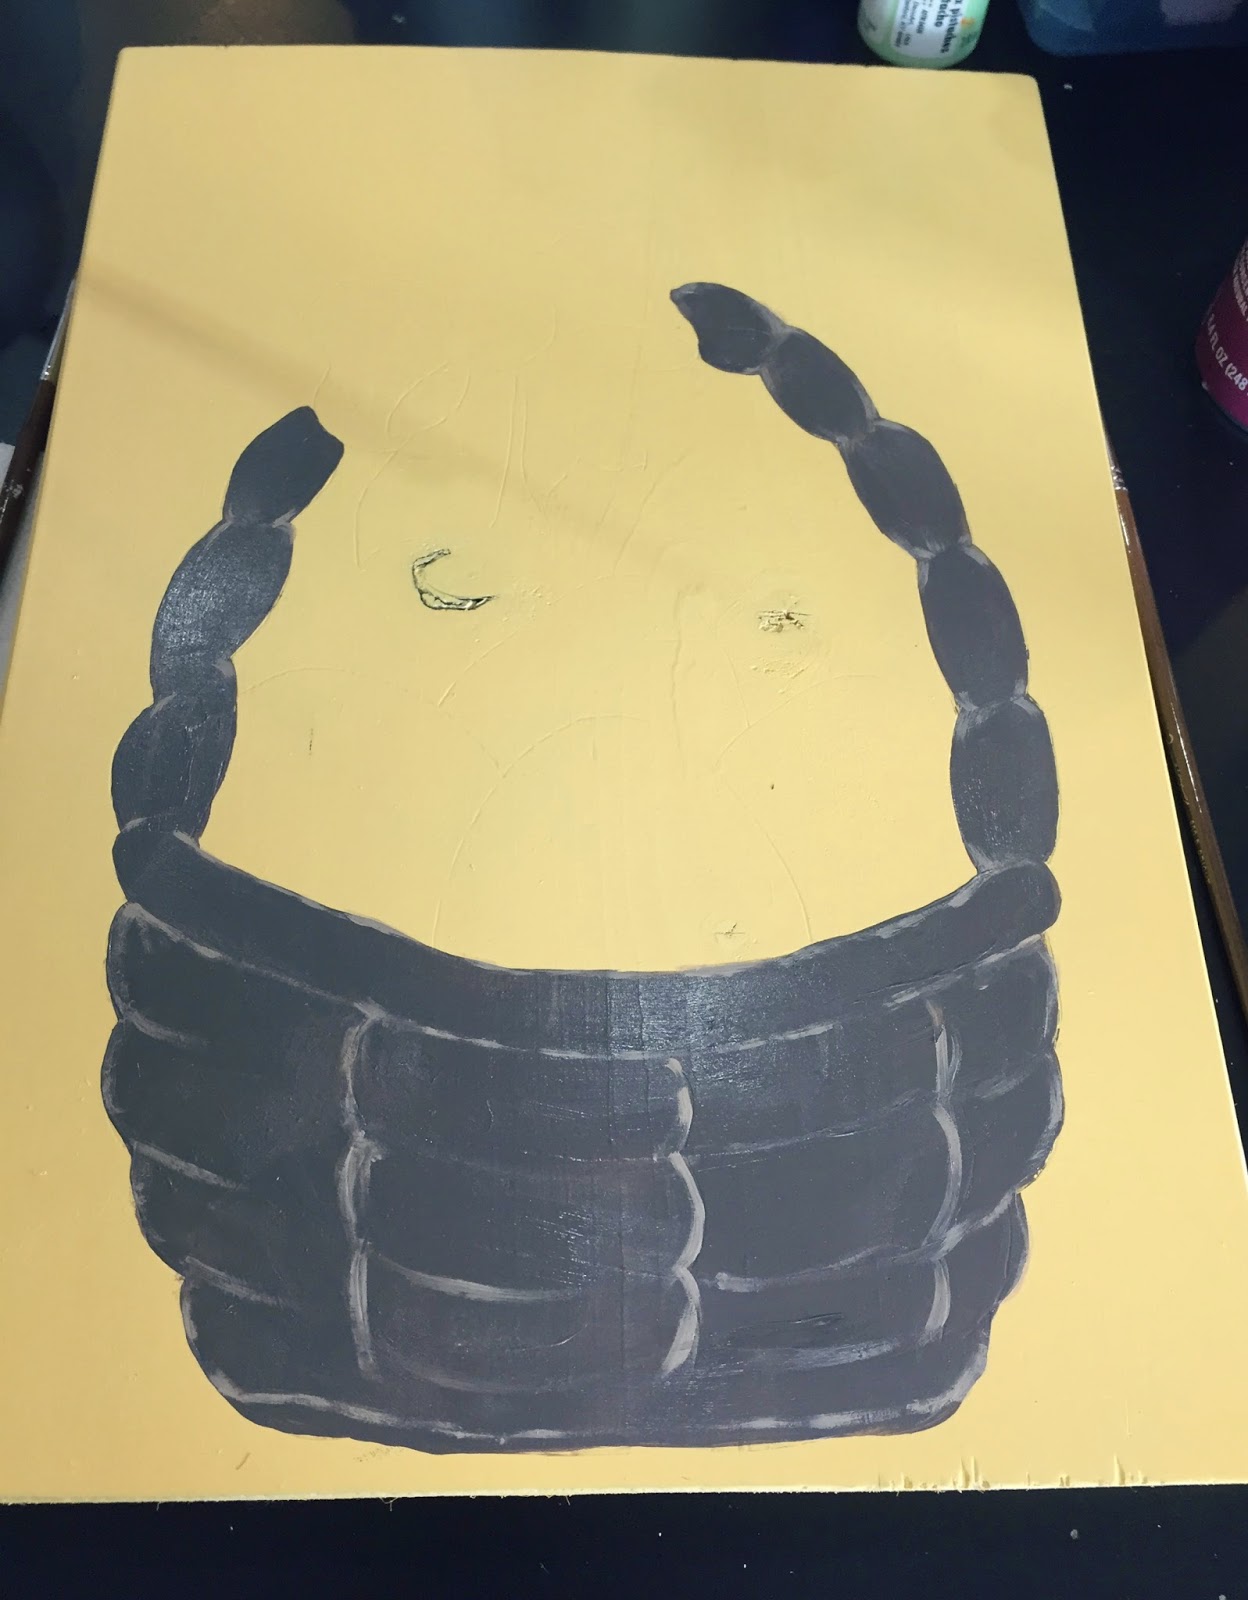
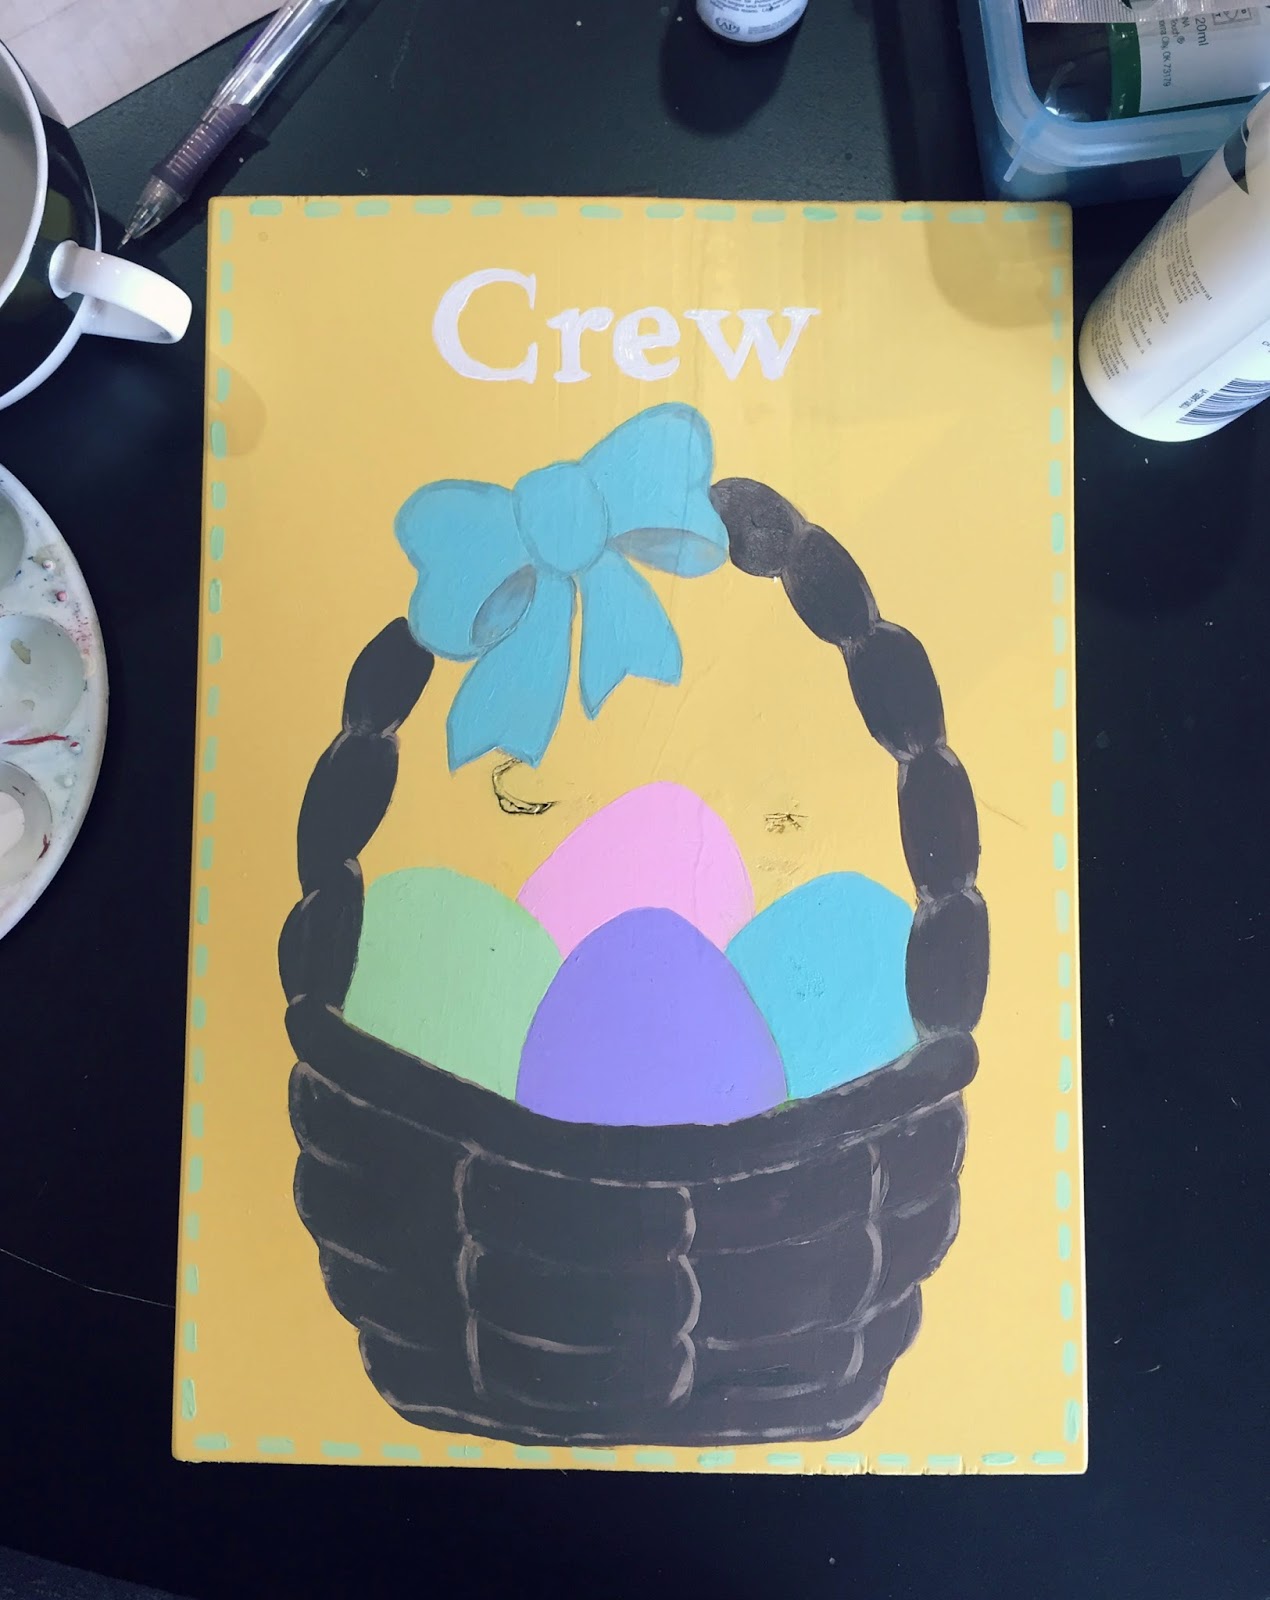
-Chosen design picture printed off or traced/drawn on a paper: Here’s the fun part. I looked all over the internet for cute Easter ideas. For Crew’s sign I used an Easter Basket from clipart. For Ryder’s I found a picture of Peter Rabbit that I adored. You get the idea, find something you love and use it!
-A pen and some tape to transfer the image to your wood
-Polyacrylic clear coat spray
-Garden stakes or larger paint stirring sticks. ( I bought a pack of garden stakes and my sister-in-law used paint sticks. The garden stakes are more heavy duty and can be found at your local hardware store.)
Now lets get crafting!
Step 1: Cut your wood or have the wood department at your local hardware store cut the wood to the desired length. Again my taller signs were 9″x13″ and my wider sign was 12″x13″. Sand the edges if necessary.
Step 2: Paint your sign(s). I used spray paint to paint the base of each of my signs but craft paint would work just as well.

Step 3: While your sign is drying, print of the image you would like to paint on your sign. Clip art is a good source to find some cute easy designs. Simplicity is actually quite chic.
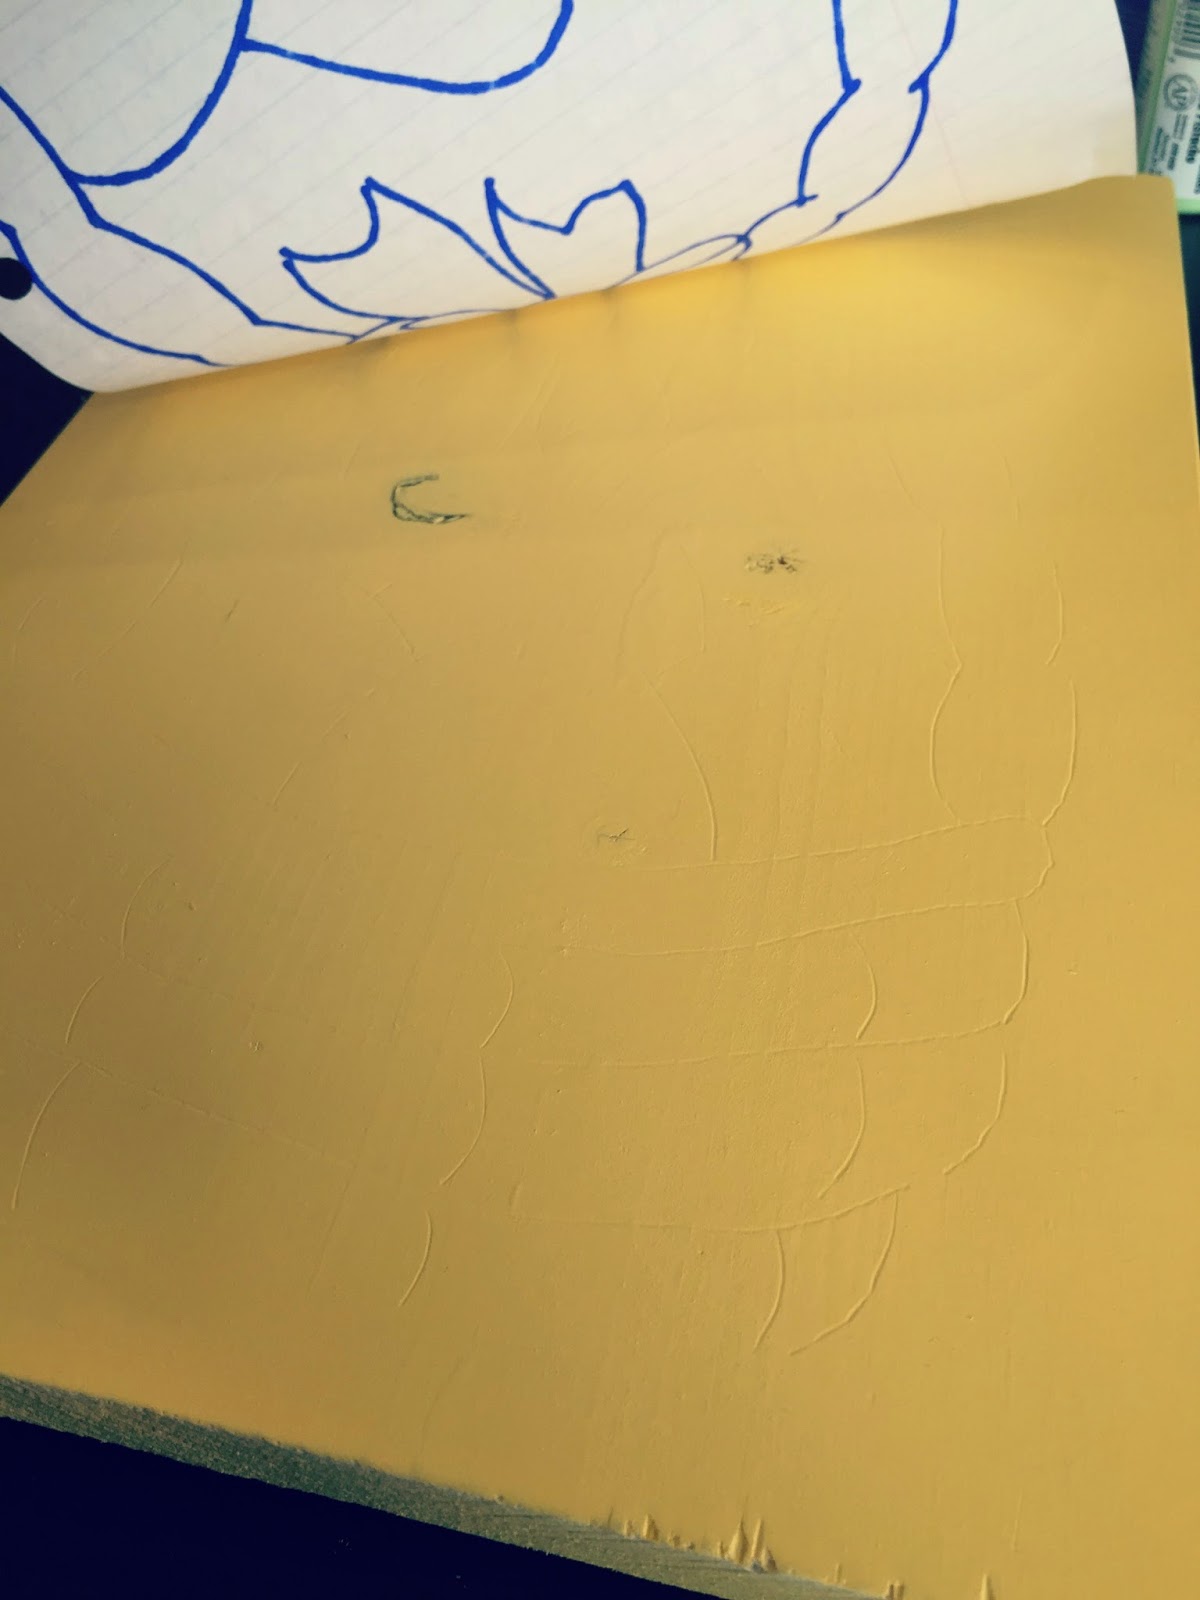
Step 4: Place your paper on top of your wood and tape it in place. You don’t want it moving while you are making your indentations. Grab your pen and with moderate pressure trace along the lines of your image. this will create a faint indention on your wood allowing you to then “color inside the lines”. Repeat this step with any words/names to personalize your signs If you don’t like this method you could use transfer paper or simply freehand the image.


Step 5: Spray your sign with a protective clear coat. This sign is going to be outside in the elements so make sure you spray it with a clear coat of polyacrylic. You don’t want April showers washing away all of that hard work.
Step 6: Screw or nail the garden stake to your sign. Make sure you don’t go crazy with the screwdriver. You don’t want to split your sign in half. Now stake that adorable sign in your yard and enjoy a Happy Easter.


Leave a Reply